Complete guide for Word 2016 (Part 6): Using Indents and Tabs
Word 2016's Indents and Tabs tool allows users to split textual information using Tab or horizontal ruler..
Indent tool allows users to split textual information using Tab or horizontal ruler in Tabs and Indents settings .
Watch the video below to learn more about how to use Indents and Tabs in Word.
Indent text
Normal texts always require the first line of each paragraph to be inverted. Therefore, aesthetically, this feature will help the text become clear and separate.

Not only the first line but also other indents can be indented, so it is often referred to as indentation.

Use Tab key
The fastest way to indent is to use the Tab key. This method only uses the first line to move backward 1/2 inch.
Step 1: Place the insertion point on the first line of the paragraph you want to undo.

Step 2: Press Tab button. On the horizontal ruler, you will see the first indentation mark move right ½inch.
Step 3: The text is indented.

If the ruler is not displayed, select View on the toolbar and then check the ruler box.

Indent sign
In some cases, if you want to adjust more, use indentation, which allows indentation of any paragraph.

Indentation marks are on the left side of the horizontal ruler and there are several indentation options as follows:
- First-line indent marker First line indentation.
- Hanging indent marker Indentation sign
- Left indent marker The left indentation moves both the indentation and indent indentation at the same time.
Use indentation
Step 1: Place the insertion point where you want to indent in the paragraph as one or more segments.

Step 2: Hold and drag the desired indentation. For example, hold and drag the left indent.

Step 3: Release the mouse and you're done.

Use the command
If you want to indent multiple lines of text or entire paragraphs, you can use indent commands. The command will adjust to 1/2 inch back.
Step 1: Select the text you want to align.

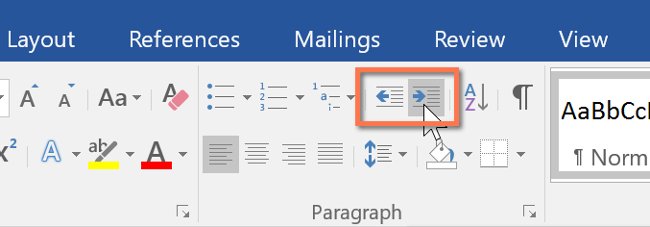
Step 2: In "Home", select the command to increase or decrease the size.
Step 3: Finished indenting.

To customize the margin size, select Layout and fill in the appropriate values into the cells.

Tabs
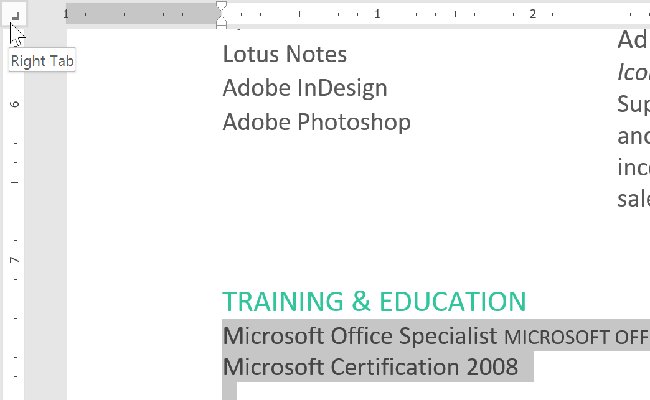
Using Tab will adjust indent more flexibly. By default, each time you use the Tab, the text will roll back to 1/2 inch to the right.Use extra stops on the ruler to allow you to resize the Tab and apply multiple stop tab buttons to one line.For example, in the summary, you can align the left side of the sentence and right alignment for the end of the sentence by using the right tab as shown below.

When pressing the Tab key, you can add a tab or an indentation indent, depending on the insertion point. In general, if the insertion point at the beginning of the paragraph will add indentation indent, and or not, will add a tab.
Tab alignment
Tab alignment is in the vertical ruler on the left. Moving the cursor to the alignment set will see the Tab stop name appear.

Types of tab stops:
- Left Tab Left justify from the stop.
- Center Tab Align the text evenly to both sides of the stop.
- Right Tab Right justify from the stop.
- Decimal Tab Arrange decimal numbers using decimal points.
- Bar Tab Draw vertical lines in the text.
- First Line Indent Insert the first indentation mark on the ruler.
- Hanging Indent Insert hanging indent sign.
Add stops
Step 1: Select one or more paragraphs you want to add stops. If you do not select a paragraph, the stop will apply to the current paragraph and new paragraphs.

Step 2: Click the Tab alignment until you see the desired stop appears. For example, select Right Tab .
Step 3: Select the position you want to align on the horizontal ruler and add as many arbitrary stops.

Step 4: Place the insertion point in front of the text to be edited, then press Tab . The text will move to the next stop position. For example, we move the years to the next stop.

Delete stops
When you no longer use stops, you should delete them. First, select the text that is using the stop. Next, hold and drag them out of the ruler.
