Word 2016 Complete Guide (Part 25): How to check and protect Word documents
When sharing certain Word documents, you may not want to include sensitive personal information or don't want others to edit your document file. Fortunately, the Word 2016 has a built-in feature to help document checks and protections. Please follow the article below to see details on how to do it.
Table of Contents
When sharing certain Word documents, you may not want to include sensitive personal information or don't want others to edit your document file. Fortunately, the Word 2016 has a built-in feature to help document checks and protections. Please follow the article below to see details on how to do it.
- Complete Word 2016 tutorial (Part 22): How to create a chart
- Word 2016 full guide (Part 23): How to check spelling and grammar
The tool checks the Document Inspector document
Whenever you create or edit a Word file, personal information may be automatically added to the document (for example, the author's information). You can use the Document Inspector tool to remove this information before sharing it with others.
Use Document Inspector
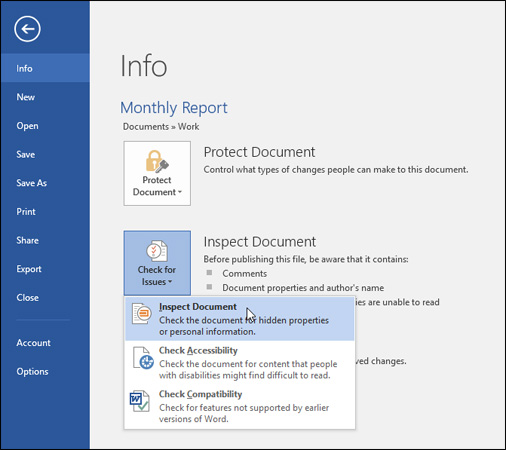
Step 1: Click the File tab to access the Backstage view (the center for document management).
Step 2: From the Info panel , click Check for Issues , then click Inspect Document from the drop-down menu.
Step 3: At this time, the Document Inspector window will appear. You can check or uncheck the boxes, depending on the content you want to review, then click Inspect. In this example, we will select all.

Step 4: The test results will display an exclamation mark next to the parts where it finds data that is deemed sensitive and has a delete button (Remove All) for each type. You can click Remove All to delete that data.
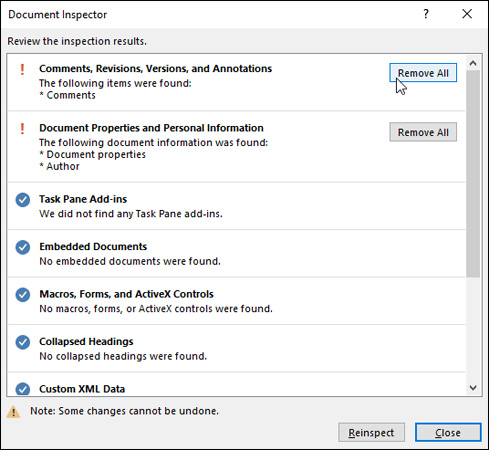
Once done, click Close.
Document protection
By default, anyone with access to your documents can open, copy and edit the content, unless you set the protection for that Word file.
Step 1: Click the File tab to access the Backstage view.
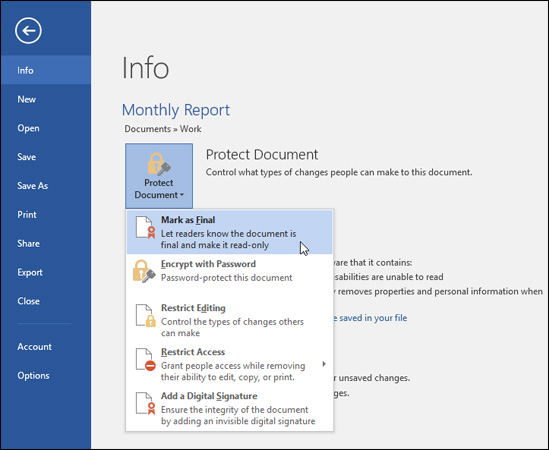
Step 2: From the Info panel, click the Protect Document item.
Step 3: In the drop down menu, click on the option that best suits your needs. In this example, we will select Mark as Final.
Step 4: A dialog box will appear prompting you to save your selection, click OK.
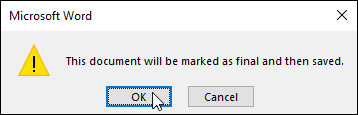
Step 4: Another dialog box will appear, click OK .
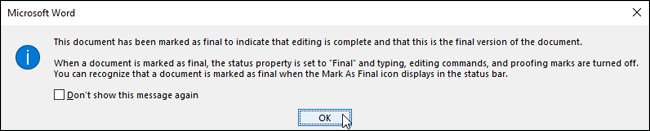
The document will be marked as the final version. Whenever others open this file, Word will appear a prompt bar at the top of the document to suggest they should not edit.

Note: The Mark as Final option does not really prevent others from editing the document, because they can choose Edit Anyway . If you want to really prevent others from editing your document, you can use the Restrict Access option.
Good luck.
Was this article helpful?
Your feedback helps us improve.
Related Articles
 Word 2013 Complete Guide (Part 11): How to create hyperlink links4 minutes read
 Word 2013 Complete Guide (Part 10): Bullets, Numbering, Multilevel list in Microsoft Word9 minutes read
 Word 2013 Complete Guide (Part 3): How to store and share documents9 minutes read
 Word 2016 Complete Guide (Part 24): How to use Track Changes and Comments4 minutes read
 Complete guide Word 2016 (Part 1): Familiarize yourself with the Ribbon interface8 minutes read
 Word 2016 full guide (Part 23): How to check spelling and grammar5 minutes read
Reader Comments 0
Sign in with email or Google to join the discussion.