How to Nest an Image Inside Another Image in Photoshop
Add images as layers

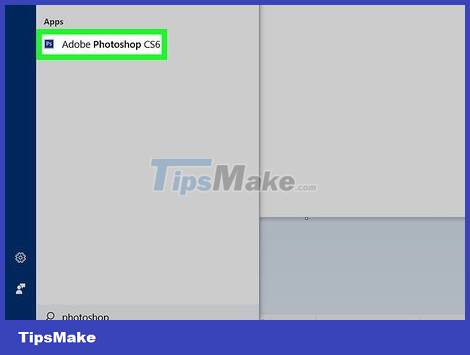
Open Photoshop. Double-click the Photoshop application with the blue "Ps" icon on a square background.

Click File . It's an option in the upper left corner of the Photoshop window (on Windows) or the screen (on Mac). You will see a menu appear here.
Select Scripts . This selection is near the bottom of the menu that appears. Another menu immediately appeared.
Click Load Files into Stack… (Load files on top of each other. ). This is an option near the bottom of the menu that appears. The screen will have a new window.
Click Browse… (Browse). You will see this option on the right side of the window. When you click here, another window will open for you to select the image to use for the integration.
Select two photos. Hold down Ctrl(Windows) or ⌘ Command(Mac) and click to select the two images you want to use.
Click Open . This is the option in the bottom right corner of the window. You will see the photo name displayed in the middle of the window.
Click OK . This option is in the upper right corner of the window. The Photoshop program will open both images as separate layers. When Photoshop finishes opening the image, you can change the transparency or adjust the image's gradient.
Change transparency
Move one photo above the other. In the "Layers" pane on the right side of the Photoshop window, you'll click and drag the photo you want to nest to the top of the frame.
Select photo. Click the top image in the "Layers" window to select it before continuing.
Click the "Opacity" selection box. You'll see this menu below the "Layers" section. Another menu immediately appeared.
Reduce transparency. Drag the slider in the displayed menu to the left to reduce the transparency of the image above. When you drag the slider button, you will see the bottom image gradually appear in the top image.
You can also change the transparency value in the data entry box. A value of 100% is completely clear and 0% is completely transparent.
Look at the photos. After you adjust the transparency of the photo to your liking, the photo integration is complete.
You can adjust the transparency little by little to see how the photo will look with slightly increased (or decreased) values before saving.
Use the chroma adjustment tool
Move one photo above the other. In the "Layers" pane on the right side of the Photoshop window, you'll click and drag the photo you want to nest to the top of the frame.
Select photo. Click the first image in the "Layers" window to select it before continuing.
Add layer mask. Click the layer mask icon that is a circle within a rectangle and visible below the "Layers" section.
Select the chroma adjustment tool. Click the chroma square on the left side of the toolbar.
You can also press the key Q.
Select the "black to transparent" tint icon. In the "Presets" window, you'll click on the black and white rectangle (black in the upper left corner, white in the lower right corner) to choose the tone style.
Click OK . It's the option in the upper right corner of the Gradient window.
Apply tint to the image above. Make sure the mask layer is selected before you apply the tint, then do the following:
Click and drag from the point where you want to start the nesting effect on the photo.
Press and hold the key ⇧ Shiftto force the cursor to move in a straight line.
Release the mouse where you want the nesting effect to end.
Repeat this process for the parts that have not been nested (if necessary).
See nesting effect. When you release the mouse, the nesting effect will appear on the image.
If you want to remove the tint effect and try again, just press Ctrl+ Z(on Windows) or ⌘ Cmd+ Z(on Mac).
You should read it
- Use Photoshop Mix to delete details in the image
- Ways of blending 80s image colors in Photoshop
- How to rotate a photo in Photoshop
- How to scale layer, scale image in Photoshop
- Setting up Photoshop Action batch image processing
- Steps to remove Watermark in Photoshop so that you have the image you want
- How to sharpen images in Photoshop in 2 ways
- Instructions for creating double exposure images in Photoshop
- How to crop an image into a circle in Photoshop
- 4 ways to enlarge photos in Photoshop
- How to remove color on photos extremely fast in Photoshop
- How to change the image format in Photoshop
Maybe you are interested
What is SSD Power Loss Protection? How does this technology work? Already able to test Windows 11 on Azure Virtual Desktop Learn about error code 0xc0000185 and how to fix it Instructions for creating cover letters on Word How to add many Instagram customizations on iPhone How to remove 'spy' apps on Facebook
