How to sharpen images in Photoshop in 2 ways
Sharpening images on Adobe Photoshop popular image editing software will help users choose to sharpen the details in the image, using 2 available Unsharp Mask and High Pass tools
Table of Contents
Adobe Photoshop is one of the most popular image editing software today. The software provides users with rich image editing tools and features, so that we can freely edit images as we like. For example, Photoshop can eliminate image noise to increase the image quality, sharpness, with the Unsharp Mask tool and the High Pass Sharpening tool available. In the following article, we will show you how to sharpen images in Photoshop in 2 different ways.
- Download Adobe Photoshop CS6 for Windows
- Download Photoshop for Mac
1. Sharpen the image with Unsharp Mask Photoshop:
Step 1:
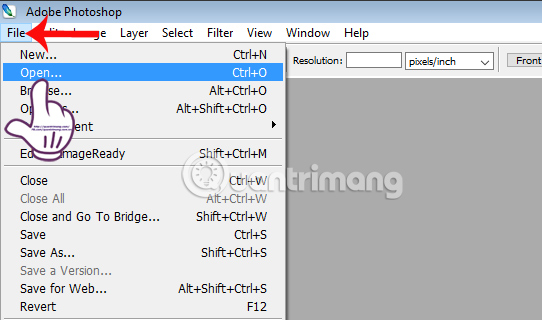
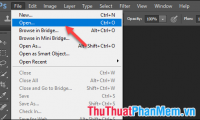
Open Photoshop on your computer and then click File and select Open to open the image you want to increase the sharpness.
Unsharp Mask only works effectively on a single layer. In case of multiple layers you need to merge them by Layer> Flatten Image .

Step 2:
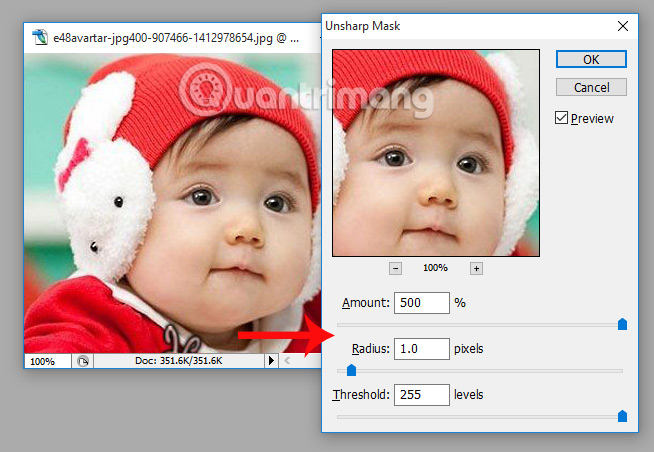
After opening the image you want to edit, go to Filter> Sharpen> Unsharp Mask .

A small dialog box appears on the Photoshop interface. Here, we will proceed to edit 3 options, including:
- Radius: you adjust the width of the vertical halo image, so that 0.5-1 is reasonable.
- Threshold: adjust the edge contrast value, the smaller the value, the more noise the image will increase.
- Amount: we adjust the slider at will. If the image has a lot of fine details, you will adjust the small Radius (small halo) and the corresponding large Amount value (so that the halo is visible enough to sharpen the image). In the case of a less detailed image, adjust the Radius to about 1.5 or more (the larger halo) and the smaller the Amount, the more bright and clear the halo will appear.
We adjust the values accordingly and click OK to save the image.
2. High Pass Sharpening sharpening photos in Photoshop:
Step 1:
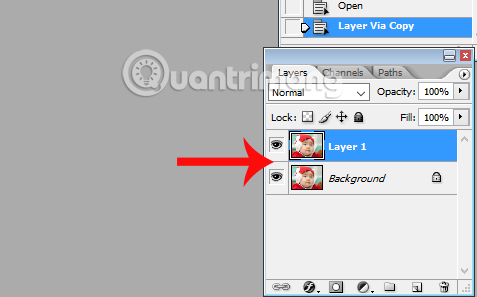
You also open the image you want to remove noise on Photoshop. Next, duplicate the image by pressing Ctrl + J on Windows , or CMD + J on the Mac .
Step 2:
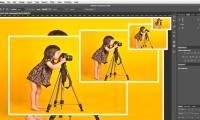
We will perform image editing on this Layer 1. You can enlarge the image for easy operation, by clicking the magnifying glass icon on the tool list.
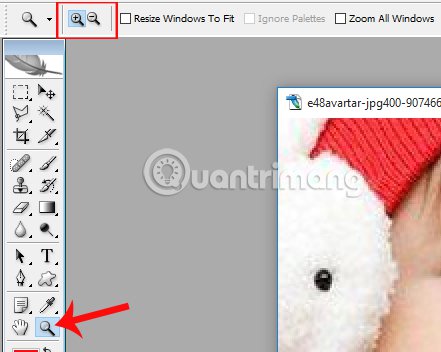
Continue to follow Filter> Other> High Pass .

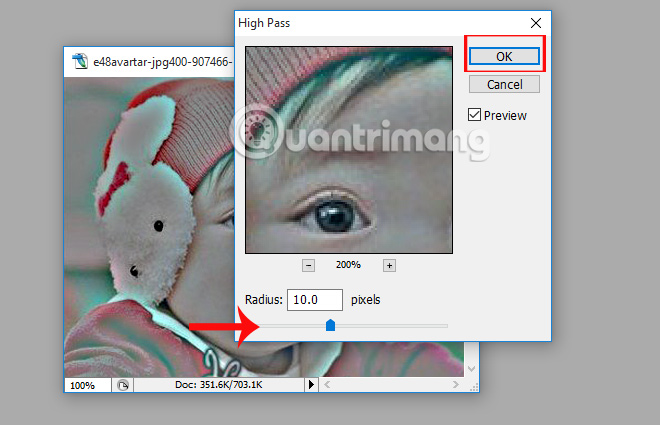
Step 3:
The image will turn gray and an image editing dialog will also appear. Here you adjust the horizontal bar in the Radius section. Depending on the image, we adjust the value accordingly. Click OK to save.
Step 4:
Next, go to the Layer item in the right corner of the screen and click on the arrow and select Overlay .
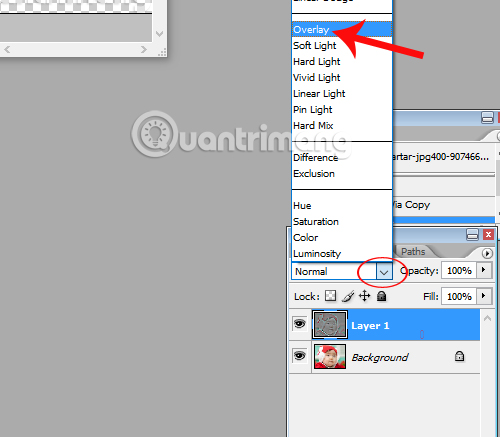
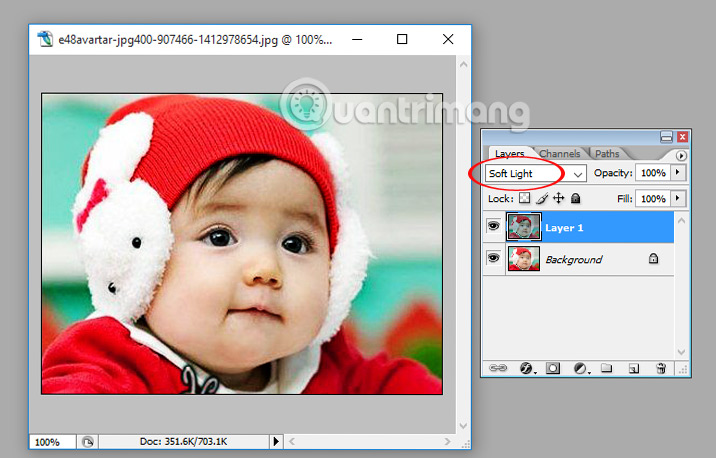
There are many other blending modes that we can apply with images such as Soft Light, Hard Light, Vivid Light, Linear Light, Pin Light, . Or with the case of too sharp images can be adjusted at Opacity to blur.
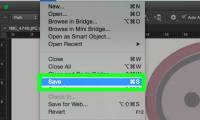
When you see the standard image, just press Save to save it.
Above are 2 ways to adjust the sharpness for images on Photoshop tools. Depending on the need to reduce noise, image details as well as the image size we choose to edit and increase or decrease the values accordingly.
In addition, you can use online photo editing software on TipsMake.com to fix photos without installing additional software.
Refer to the following articles:
- Photoshop CS: Pairing 2 simple images into one
- Instructions for creating animated images and GIF images in Adobe Photoshop CS6
- 45 smart Photoshop tips you need to know (Part 1)
I wish you all success!
Was this article helpful?
Your feedback helps us improve.
Related Articles
 How to sharpen images in Photoshop2 minutes read
 How to Sharpen an Image in Photoshop6 minutes read
 How to sharpen images using Photoshop3 minutes read
 5 easy ways to handle low-light photos in Photoshop10 minutes read
 How to resize images properly in Photoshop9 minutes read
 Steps to save Photoshop files as PDF2 minutes read
Reader Comments 0
Sign in with email or Google to join the discussion.