How to Multitask Better on Windows 11 PCs
That's where multitasking tools come into play. They help you get more done and optimize your computer's workflow. Contrary to popular belief, multitasking is more than just using multiple apps at once. So these tools help you visualize tasks more efficiently and switch between them smoothly.
1. Using Snap Layouts
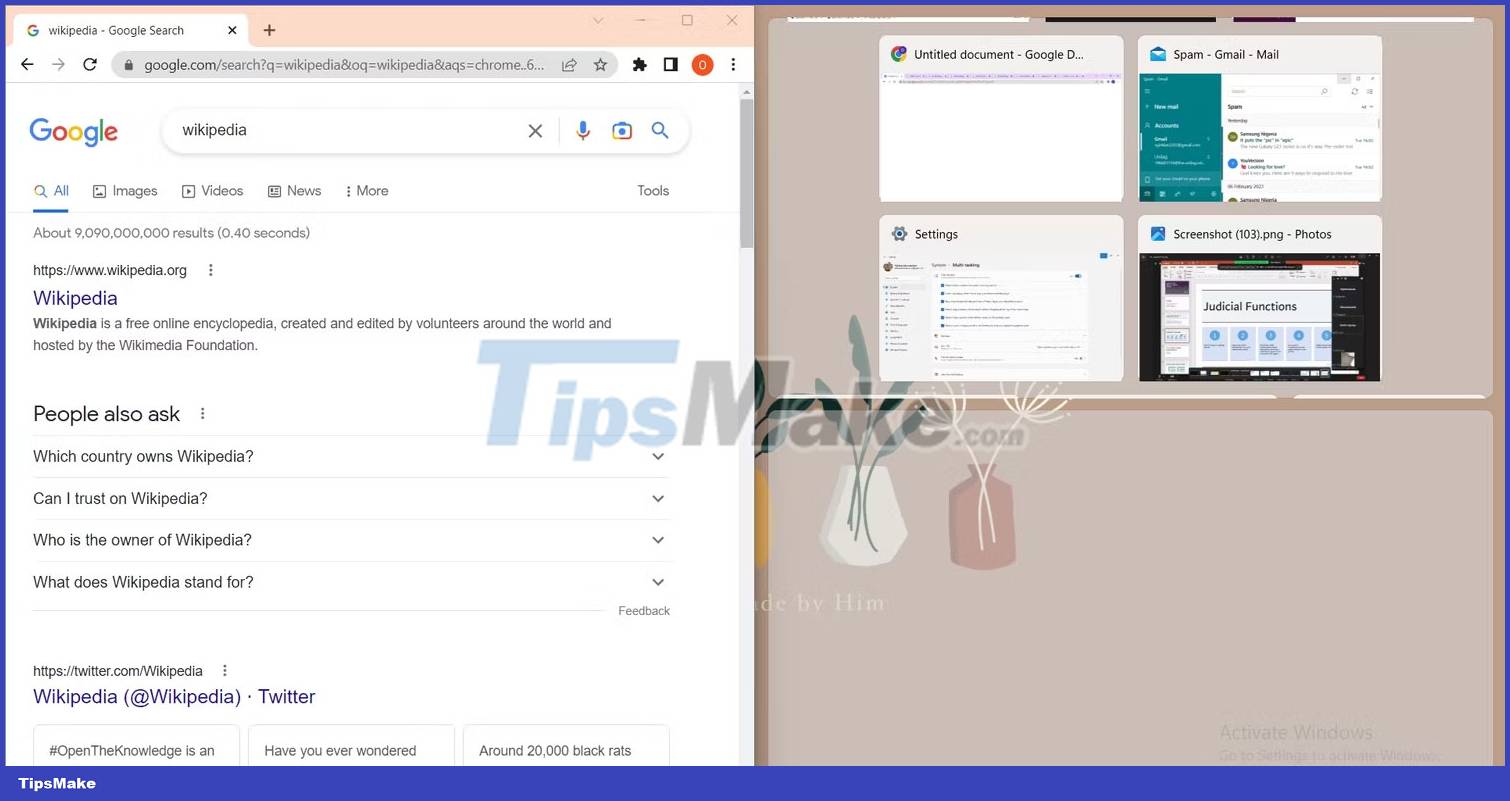
With Snap Layouts enabled on Windows 11, you can resize more than two apps to fit your desktop and view them at the same time. Just hover your mouse pointer over the maximized icon in the top right corner of the application window.
Then select the layout you like from the menu to snap the apps into place. This action resizes any selected window to fit the available space, thus maximizing your screen space.
To customize your Snap layout, go to Settings > System > Multitasking . From this menu, you can adjust the Snap layout to resize Windows to automatically fill in the available space.

Snap Layouts is usually enabled by default, but you can also disable it if you want.
2. Quick layout organization through snap groups
Snap groups help you manage your snap layouts more efficiently by viewing them by groups of apps you've created. Therefore, to access the Snap Group feature, you must start by creating a snap layout from open application windows.
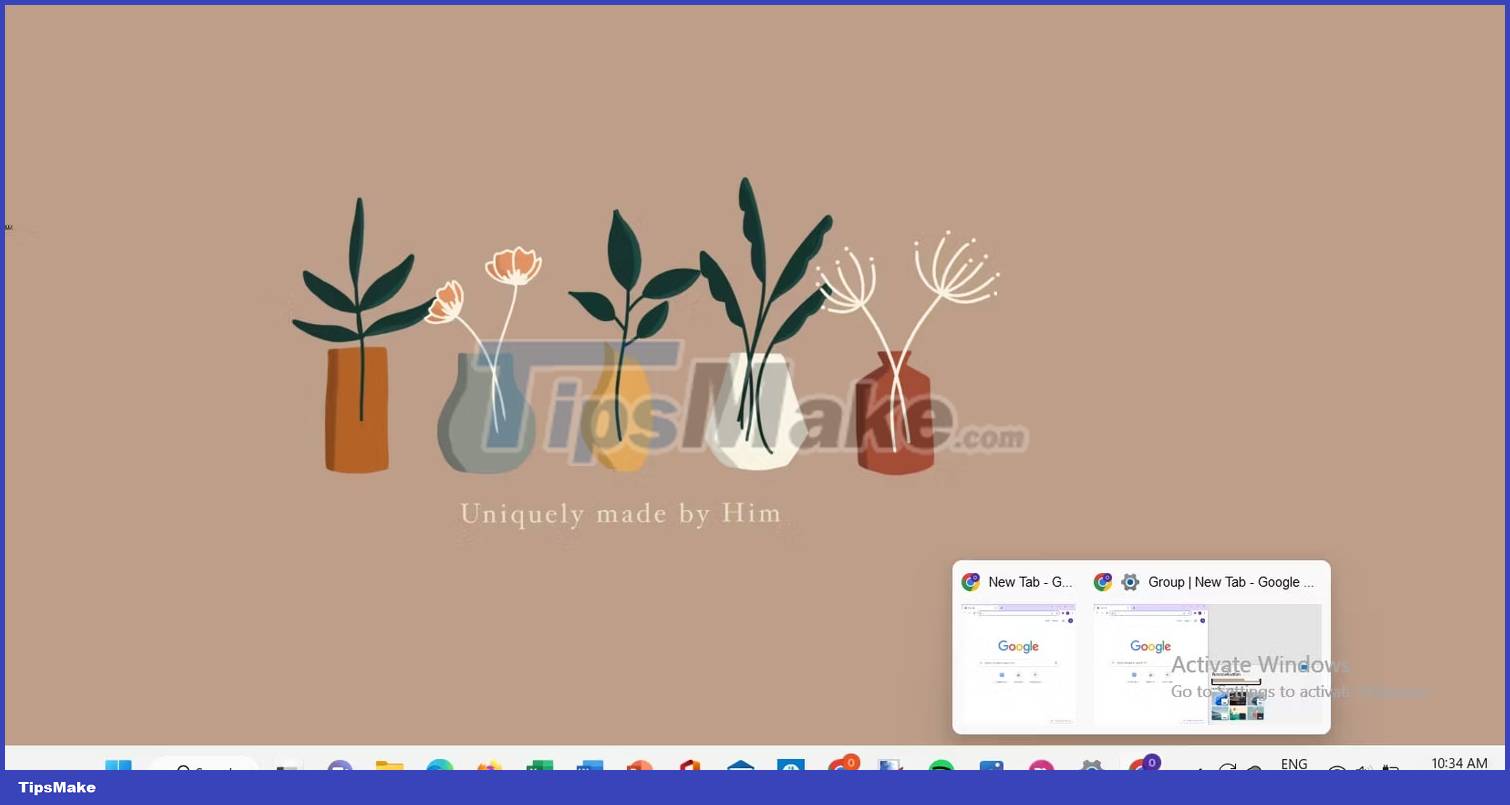
By hovering over any app in the Taskbar, you can see a preview of each snap group you've created using the selected layout. This makes it easy to access each group and pick up where you left off without having to recreate the layout.
3. Create virtual desktops
Think of virtual desktops as multiple workspaces within your computer that allow you to focus only on the applications and windows each desktop contains. Using the virtual desktop feature, you can set up multiple desktops and see a wide range of windows and applications that you have open in them.
To create a new virtual desktop on Windows 11, move your mouse pointer over the Task view icon in the Taskbar. Then, click the plus icon on the new desktop pop-up window and the new desktop will immediately appear on the screen.

This gives you a new space in which you can open a different set of applications and windows and assign them to a specific task. Alternatively, to switch between desktops, you can use the Task View menu .
4. Multi-monitor setup
Using a second or additional monitor increases screen space, making it much easier to view and use multiple windows. This makes the efficiency improve with higher tasks and productivity rates.
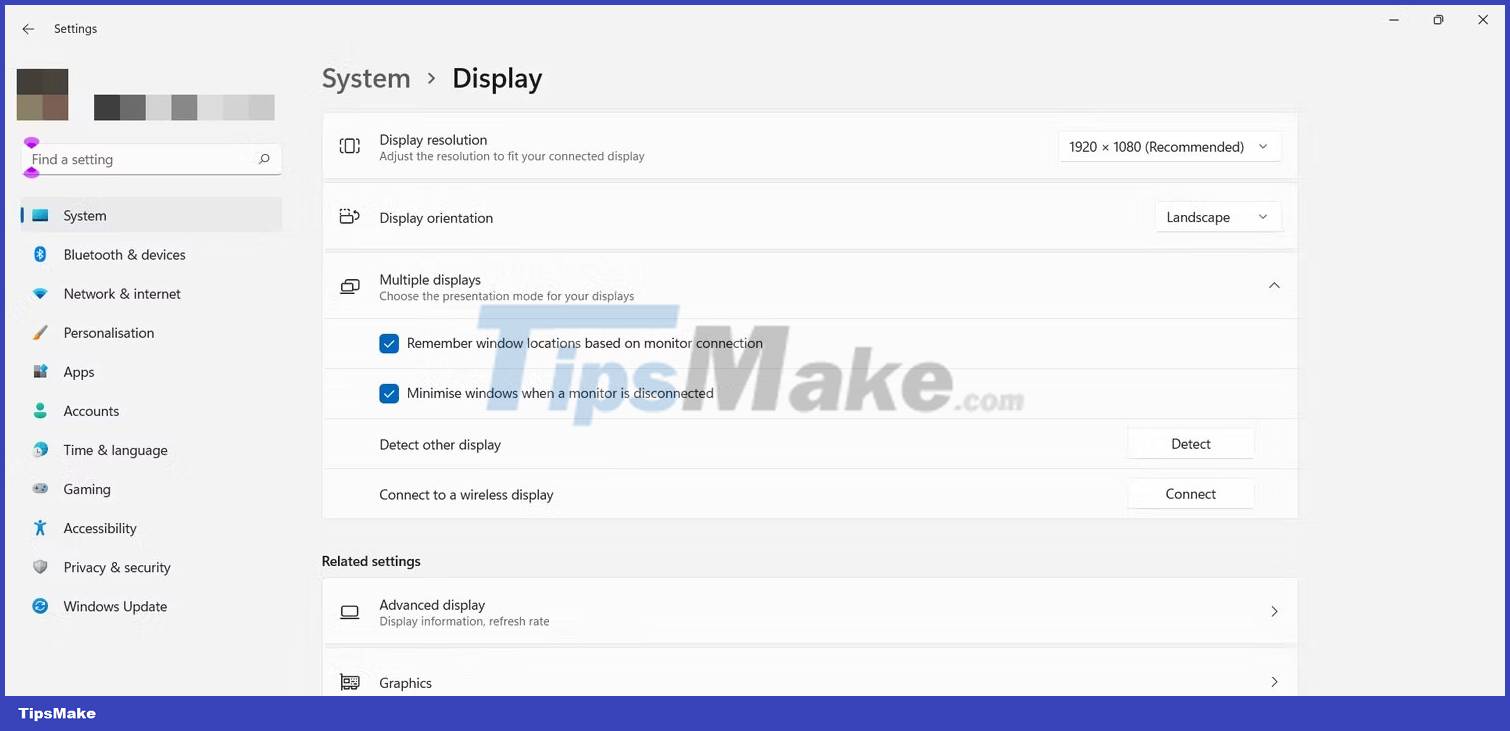
To connect an external display, plug in the cable and go to Settings > System > Display .
Navigate to Multiple Displays to check if plugged-in devices are recognized. If not, click Detect .
Changing the view of your screen can be done in two ways. You can select a monitor from a variety of display settings and choose a viewing option from the drop-down menu that appears.
Alternatively, you can use the keyboard shortcut Win + P to open a prompt containing views for you to choose from.
Select a display to make it the main display by ticking the Make this my main display checkbox . To rearrange the screen, drag and move it to a desired position.
Also, select the Remember Window location based on monitor connection option so that the windows will return to their respective screens when you reconnect.
You can set up more external monitors on Windows 11 by customizing the background, display resolution and more.
5. Use the Task View feature to manage windows
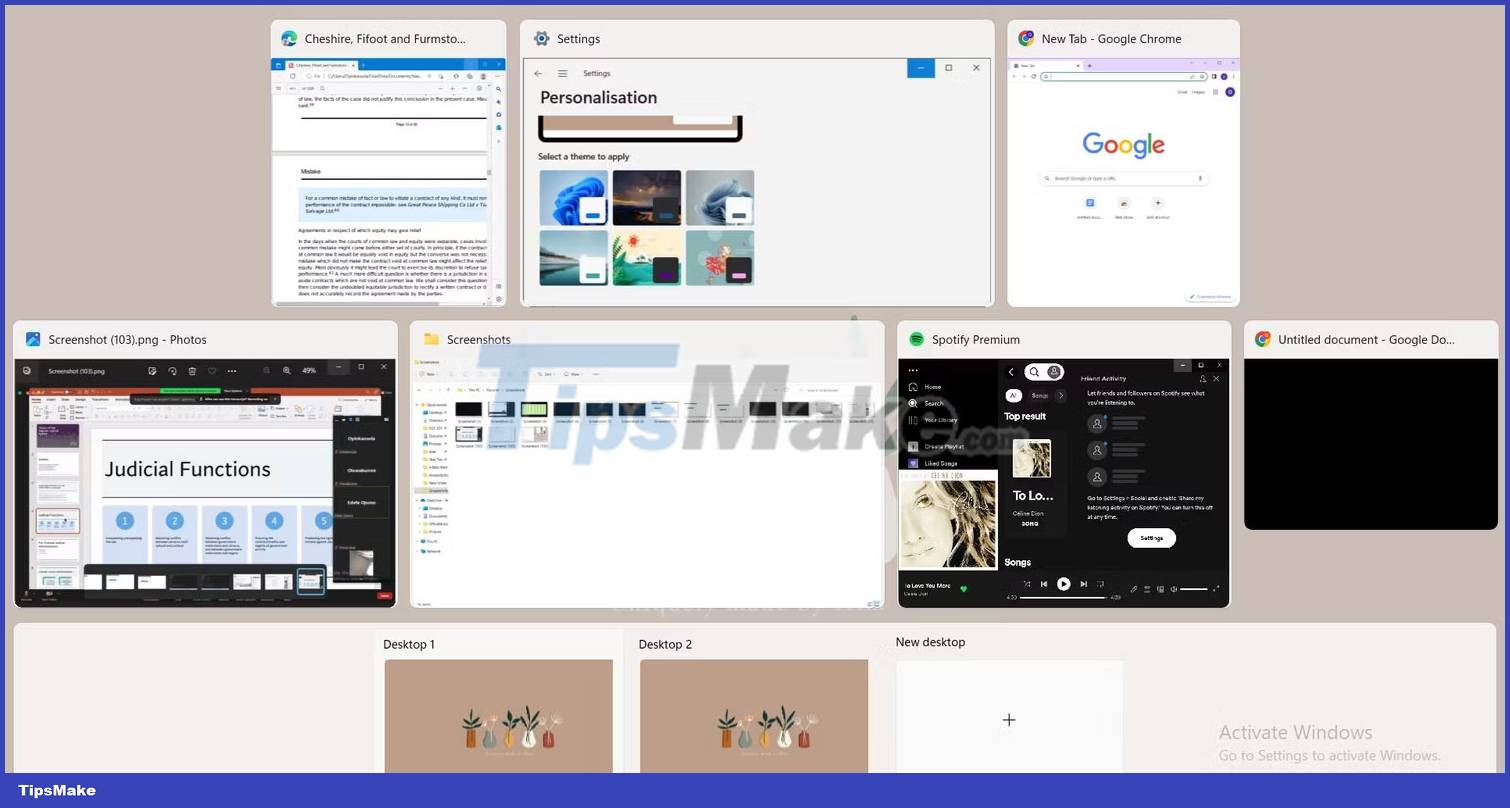
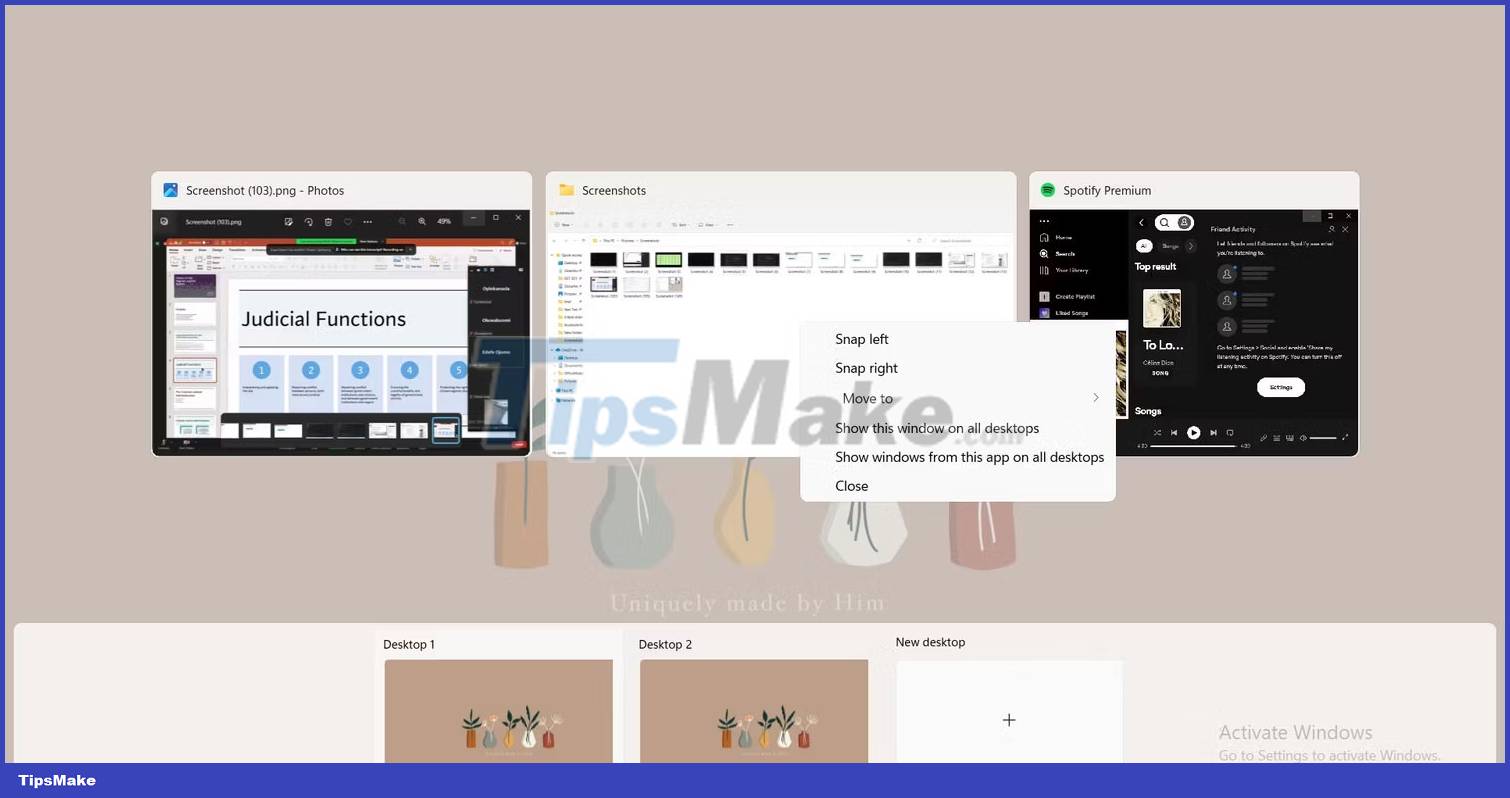
Task View on Windows 11 gives you a detailed view of all open windows on the desktop. Choose a task to focus on, efficiently manage open applications and windows here, and switch between desktops. You can move an application to another desktop by dragging and dropping it on the desktop pane below.
To create a Snap group from applications in the desktop, right-click the application. You can choose from the drop-down menu to snap to the left or right position or switch to another desktop. Alternatively, you can choose to have a window from an application appear on all created desktops.
