
How to Install Windows 98
Part 1 of 3:
Preparing
-
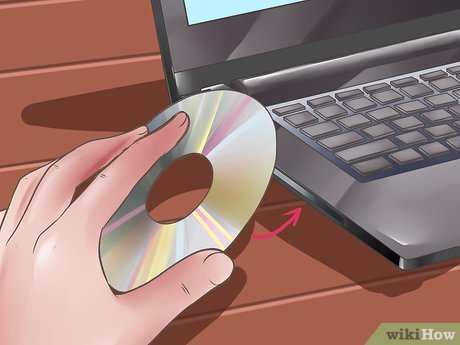 Insert your Windows 98 installation CD in your CD-ROM.
 -
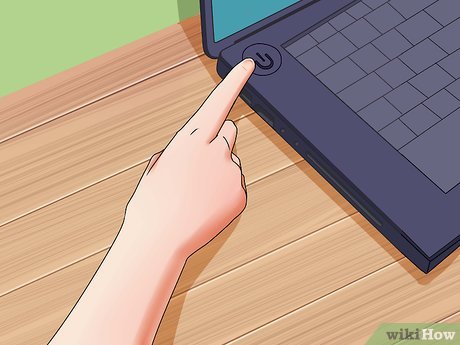 Start your computer.
Part 2 of 3:
Setting Up
- Choose to "Boot from CD-ROM" and press ↵ Enter.
- Highlight "Start Windows 98 setup from CD-ROM." and press ↵ Enter.
- Press ↵ Enter.
- Highlight "Configure unallocated disk space (recommended)" and press enter.
- Decide whether you want to enable large disk support. This is all down to personal preference but "Yes, enable large disk support" was selected in this tutorial.
- Press ↵ Enter.
- Choose to "Boot from CD-ROM" and press ↵ Enter.
- Highlight "Start Windows 98 setup from CD-ROM." and press ↵ Enter.
- Press ↵ Enter.
- Click "Continue".
- Choose where you want the computer to install Windows 98 then click "Next".
- It is recommended to use the directory that Windows recommends (in this case C:WINDOWS).
- Choose your setup options. This is all down to personal preference, however, "Typical" was chosen for this tutorial.
- Choose what components to install. "Install the most common components (Recommended)" was chosen for this tutorial but this is all down to personal preference.
- Give the computer a name and a Workgroup and click "next".
- If the first two text boxes are filled, you may leave them.
- The "Computer Description" field is not essential for the installation.
- Choose your country from the list and click "Next".
- Click "Next"
- Restart the computer.
- Highlight "Boot from Hard Disk" and press ↵ Enter.
- Enter your name as well as your company (not essential) and click "next".
- Accept the agreement and click "next".
- It's always a good idea to read the License Agreement so you know what you're signing up for.
- Enter your product key exactly and click "next".
- Click "finish".
- Highlight "Boot from Hard Disk" and press ↵ Enter.
- Set your Date/Time Properties and click "close" when finished.
- Restart your computer.
- Highlight "Boot from Hard Disk" and press ↵ Enter.
- Click "Ok".
- Windows 98 has now been installed.
Part 3 of 3:
Shutting Down
- Click "Start".
- Click "Shut Down...".
- Make sure "Shut Down" has been selected from the list and click "Ok".
Update 04 March 2020
You should read it
- How to Optimize Windows Vista
- How to Boot into Safe Mode on Mac OS X or Windows
- Trick to Run commands on Start Menu and Taskbar on Windows 10
- How to Remove Autorun Virus from Hard Disk Drives
- How to press the Sino audio wall wire
- How to Fix Windows 8.1 Crashes
- What does Shift + Enter do in Word? Can it be replaced?
- How to Run Command Prompt Commands from a Windows Shortcut
- How to Install Windows 3.1
- Age of Empires 2, AOE II, Empire II full cheat codes
- How to Delete Run History in Windows
- 106 tips with Microsoft Office - Part 3
Maybe you are interested
Learn how to fix Excel errors showing formulas not displaying results Funny sad stories of computer terms The trick is to use OpenOffice to create a dictionary Things to know about 5 in 1 vaccines and 6 in 1 vaccines The danger when saying 'Be careful' to young children that parents need to pay attention to! Suggest how to mix things for couples on Christmas night