How to Install Windows 3.1
Part 1 of 3:
Installing MS-DOS
MS-DOS must be installed first or else you cannot install/use Windows 3.1. This is because Windows 3.1 is an operating environment that runs on top of MS-DOS.
- Insert the MS DOS Setup #1 floppy disk.
- Start up the computer.
-
 Press ↵ Enter.
 -
 If your hard drive is unallocated, select the 'Configure unallocated disk space.' Press ↵ Enter.
- If you do have an allocated hard drive, select that partition and press ↵ Enter.
-
 Ensure the setup floppy disk is inserted and press ↵ Enter to continue.
 -
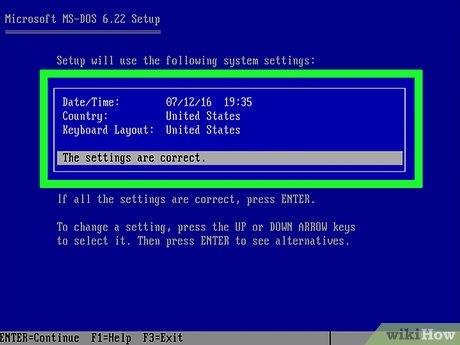
 Check that the following settings are correct before pressing ↵ Enter to continue.
 -
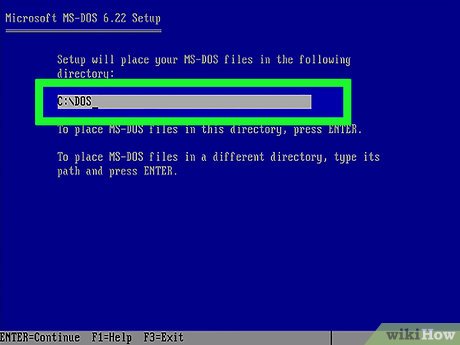
 Choose a directory to install MS-DOS.
- It is recommended to leave the directory where the computer recommends.
-
 Remove the Setup #1 floppy disk and insert the Setup #2 floppy disk and press ↵ Enter to continue.
 -
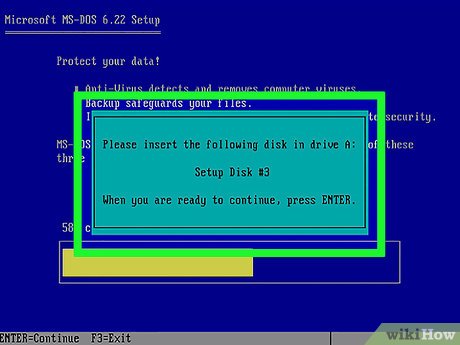
 Remove the Setup #2 floppy disk and insert the Setup #3 floppy disk and press ↵ Enter to continue.
 -
 Remove all floppy disks and press ↵ Enter.
 -
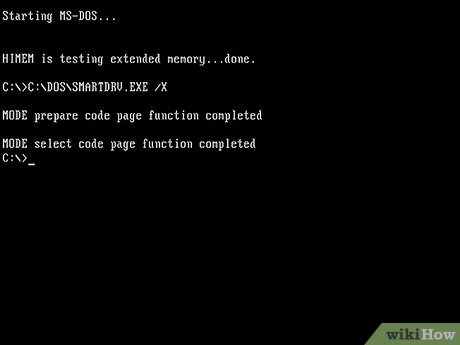
 Restart your computer by pressing ↵ Enter.
Part 2 of 3:
Installing Windows 3.1
-
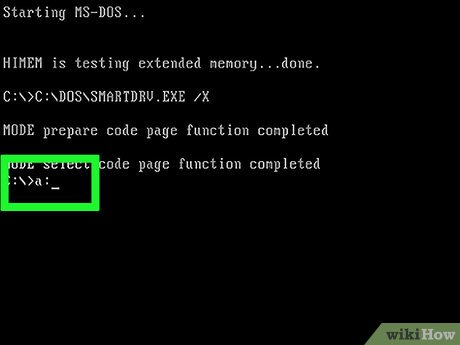
 When you see this screen, insert the Windows 3.1 setup floppy.
 -
 Type A and :. Then press ↵ Enter.
 -
 Type setup. Then press ↵ Enter.
 -
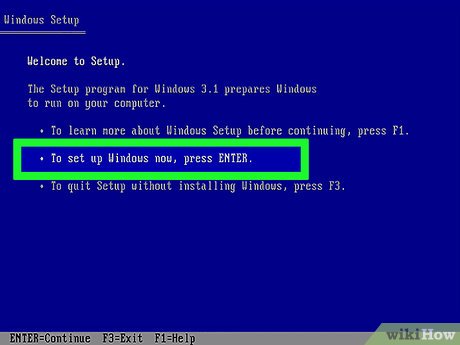
 Press ↵ Enter.
 -
 Pick your setup mode. It's a matter of personal preference but for this tutorial, we will use the "Express Setup".
 -
 Insert the "Microsoft Windows 3.1 Disk #2" floppy disk and press ↵ Enter.
 -
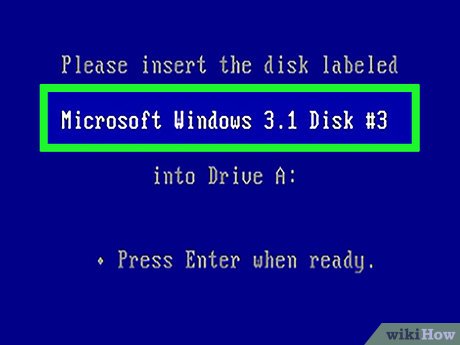
 Insert the "Microsoft Windows 3.1 Disk #3" floppy disk and press ↵ Enter.
 -
 Type in your name and press Continue.
- You can type in your company if you wish but it isn't essential to the installation process.
-
 Check that your name and company correct and then click Continue.
- If you have made a mistake, click change and correct the mistake.
-
 Insert the "Microsoft Windows 3.1 Disk #4" floppy disk and click Continue.
 -
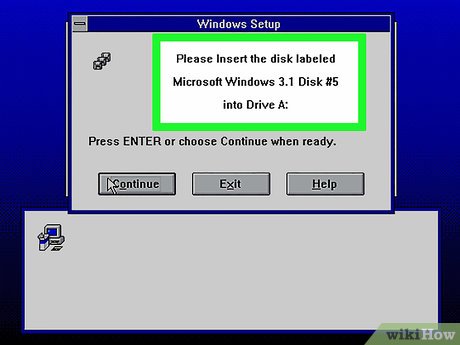
 Insert the "Microsoft Windows 3.1 Disk #5" floppy disk and click Continue.
 -
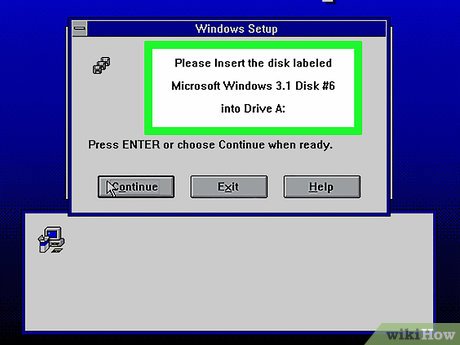
 Insert the "Microsoft Windows 3.1 Disk #6" floppy disk and click Continue.
 -
 If you wish to install a printer, click your desired printed and click Install.
- For this tutorial, we will not be installing a printer so make sure "No Printer Attached" is highlighted and click install.
-
 If you see this message, do the following:
- Confirm that the message displays C:DOSEDIT.COM
- Make sure that "MS-DOS Editor" is highlighted
- Click OK.
-
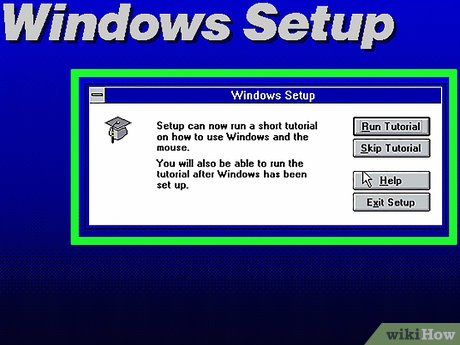
 Use "Run tutorial" if you are used to newer operating systems. Windows 3.1 is very different (it doesn't have a Start menu)!
- For this article, "Skip Tutorial" was selected.
-
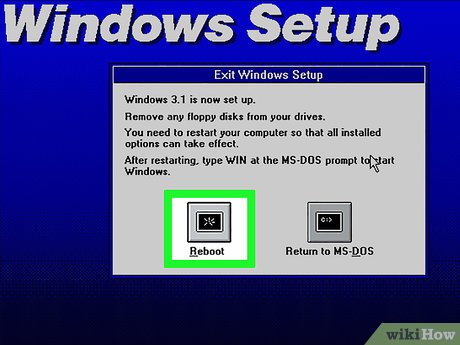
 Remove all floppy disks from the computer and click Reboot.
 -
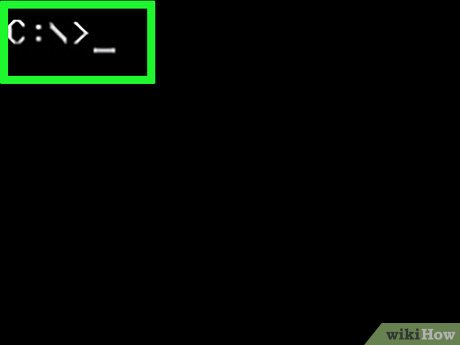
 Type in win and press ↵ Enter
 -
 If the setup has ran correctly, you will see this screen and Windows 3.1 is up and running to use.
Part 3 of 3:
Shutting Down
Windows 3.1 doesn't have a fancy 'Shut Down' button so you must follow the steps taken below (ensure you've saved all your work first):
-
 Click File.
 -
 Click Exit Windows.
 -
 Click OK.
 -
 When you see this screen, you are safe to turn your computer off via the button on the computer or to unplug it.
Share by
Isabella Humphrey
Update 04 March 2020


