Table of Contents
This updated guide explains how to Check Your RV Battery through clear steps, practical examples, and important checks that help prevent common errors.
Method 1 of 3:
Using Your Monitor Panel
-
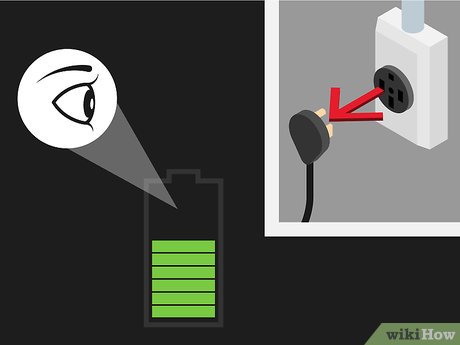 Look at your dashboard monitor when your RV is not plugged into an electrical outlet. [1]XResearch source
- If you attempt to check your battery this way while it is plugged in, you will get a false charged reading.
-
 Turn on a couple of lights and check your monitor again for an accurate reading under a small load. [2]XResearch source
Method 2 of 3:
Voltage Test
-
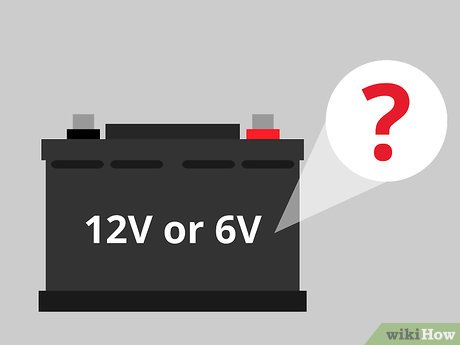 Know what voltage your battery is. Most commonly, you will have a 12-volt battery, but sometimes you can have a 6-volt battery.[3]XResearch source
 -
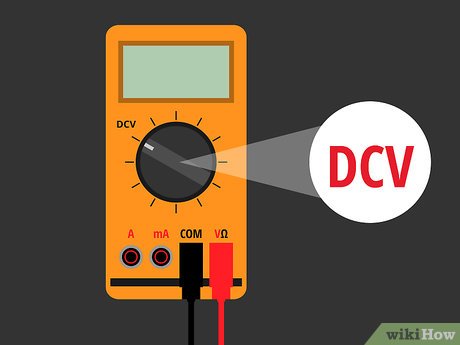 Turn on your voltmeter and select DC voltage. Open the hood of the RV.[4]XResearch source
 -
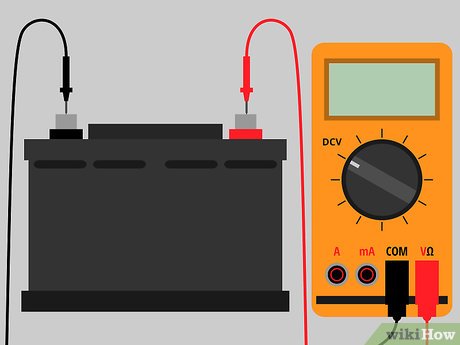 Touch the voltmeter's red lead to the positive terminal of your battery. Place the black lead on your battery's negative terminal.[5]XResearch source
 -
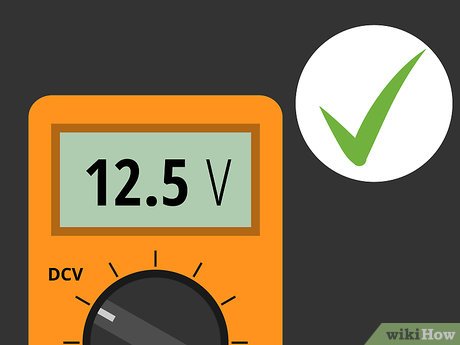 Read your screen or indicator (if your meter isn't digital). A 12-volt battery should read between 12.5 and 12.7 volts when it isn't being used. A 6-volt battery should read between 6.25 and 6.35 volts.[6]XResearch source
 -
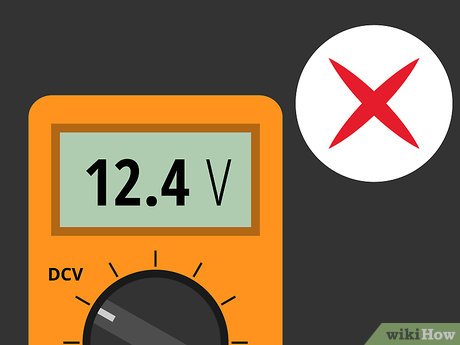 Anything less than 12.5 or 6.35 volts indicates your battery needs to be charged or replaced (if its charge depletes quickly). [7]XResearch source
Method 3 of 3:
Specific Gravity
-
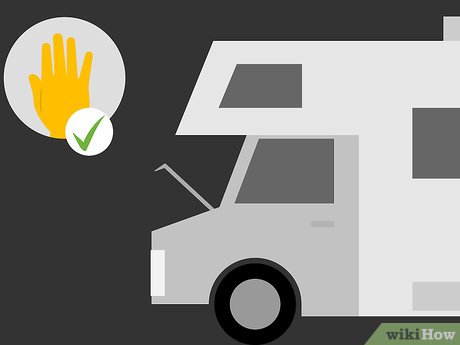 Put on protective gear and open the hood.
 -
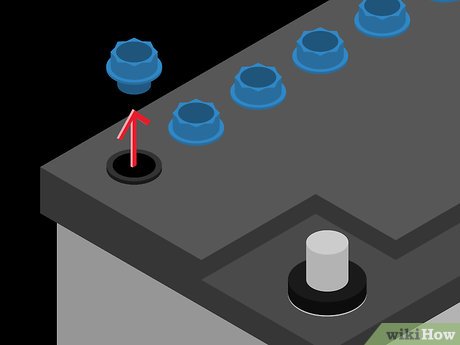 Remove the vent caps if your battery is not a sealed system.
 -
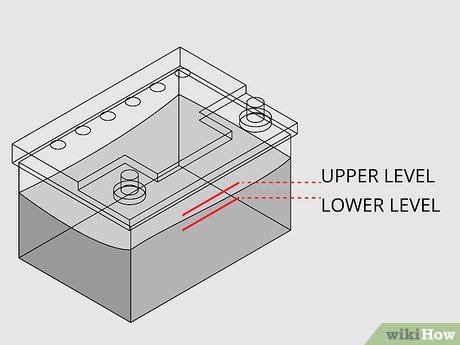 Check the electrolyte levels in each cell. Refer to your battery's instructions if you are unsure of the levels in your battery cells.[8]XResearch source
 -
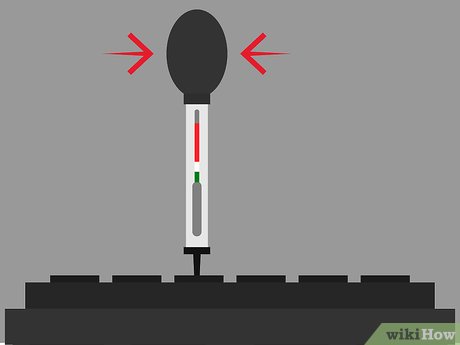 Fill a hydrometer and drain it twice for each cell before taking a reading. [9]XResearch source
 -
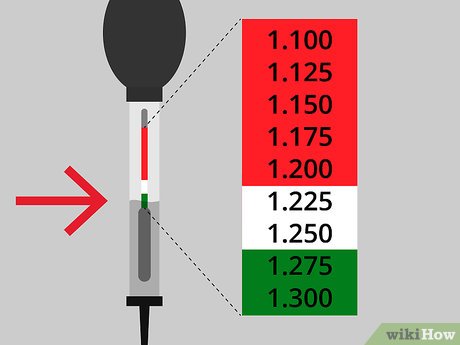 Test the electrolyte level from a cell using the hydrometer and then drain the water back into its own cell. Record the number for each cell.[10]XResearch source
 -
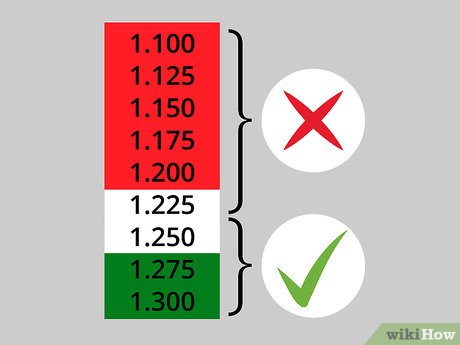 Test all cells and then replace your vent covers. Your specific gravity reading for each cell should be between 1.235 and 1.277.
- If the readings of all the cells average below 1.277 you will need to charge your battery.
- If there is a difference of.050 or more between the highest cell reading and the lowest cell reading, your lowest cell is probably weak or dead and your battery may need to be replaced.
FAQ
What is the easiest way to Check Your RV Battery?
Start with the requirements in this guide, then follow each step in order. Check the result after every major change so problems are easier to identify.
Can beginners follow these instructions?
Yes. The process is organized into practical steps, and you can repeat any step before moving forward.
What should I check if the method does not work?
Confirm your software or device version, permissions, settings, file format, and internet connection when the task depends on online services.
Related Articles
 How to Check the iPhone / iPad Battery Level Without Jailbreak12 minutes read
 How to Check the Battery Life of Airpods4 minutes read
 The Best Android Battery Bottle Test App5 minutes read
 How to Check the Battery Level of the Laptop Battery Without3 minutes read
 iPhone Using Non-genuine Battery Will Not Be Able to Check Battery Status on iOS 11.33 minutes read
 Guide to Check Battery Level of iPhone, iPad 100% Accurate Data by4 minutes read
Reader Comments 0
Sign in with email or Google to join the discussion.