How to Use Solver in Microsoft Excel
This wikiHow teaches you how to use Microsoft Excel's Solver tool, which allows you to alter different variables in a spreadsheet in order to achieve a desired solution. You can use Solver in both Windows and Mac versions of Excel, though...
Table of Contents
Enabling Solver
-
 Open Excel. Click or double-click the Excel app icon, which resembles a green box with a white "X" on it.
- Solver comes pre-installed with both Windows and Mac versions of Excel, but you'll have to enable it manually.
-
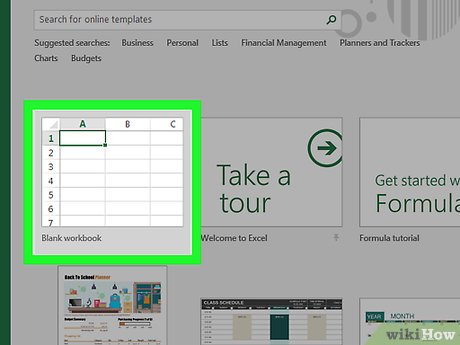 Click Blank workbook. This will open the Excel window, from which point you can proceed with enabling Solver.
- If you have an existing Excel file you'd like to use Solver with, you can open it instead of creating a new file.
-
 Click File. It's a tab in the upper-left side of the Excel window.
- On a Mac, click Tools instead, then skip the next step.
-
 Click Options. You'll find this option at the bottom of the File menu. Doing so brings up the Options window.[1]
 -
 Click Add-ins. It's a tab in the lower-left side of the Options window.
- On a Mac, click Excel Add-ins in the Tools menu.
-
 Open the "Add-ins Available" window. Make sure that the "Manage" text box has "Excel Add-ins" listed in it, then click Go at the bottom of the page.
- On a Mac, this window will open after clicking Excel Add-ins in the Tools menu.
-
 Install the Solver add-in. Check the "Solver" box in the middle of the page, then click OK. Solver should now appear as a tool in the Data tab that's at the top of Excel.
Using Solver
-
 Understand Solver's use. Solver can analyze your spreadsheet's data and any constraints you've added to show you possible solutions. This is useful if you're working with multiple variables.
 -
 Add your data to your spreadsheet. In order to use Solver, your spreadsheet must have data with different variables and a solution.
- For example, you might create a spreadsheet documenting your various expenses over the course of a month with the output cell resulting in your money left over.
- You can't use solver on a spreadsheet which doesn't have solvable data (i.e., your data has to have equations).
-
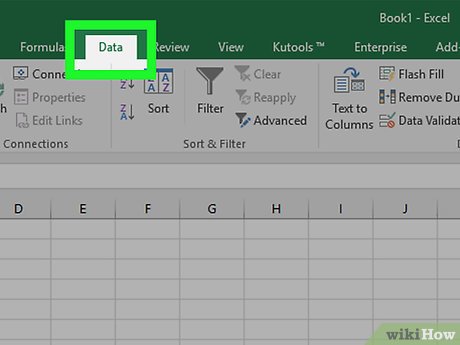 Click the Data tab. It's at the top of the Excel window. This will open the Data toolbar.
 -
 Click Solver. You'll find this option in the far-right side of the Data toolbar. Doing so opens the Solver window.
 -
 Select your target cell. Click the cell in which you want to display your Solver solution. This will add it to the "Set Objective" box.
- For example, if you're creating a budget where the end goal is your monthly income, you would click the final "Income" cell.
-
 Set a goal. Check the "Value Of" box, then type your target value into the text box next to "Value Of".
- For example, if your goal is to have $200 at the end of the month, you would type 200 into the text box.
- You can also check either the "Max" or "Min" box in order to prompt Solver to determine the absolute maximum or minimum value.
- Once you've set a goal, Solver will attempt to meet that goal by adjusting other variables in your spreadsheet.
-
 Add constraints. Constraints set restrictions on the values that Solver can use, which prevents Solver from accidentally nullifying one or more of your spreadsheet's values. You can add a constraint by doing the following:[2]
- Click Add
- Click the cell (or select the cells) for which the constraint applies.
- Select a type of constraint from the middle drop-down menu.
- Enter the constraint's number (e.g., a maximum or minimum).
- Click OK
-
 Run Solver. Once you've added all of your constraints, click Solve at the bottom of the Solver window. This will prompt Solver to find the optimal solution for your problem.
 -
 Review the results. When Solver alerts you that it has an answer, you can see the answer by looking at your spreadsheet to see which values were changed.
 -
 Change your Solver criteria. If the output that you received isn't ideal for your spreadsheet, click Cancel in the pop-up window, then adjust your objective and constraints.
- If you do like your Solver's results, you can apply them to your spreadsheet by checking the "Keep Solver Solution" box and then clicking OK.
Was this article helpful?
Your feedback helps us improve.
Related Articles
 Microsoft adds Math Solver to Edge browser2 minutes read
 Top best AI math solving tools you should try.7 minutes read
 Link download Microsoft Excel 20196 minutes read
 5 useful Microsoft Excel formulas for calculating taxes10 minutes read
 Summary of expensive shortcuts in Microsoft Excel12 minutes read
 Complete guide to Excel 2016 (Part 1): Get familiar with Microsoft Excel6 minutes read
Reader Comments 0
Sign in with email or Google to join the discussion.