Table of Contents
This updated guide examines How to Make a Line Graph in Microsoft Excel and organizes the essential facts, background, and practical takeaways in clear American English.
Part 1
Creating a Line Graph
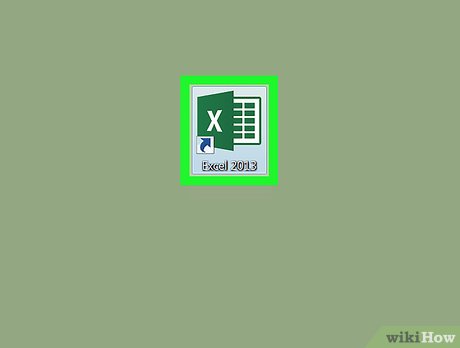 Open Microsoft Excel. Double-click the Excel program icon, which resembles a white "X" on a green folder. Excel will open to its home page.
- If you already have an Excel spreadsheet with data input, instead double-click the spreadsheet and skip the next two steps.
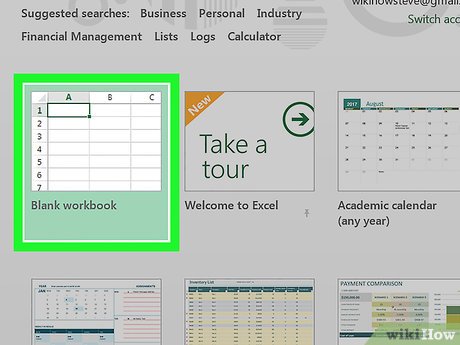 ClickBlank Workbook. It's on the Excel home page. Doing so will open a new spreadsheet for your data.
- On a Mac, Excel may just open to a blank workbook automatically depending on your settings. If so, skip this step.
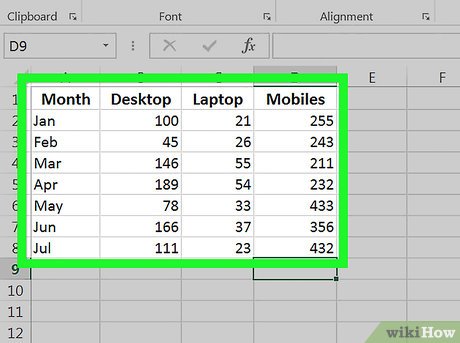 Enter your data. A line graph requires two axes to function. Enter your data into two columns. For ease of use, set your X-axis data (time) in the left column and your recorded observations in the right column.
- For example, tracking your budget over the year would have the date in the left column and an expense in the right.
 Select your data. Click and drag your mouse from the top-left cell in the data group to the bottom-right cell in the data group. This will highlight all of your data.
- Make sure you include column headers if you have them.
 Click theInserttab. It's on the left side of the green ribbon that's at the top of the Excel window. This will open the Insert toolbar below the green ribbon.
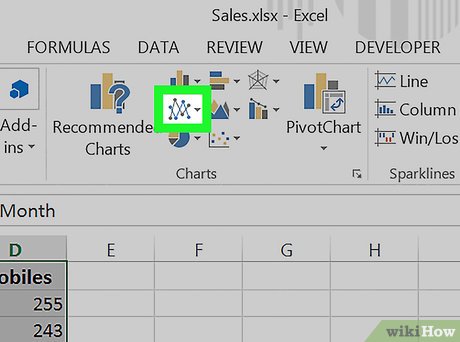 Click the "Line Graph" icon. It's the box with several lines drawn on it in the Charts group of options. A drop-down menu will appear.
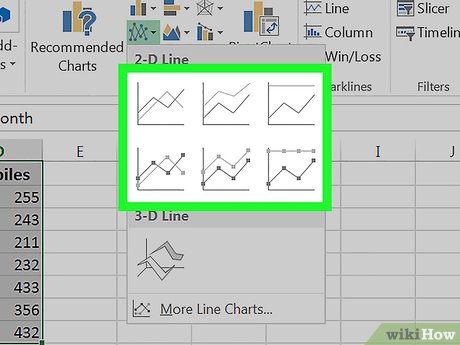 Select a graph style. Hover your mouse cursor over a line graph template in the drop-down menu to see what it will look like with your data. You should see a graph window pop up in the middle of your Excel window.
 Click a graph style. Once you decide on a template, clicking it will create your line graph in the middle of the Excel window.
Part 2
Editing Your Graph
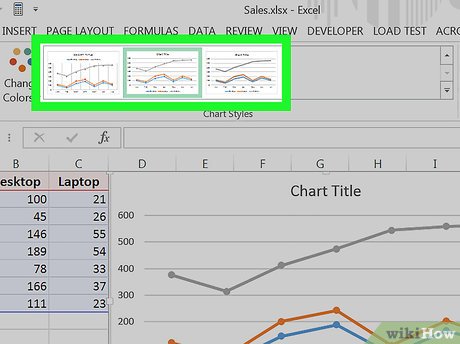 Customize your graph's design. Once you create your graph, the Design toolbar will open. You can change your graph's design and appearance by clicking one of the variations in the "Chart Styles" section of the toolbar.
- If this toolbar doesn't open, click your graph and then click the Design tab in the green ribbon.
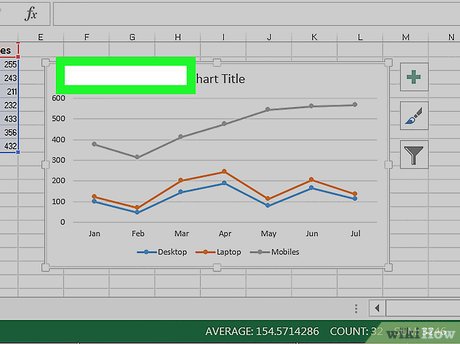 Move your line graph. Click and drag the white space near the top of the line graph to move it.
- You can also move specific sections of the line graph (e.g., the title) by clicking and dragging them around within the line graph's window.
 Resize the graph. Click and drag one of the circles on one of the edges or corners of the graph window in or out to shrink or enlarge your graph.
 Change the graph's title. Double-click the title of the graph, then select the "Chart Title" text and type in your graph's name. Clicking anywhere off of the graph's name box will save the text.
- You can do this for your graph's axes' labels as well.
FAQ
What is How to Make a Line Graph in Microsoft Excel about?
It provides a structured overview of graph, explains the main context, and highlights practical takeaways for readers.
Why does this topic matter?
Understanding the main concepts helps readers evaluate the issue, avoid common mistakes, and make better-informed decisions.
How should readers use this information?
Use the guidance as a practical starting point, confirm details that may have changed, and follow current product, safety, or security recommendations.
Related Articles
 How to Make a Bar Graph in Excel4 minutes read
 How to Graph in Excel: Step-by-Step Guide5 minutes read
 LINE Breaks in Excel: Excel LINE Excel3 minutes read
 Chart: How to Add a Second Y Axis to a Graph in Microsoft Excel4 minutes read
 Detailed How to Graph in Excel3 minutes read
 How to Create Newlines in Excel3 minutes read
Reader Comments 0
Sign in with email or Google to join the discussion.