How to use Photoshop CS5 - Part 14: Create motion effects
In the following tutorial, we will take the basic steps to create the motion effect and blur the color parts of the color, then select each point of the main object, stretching to 1 side to create motion effect of color ...
In the following tutorial, we will take the basic steps to create the motion effect and blur the color parts of the color, then select each point of the main object, stretching on one side to create a motion effect of color. Basically, the Layer Mask and Brush are the two main tools used in this test.
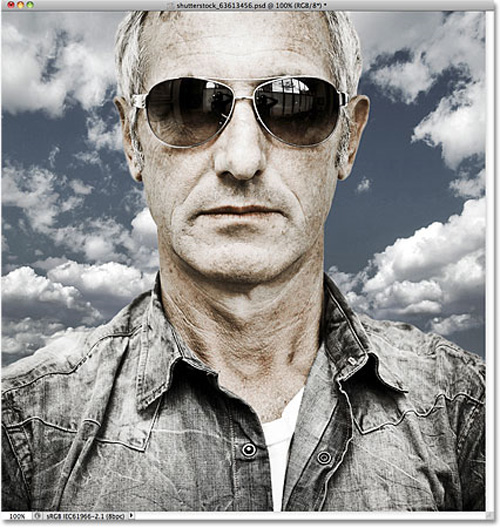
Sample photo
First, we need to create a backup copy of the original image. Select Layer> New> Layer via Copy or press the shortcut Ctrl + J (Windows) or Command + J (Mac):
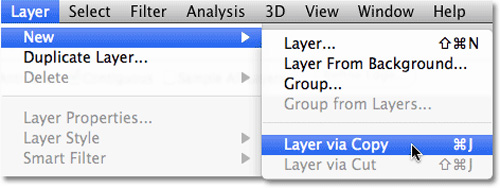
The created layer will be named by Photoshop as Layer 1:

Before proceeding to colorize the image, remove the original colors by reducing saturation. Select Image> Adjustments> Desaturate or press Shift + Ctrl + U (Win) or Shift + Command + U (Mac):

The entire color in the image will turn into black and white, for example:

Next, choose Image> Adjustments> Color Balance :

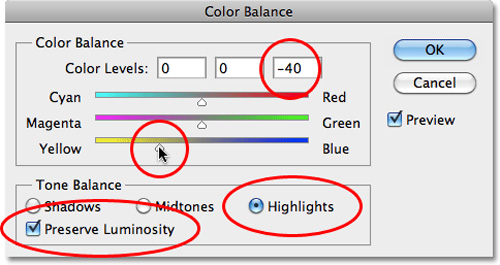
Photoshop's Color Balance feature allows users to choose different colors for Shadows, Midtones and Highlights . For example, in this test, we change the Yellow parameter in the Color Levels section to -40, check the Preserve Luminosity box:
Next, select Shadows , change Red to +70 and Yellow to -60:
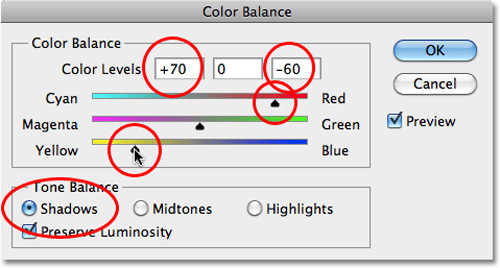
Click OK to close the Color Balance window and apply color changes, our sample image will look like this:

When you reach this step, you need to use the Single Column Marquee Tool in the control panel:
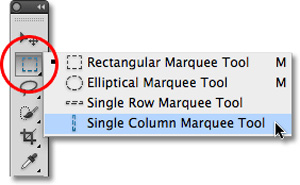
This tool will select each pixel in the image, here we will choose the middle part:

Then, select the Layer> New> Layer via Copy menu or press the shortcut Ctrl + J (Windows) or Command + J (Mac) to copy the selected pixel lines to this new layer, Photoshop will automatically rename to Layer 2:
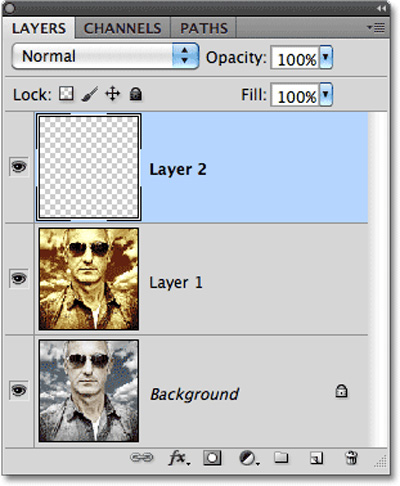
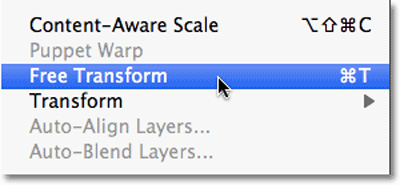
Continuing, we will expand this selection via the Edit> Free Transform menu or the Ctrl + T shortcut (Windows) or Command + T (Mac):
Then, select a vertical line on the right and stretch to the same side:
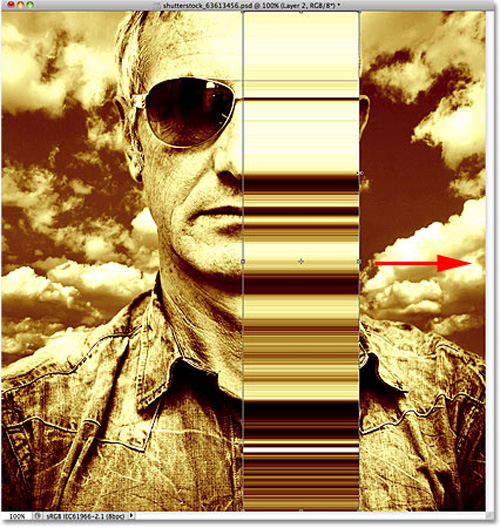
Continue to drag the right part of the image, press Enter (Windows) or Return (Mac) to apply the change:
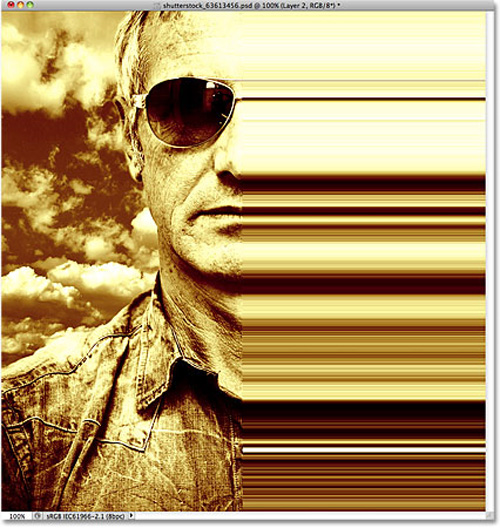
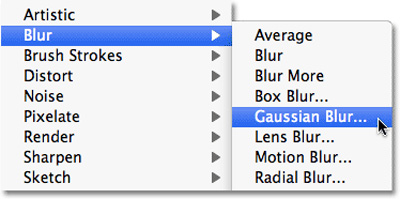
And here, we will blur the image in this extra stretch to create the effect, select Filter> Blur> Gaussian Blur :
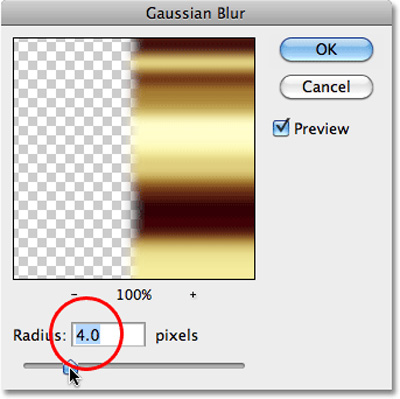
The Gaussian Blur window displays, increase the Radius value to 4 and click OK:
You can see the difference in the right half of the picture:

All you need to do when you reach this step is to blend the fuzzy lines with the image using Layer Mask:
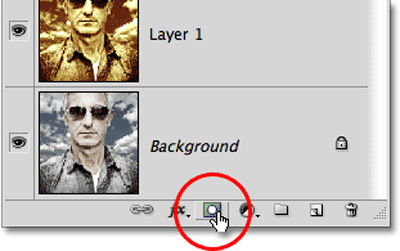
Select the Layer Mask icon in the control panel, you will see an additional section right to Layer 2, meaning the overlay has been created:
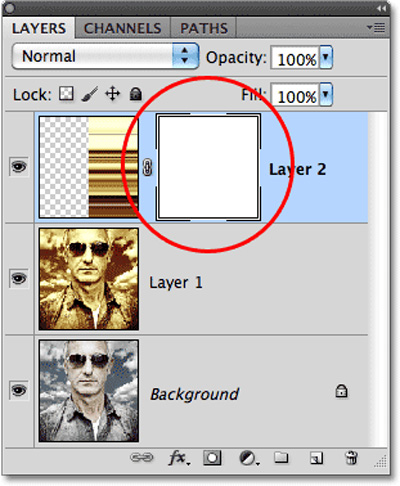
Then select the Brush Tool from the toolbar:

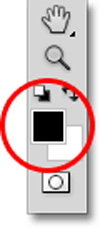
Change the Foreground Color to black by pressing the D button:
Using the brush to manipulate the right half, our goal is to reduce the opacity of this part and highlight the details of the original image. You can change the size of the Brush with the [ or ] key . Below is the image after using the Brush in this step:
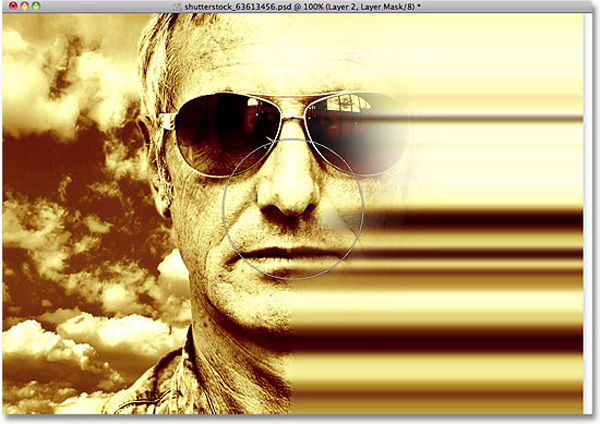
If an error occurs during operation, press X to change the Foreground and Background colors and set the Foreground to white. Fill in the failed image to retrieve the original color, then press X and continue with black. Besides, you can change the Opacity parameter to increase the transition effect between the move and the photo:

Do it again and again until you feel really satisfied with the result, for example, the product below:

Good luck!
- Tutorial for creating 3D photo effects in Photoshop (Part 1)
- Tutorial for creating 3D photo effects in Photoshop (Part 2)
- Tutorial for creating 3D photo effects in Photoshop (Part 3)
- How to use Photoshop CS6 (Part 3) - Create Manipulation artwork with exposure effect
- How to use Photoshop CS5 - Part 13: Create a reflection effect from the water
- How to use Photoshop CS5 - Part 26: Create a lightning effect


 How to cut a circle image on Paint
  How to fix the error of saving JPEG images into JFIF on Chrome
  Instructions on how to crop a circle image online
  How to create a 3x4 photo in Paint
  How to batch format photos in Windows 10
  How to delete text in photos with Paint