How to use Photoshop CS5 - Part 18: Create nested photo effects
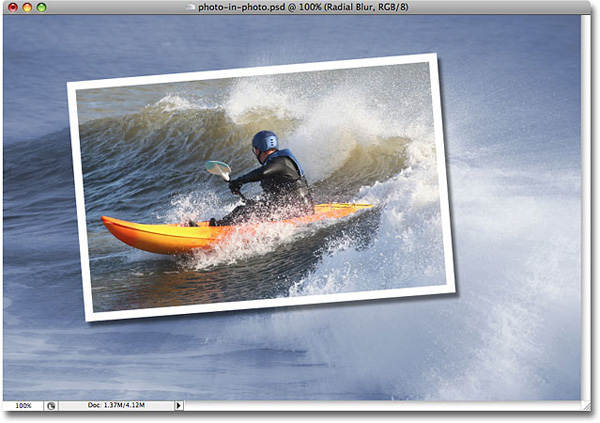
In the next part of the tutorial series on Photoshop, we will present some basic steps to create nested photo effects. Our main purpose is to focus the viewers' focus on the main object ...
In the next part of the tutorial series on Photoshop, we will present some basic steps to create nested photo effects . Our main goal is to direct the focus of the viewer to the main object, after being edited it will fit inside another frame.

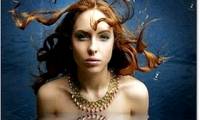
Sample images are used in this article
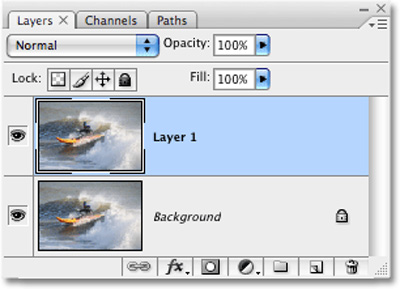
First, we will duplicate the original image layer with Duplicate Layer function or use shortcut Ctrl + J (Windows) or Command + J (Mac), then the program will rename the new layer to Layer 1 :
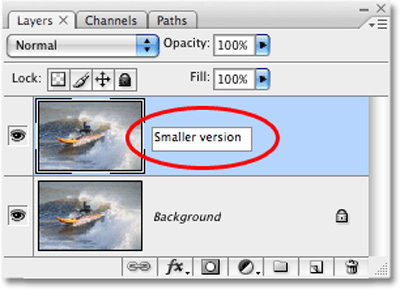
And to make it easy to distinguish and handle the following steps, you should rename the different classes. Here, we will change Layer 1 to Smaller version :
Next, we need to create a new layer below the Smaller version . Select Smaller version , hold down Ctrl (Windows) or Command (Mac) and select the New Layer icon at the bottom of the control panel:

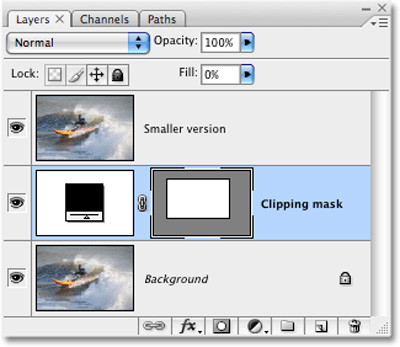
And Photoshop will create a new layer between the two existing layers:

Similar to the above, we will proceed to rename to distinguish it from other classes, here is Clipping mask:

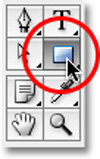
From now on, we mainly work on this new Layer. Next, select the Rectangle tool or press U :
Use this tool and draw a quadrilateral around the main object:

Then, you will see the Clipping mask layer from a normal layer that has become the Layer vector shape :
Next, press Alt (Windows) or Option (Mac) and move the line between 2 Smaller version and Clipping mask layers, until the cursor's icon changes to a circle as follows:
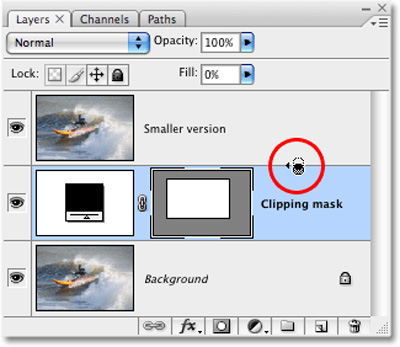
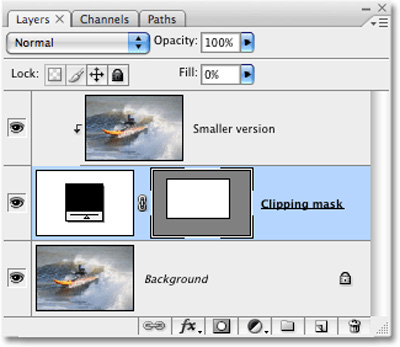
It looks like there is nothing different from our image, but in the control panel, you can see that the Smaller version layer has a little backward on the right, which means it is being cut with a vector shape right next to it. below:
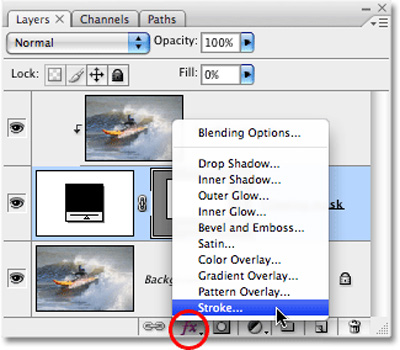
Still in this Clipping Mask layer, click the Layer Styles icon below and select Stroke :
In the Layer Style window displayed, change the settings according to the following picture:
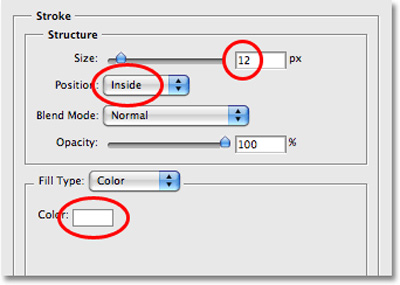
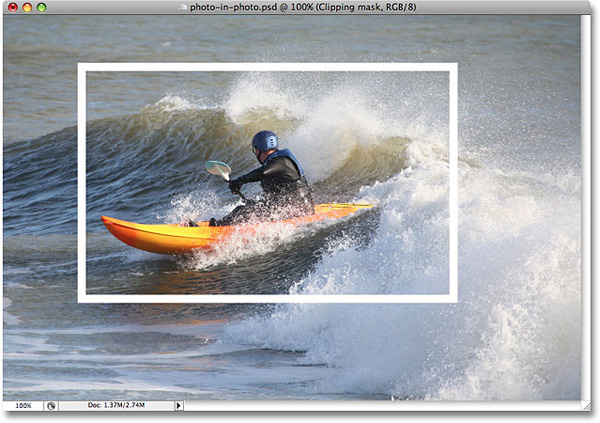
There are 3 options marked with red, the first one is Stroke Size - which creates a border with such a size around the selection. Next is Position - change the Inside to let the effects appear inside the border, change the Color to white to fill the border of the border:
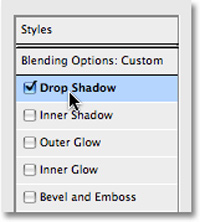
Also in this Layer Style panel, select the Drop Shadow item - note that just click the Drop Shadow text, uncheck the check box next to it.
This will change the middle selection of the Layer Style dialog box from Stroke to Drop Shadow . Continue, set the Opacity to about 50%, Angle to 130 ° and Distance - 10 pixels:

Next, you might consider using Free Transform to rotate the corner or change the size of the surrounding border if desired. Press Ctrl + T (Windows) or Command + T (Mac) to start, press and hold the Shift button while working to keep the aspect ratio of the frame:
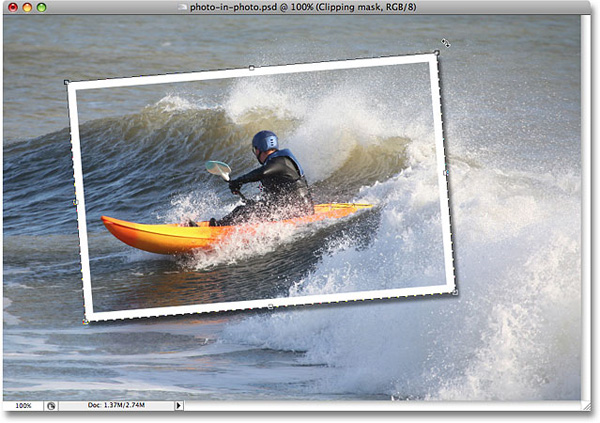
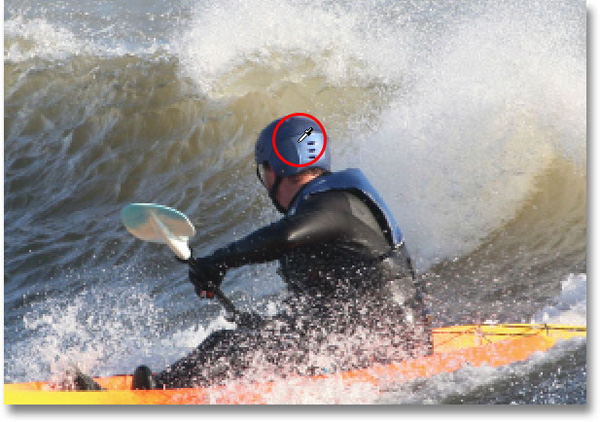
When satisfied, press Enter (Windows) or Return (Mac) to apply this process change. If you find a reasonable angle to your surroundings, the picture will become much more vivid. Next is the complex stage, using the Eyedropper tool to get the color in the small area:
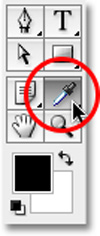
For example, here, we will choose the color area on the helmet:
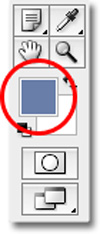
When taking the sample color, notice that the toolbar's foreground color has turned blue:
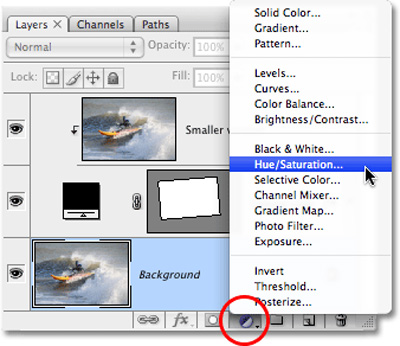
Select the Background layer and click New Adjustment Layer in the control panel and select Hue / Saturation :
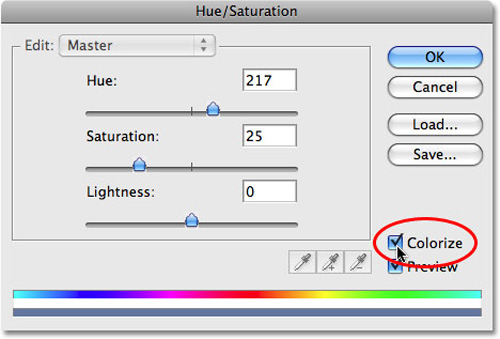
The Hue / Saturation dialog box is displayed, check the Colorize box:
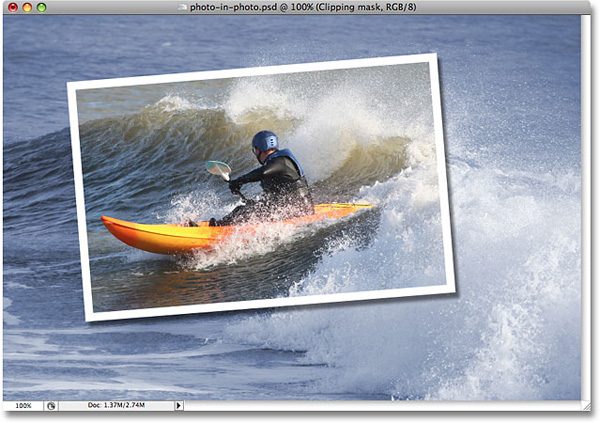
Click OK to apply the changes, we will see the effect appear on the image as follows:
When you have completed this step, it means that we are almost there, only one step away from applying the Radial Blur effect to the background image. But before that, you need to duplicate the background image again, press Ctrl + J (Windows) or Command + J (Mac), rename the layer just created Radial Blur:
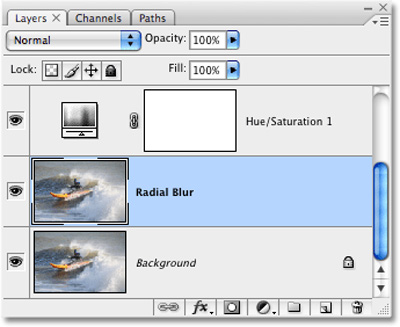
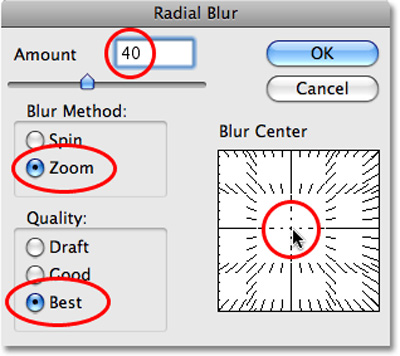
Next, click Filter> Blur> Radial Blur , the Radial Blur dialog box will display. Here, we set the specifications as follows: Blur Method - Zoom, Quality - Best, Amount - 40, Blur Center item specify the effect will 'start' from any position in the selection:
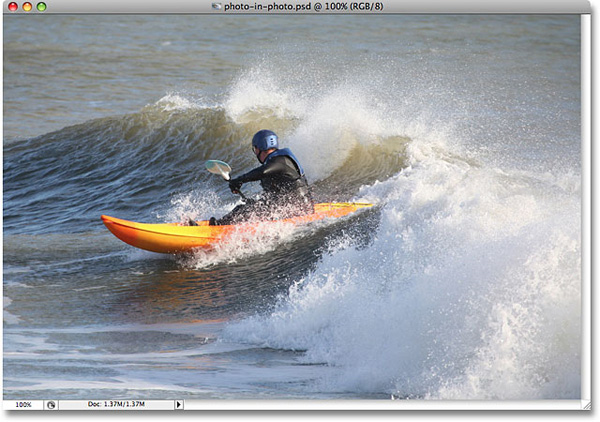
Click OK, and our result in this step will look like this:

Depending on the picture and the different settings, as in the example here, we can easily recognize the Blur effect a bit too much, so we need to add some mixing to the Background layer. Very simply, you just need to change the Opacity parameter to about 60% just enough:
And this is our result after completing all the steps above:
Good luck!
Was this article helpful?
Your feedback helps us improve.
Related Articles
 Tutorial for creating 3D photo effects in Photoshop (Part 1)5 minutes read
 Tutorial for creating 3D photo effects in Photoshop (Part 2)5 minutes read
 Tutorial for creating 3D photo effects in Photoshop (Part 3)5 minutes read
 How to create interesting Cyberpunk photo effects in Photoshop2 minutes read
 How to use Photoshop CS6 (Part 3) - Create Manipulation artwork with exposure effect14 minutes read
 How to use Photoshop CS5 - Part 13: Create a reflection effect from the water7 minutes read
Reader Comments 0
Sign in with email or Google to join the discussion.