10 things to know about Mask in Photoshop
Mask is one of the important techniques in Photoshop. In this article, I will explain 10 things you need to know about Mask in Photoshop to help you apply this effect effectively and interesting. Let's start!.
Mask is one of the important techniques in Photoshop . In this article, I will explain 10 things you need to know about Mask in Photoshop to help you apply this effect effectively and interesting. Let's start!
You do not have Adobe Photoshop CC version, please download this software first.
1. Gradient Mask for soft motion
You can use the Gradient Tool in Pixel Mask to create smooth movement between images. The most important thing about Gradient Mask is that you can easily and quickly update them using the Gradient Tool .
2. Clipping Mask with text
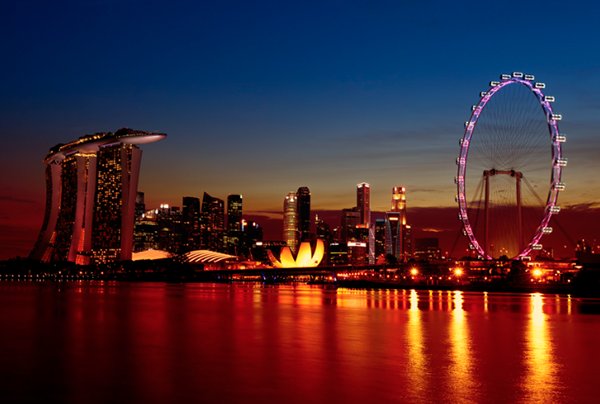
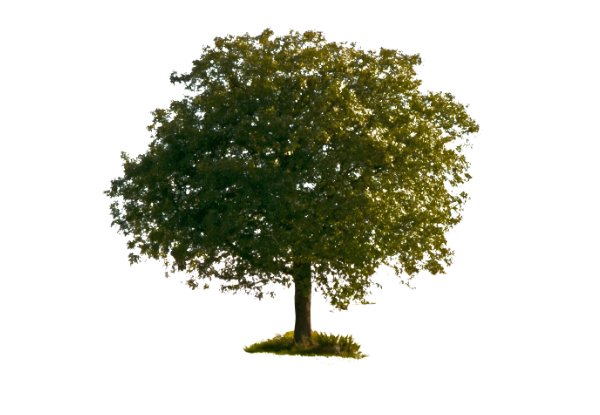
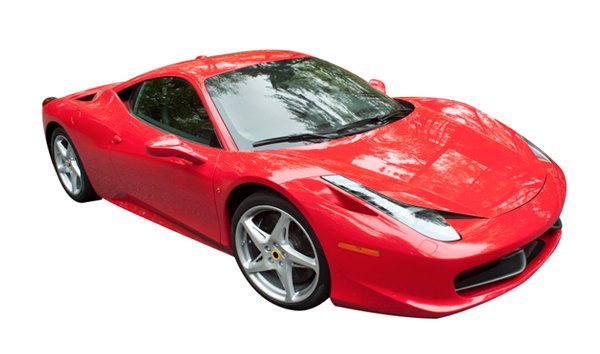
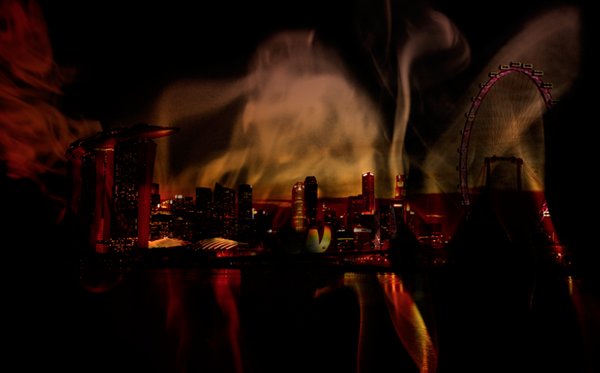
Clipping Mask is extremely useful for using content in a layer like a mask for other layers. This is useful when showing a photo inside text. All you need to do is create a text layer and place the image on top of that layer. At this point, simply hold down Alt / Option and click on the two layers in the Layers panel. Once Clipping Mask is created you can edit the text and move the image or text without breaking the connection between the two details of Mask.

3. Use multiple masks for better control
Can use Pixel and Vector Excel on the same layer at the same time, but when to use it to be highly effective? In some cases you have to make a choice so that some images have complex and clear details, and others have sharp details. In that case, it is useful to use both sides of Mask on the same layer. Pixel Mask is best for complex details, while Vector Mask fits neatly sharp edges.
4. Vector Mask to sharpen the edges
As I mentioned above, Vector Mask is most effective for using angular sharpening. Some things to remember when using the Pen Tool to create sketches of Vector Mask .
- Limit the use of anchor points as possible.
- Turn on the Rubber Band feature to see a preview of the next step.
- Hold Space key when creating anchor points to move it easily.
- Clicking the anchor point when holding Alt / Option to turn it into a soft / angular point.
- Hold Command / Ctrl to temporarily use the Direct Selection Tool and move the anchor points.
5. Pixel Mask and Brush
Another advantage of Pixel Mask is that you can use Custom Brushes and especially Brush Tip Shapes on your mask. There are thousands of free online Photoshop Brush installers that you can easily add to Photoshop.
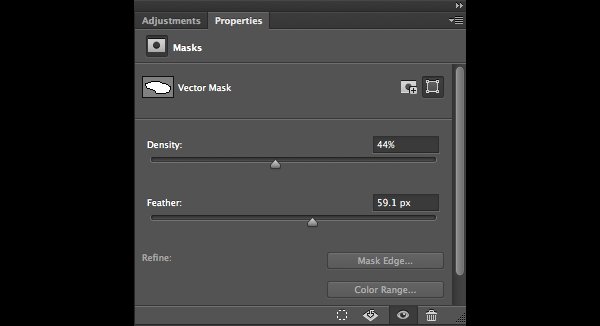
6. Mask Density and Feathering
When creating a Pixel or Vector Mask, you can edit the view by adjusting the Density bar on the Properties panel and adding Feathering so that the edges are not completely lost.
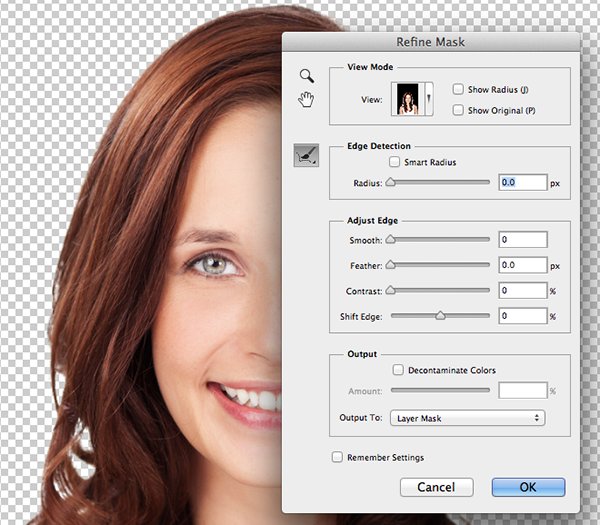
7. Edge mask to refine the edge
For some more complex options, you can use Mask Edge from the Properties panel to improve the quality of the edges. The most effective combination of values to select hair in the Edge Mask is the Smart Radius , Shift Edge , and Decontaminate Color options .
8. Quick Mask
Quick Mask is the background layer to create Mask. You can press Q to enable this feature and in Quick Mask View , you can use the Brush or Gradient Tool to create another selection. By default, the selected area will be displayed with the original color, while the selected part will be 50% red. When ready with your choice, you can press Q again. Finally, you can turn your selection into a Pixel Mask to apply to the selected layer.
9. Lock Transparency
Lock Transparency is quite similar to Clipping Masks. When you have transparency in a layer, you want to turn on Lock Transparency to keep the lines and shadows of the same layer.
10. Shortcuts
Shortcuts you should know when using Mask in Photoshop:
- Alt / Option click on the thumbnail of Mask to output / access Mask View .
- Shift and click the small size of Mask to turn it on / off.
- Shift + Alt / Option and click the thumbnail of Mask to enter / exit Quick Mask View .
- Command / Ctrl and click the thumbnail of the Mask to make a selection based on the corners of the mask.
- Command / Ctrl + Shift and click on the small image of Mask to add a selection on the corners of the mask.
- Command / Ctrl + Alt / Option and click on the Mask thumbnail to deselect based on the corners of the mask.
- Command / Ctrl + Shift + Alt / Option and click on the thumbnail of Mask to create the intersection with the original selection and a new selection based on the corners of the mask.
You can also refer to Mask in the video below: