How to create a word cut effect on Photoshop
In this tutorial, TipsMake.com will show you step by step how to create a sliced text effect popular with Photoshop.
Table of Contents
In this tutorial, TipsMake.com will show you step by step how to create a "sliced text" effect popular with Photoshop. Unlike other instructions that force users to convert their text into pixels before slicing it, this time they will learn how to keep their text editable, so they can try different words. with the same cutting operation!
To do that, we'll take advantage of two powerful Photoshop features, called smart objects and vector masks. We will start by converting the text into a smart object so we can edit it. And then, we will cut the text into sections and shape the cut parts to any desired angle, using the mask vector! The article will use Photoshop CC 2019 but readers can do the same with Photoshop CS6.
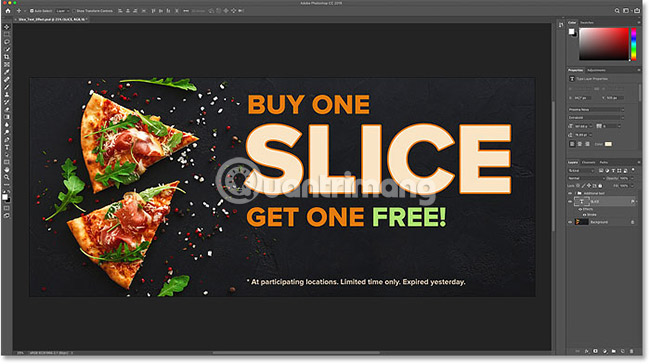
This is an example given to display the word slicing effect that we will create later. Note that the word "SLICE" is cut in half:

Once the initial effect has been created, the article will show you how to edit the text, so that you can use the same cutting operation with another word, without starting over:

Let's start now!
How to slice text in Photoshop
Step 1: Add text to the document
The first step in creating sliced text effects is to add some text to the working document. Readers can easily create a new document and add any text they want:
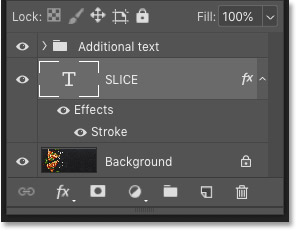
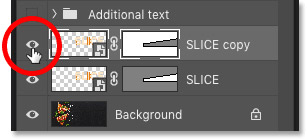
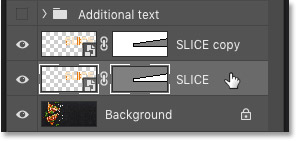
If you look at the Layers panel , users will see how the document is set up. The main image is on the Background layer and the word "SLICE" is on the Type layer above it. The example has added a stroke around the letters, listed as an effect below the Type layer .
The rest of the text ("BUY ONE", "GET ONE FREE", etc.) is in a layer group at the top named "Additional text". For example, put them in a group so as not to touch these parts. For this effect, the only text that concerns us is the word "SLICE" :
Disable "Additional text" text
For simplicity, we will disable the layer group now by clicking on the eye icon next to it:
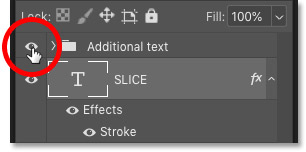
And now, we only see the word "SLICE" in front of the wallpaper.

Step 2: Convert the Type layer to a smart object
To keep the text editable when cutting, convert the Type layer to a smart object. First, make sure that the Type layer is selected:

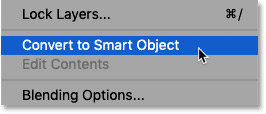
Then click the menu icon at the top right of the Layers panel :
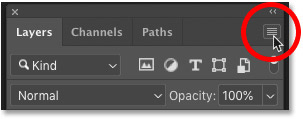
And choose Convert to Smart Object from the menu:
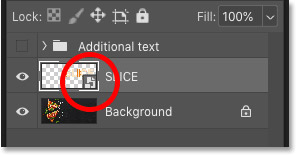
The smart object icon will appear at the bottom right of the preview thumbnail, indicating that the text is currently 'safe' within a smart object:
Step 3: Select the Rectangle Tool
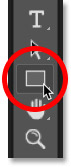
To draw slices, we will use Photoshop's Rectangle Tool . Select the Rectangle Tool from the Toolbar:
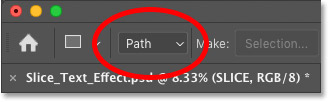
Step 4: Set the Tool Mode to Path
Then, in the Options Bar, set the Tool Mode to Path:
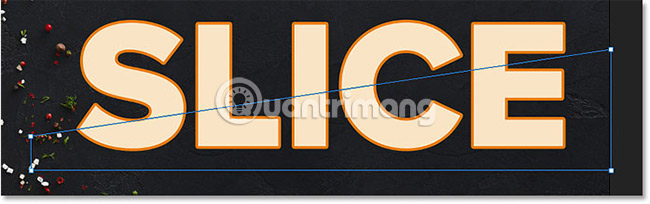
Step 5: Draw a path around the lower half of the text
Pull out a rectangular path around the lower half of the text. We will use this path to create the bottom cut. For best results, try to make the path wider than the text, so that if you need to edit the text later and the new text is a bit longer than the original text, the new text will remain neat. in the slice.
If you need to reposition the path when drawing, press and hold the spacebar, drag the path to the desired position, then release the spacebar to continue drawing the path:
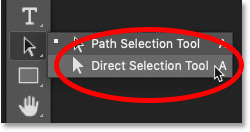
Step 6: Select the Direct Selection Tool
Now we have the path. We will reshape it into a cross section.
Select Photoshop's Direct Selection Tool from the Toolbar. By default, it hides behind the Path Selection Tool (black arrow tool). Users will need to click and hold on the Path Selection Tool until a menu appears, then select the Direct Selection Tool (the white arrow tool) from that menu:
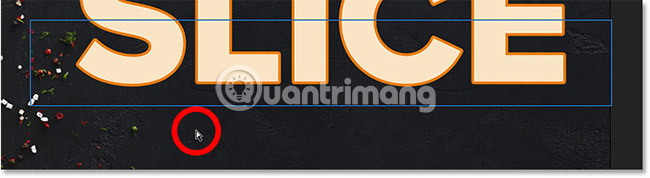
Step 7: Uncheck the path
Click anywhere from the path to deselect it. The anchor point in each path corner will disappear, leaving only the main border:
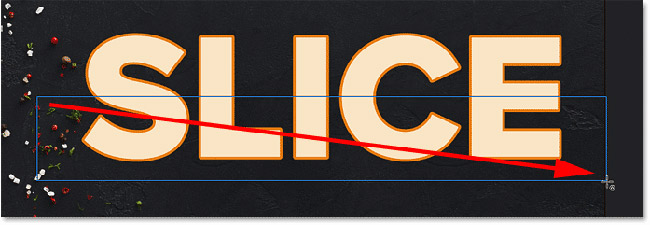
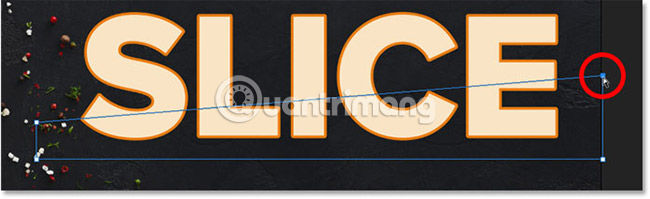
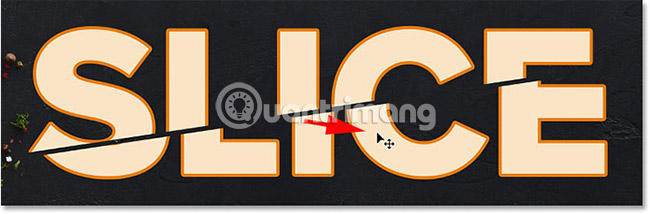
Step 8: Select and drag the top left anchor point downwards
Then, click on the top left corner of the path to select just one anchor point:

And drag that anchor point down to turn the path's path into a diagonal:
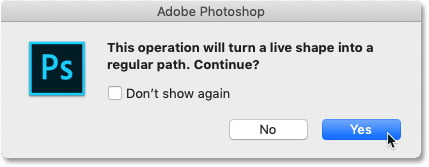
Convert live shape into a normal path
Photoshop will ask users if they want to convert their live shapes into a regular path. Click Yes:
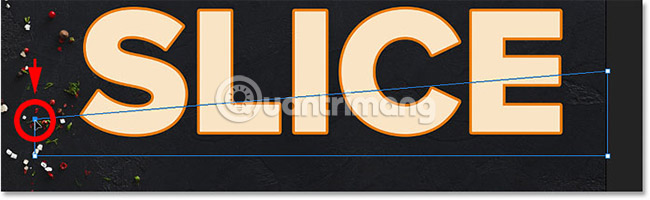
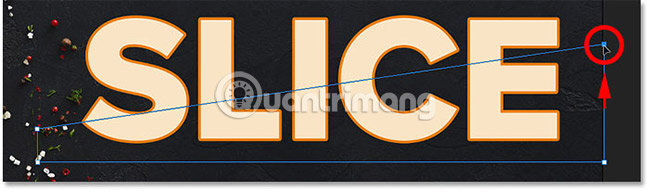
Step 9: Select and drag the top right anchor point up
Then click on the anchor point in the upper right corner of the path to select it:
And drag that point up. Users can move between two points, click and drag them up or down as needed, until satisfied with the corner of the slice:
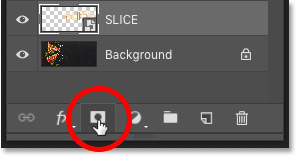
Step 10: Convert the path into vector mask
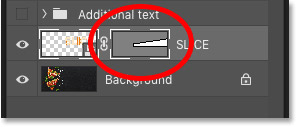
To create a slice, we need to turn the path into a vector mask. Go to the Layers panel , press and hold the Ctrl (Win) or Command (Mac) key on the keyboard and click the Add Layer Mask icon:
The vector mask thumbnail appears next to the smart object preview thumbnail:
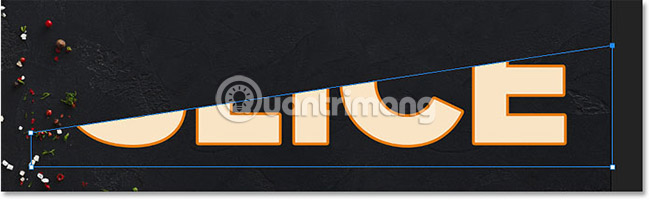
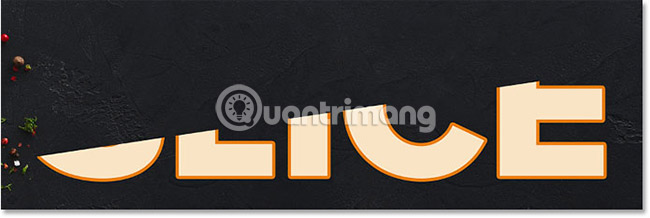
And in the document, we see that the top part of the text has disappeared. Only the bottom part inside the vector mask is still visible, creating the first slice:
Step 11: Create a copy of the smart object
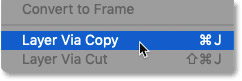
To create the top slice, create a copy of the smart object by going to the Layer menu , selecting New, then selecting Layer via Copy . Alternatively, press the shortcut, Ctrl + J (Win) or Command + J (Mac):
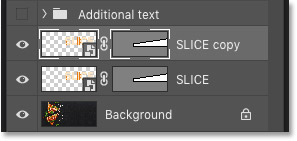
In the Layers panel , a smart object copy will appear above the original:
Step 12: Select "Subtract Front Shape"
In the Options Bar, click the Path Operations icon :
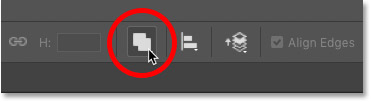
And select Subtract Front Shape from the menu:
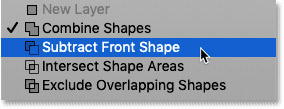
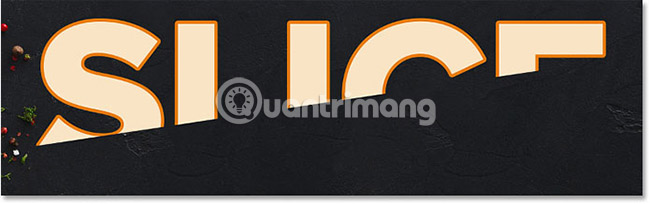
This option reverses the vector mask, makes the top slice visible and now we will have both slices:
Hide Paths
We do not need to outline the path anymore. So to hide the path, click anywhere outside it:
See the slices
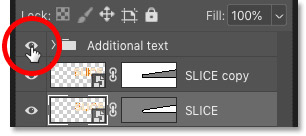
It seems that the text has not yet been divided into separate slices. But users can enable and disable individual slices by clicking their display icon (eye image) in the Layers panel .
If you click on the display icon to disable the smart object at the top:

We will only see the bottom part of the text:
Then, we will click on the same display icon again to reactivate the top slice. And if we then disable the bottom slice by clicking on its display icon:
We will only see the top slice of the text. To re-enable the bottom slice, click on its display icon again:
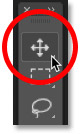
Step 13: Select Move Tool
To split the slices, select Photoshop's Move Tool from the Toolbar:

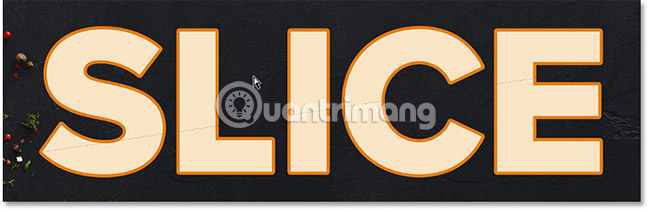
Step 14: Pull the slices apart
Select the slice you want to move by clicking on it in the Layers panel , then drag it to the position in the document. Or, instead of dragging with the Move Tool, users can press the arrow keys on the keyboard to put the slice in place (users still need to select the Move Tool).
The example will select the bottom slice in the Layers panel :
And then we will use the arrow keys on the keyboard to move the bottom to the bottom and to the right:
Reactivate the Additional text section
Next, we will reactivate the additional text (Additional text) by clicking on the icon of the layer group:
And here, we see the layout with the sliced text effect added:
How to edit text inside slices
Now, the sliced text effect has been created. Next, learn how to edit text inside slices.
Although, we created slices with two separate smart objects, but each smart object has the same Type layer. So if we change the text in this smart object, that change will also appear in the second smart object.
Step 1: Double-click the smart object thumbnail
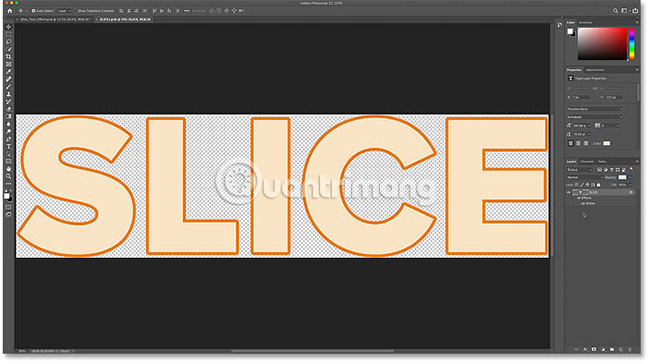
To edit the text, double-click one of the smart object thumbnails. One of these thumbnails will work:
The text will open in its own document:
Step 2: Select the Type Tool
Select Photoshop's Type Tool from the Toolbar:
Step 3: Edit the text
And then edit the text. We will double click on the text to highlight the whole word:

After that, we will change the word "SLICE" to "PIZZA":

Step 4: Click the checkmark in the Options Bar
To accept changes, click the checkmark in the Options Bar:
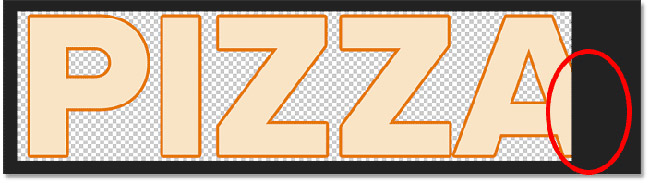
Step 5: Select the option "Reveal All" if needed
Note that in this case, editing text has created a problem. New text is a bit long and doesn't fit in the viewable area of the document, so a part of the right "A" is expanding out of the canvas:
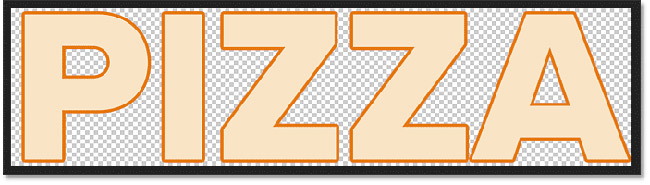
If this happens with your text, go to the Image menu in Menu Bar and select Reveal All:

And Photoshop will immediately resize the canvas to fit the entire text:
Step 6: Save and close the smart object document
To accept changes and return to the main document, we need to save and close the smart object's document.
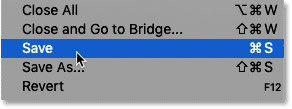
Go to the File menu and select Save:
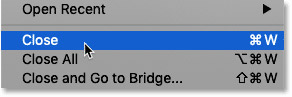
And then go back to the File menu and select Close:
Back to the main document, we will see the same effect, but this time with the edited text:

Hope you are succesful.
Was this article helpful?
Your feedback helps us improve.
Related Articles
 How to create whirlpool effect on Photoshop4 minutes read
 Learn how to create a fade effect with Photoshop CS69 minutes read
 How to Create an Orton Effect in Photoshop3 minutes read
 How to create Picture in Picture effect in Photoshop12 minutes read
 How to use Photoshop CS6 (Part 4): Create a fading effect9 minutes read
 How to create poster effect for photos in Photoshop11 minutes read
Reader Comments 0
Sign in with email or Google to join the discussion.