How to use Photoshop CS5 - Part 8: Menu Filters
One of the favorite components of Photoshop users is the Filters menu - this is a component with many interesting visual effects. In this article, TipsMake.com will continue to share to you how to use this interesting component to create unique photos..
One of the favorite components of Photoshop users is the Filters menu - this is a component with lots of interesting visual effects. In this article, TipsMake.com will continue to share to you how to use this interesting component to create unique photos.

Filter effect components
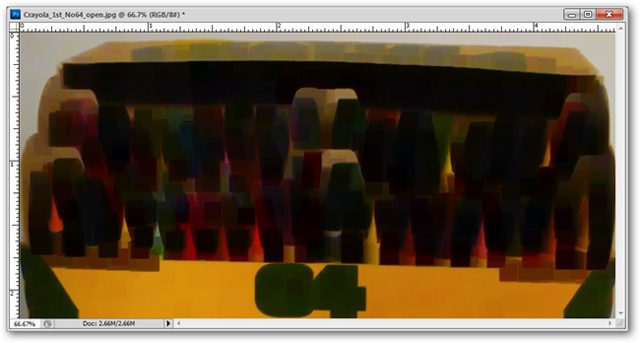
This is the easiest way to access Photoshop's visual effects. Using Filters effects will make your photos look quite strange but because of that, the image will be unreal and unmistakable as this product ' made in Photoshop '. Menu Filtes is like a giant crayon box that children often use: coloring, brightening, polishing .
Experiment with often used Filters, try to choose a required application component instead of using all effects on a photo.
Filters are simply programs that process current images in different ways. If you have a corrupted, torn image . using a creative filters effects will help restore the image.
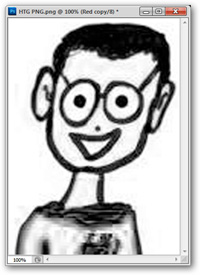
Starting with an image like the HTG logo, like this image you will clearly see it is a low quality photo. For this case, just use Threshold filter ( Image > Adjust > Threshold ) simply notice that the original image is a low resolution JPG image.


What can Filters do?

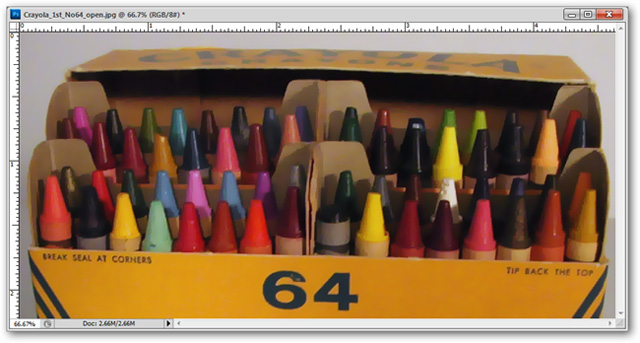
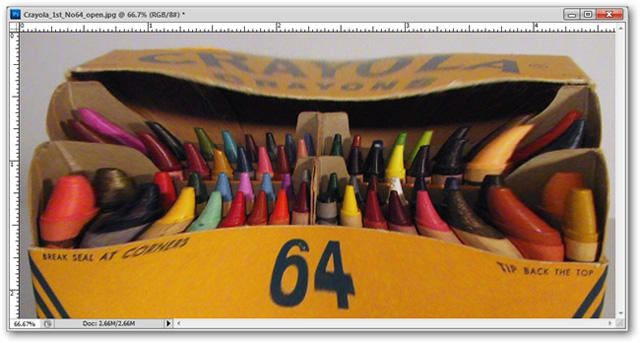
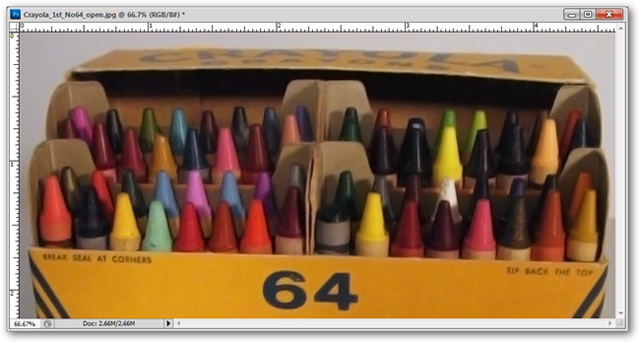
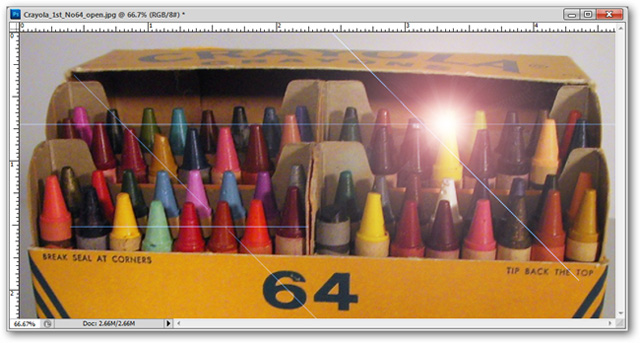
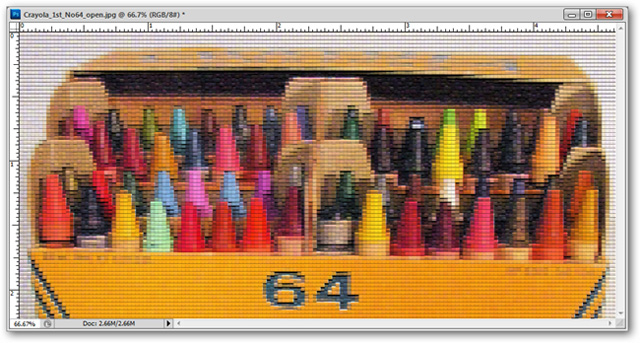
Starting with a photo to compare, we will look briefly through some image filters to see how the difference is. Needless to say, the following images are the best description
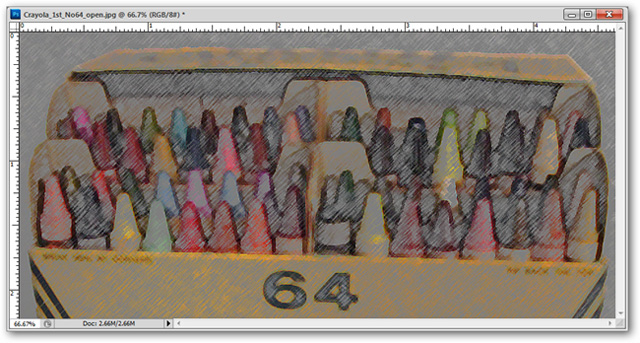
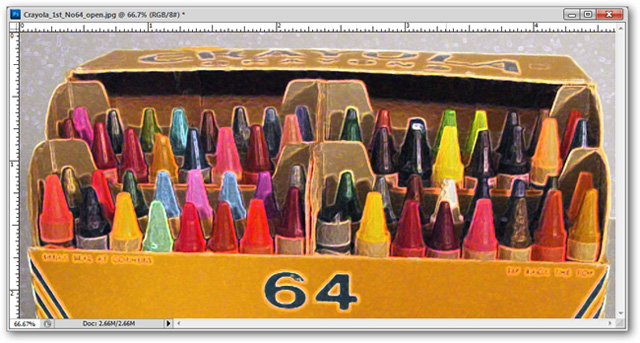
Filter> Artistic> Colored Pencil
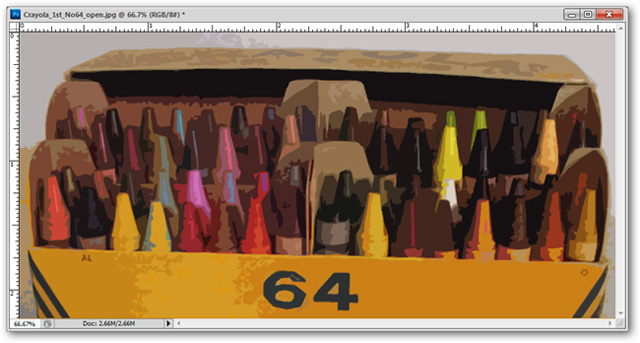
Filter> Artistic> Cutout
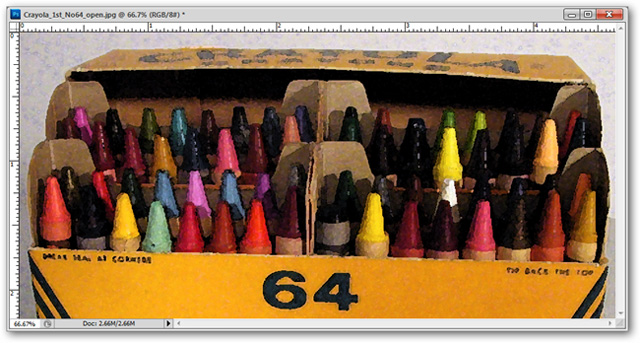
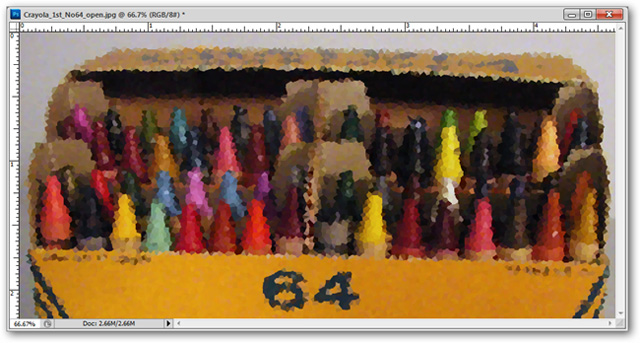
Filter> Artistic> Watercolor
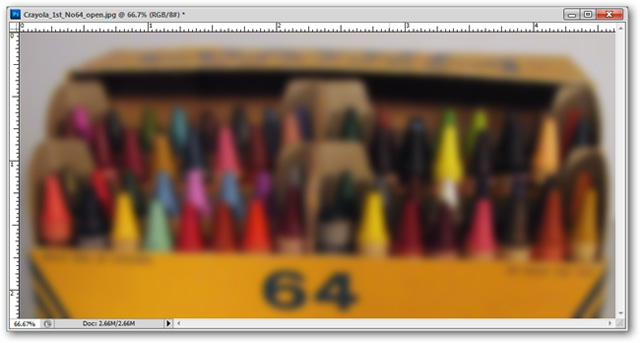
Filter> Blur> Blur Gassian
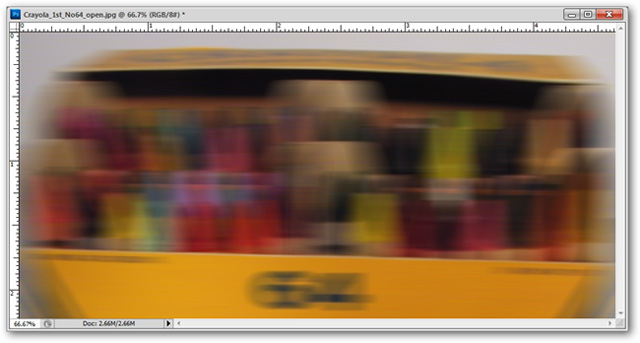
Filter> Blur> Motion Blur
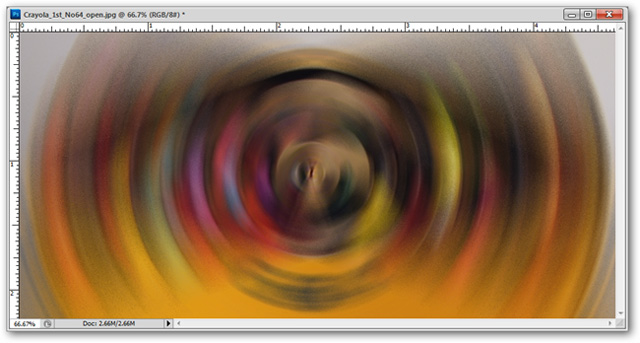
Filter> Blur> Radial Blur
Filter> Blur> Smart Blur
Filter> Brush Strokes> Accented Edges
Filter> Distort> Pinch
Filter> Distort> Shear
Filter> Distort> Spherize
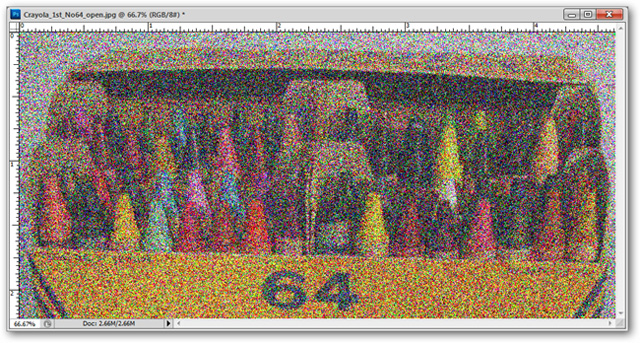
Filter> Noise> Add Noise
Filter> Noise> Reduce Noise
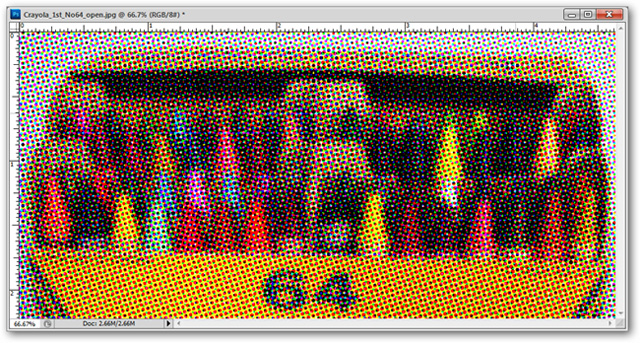
Filter> Pixelate> Color Halftone
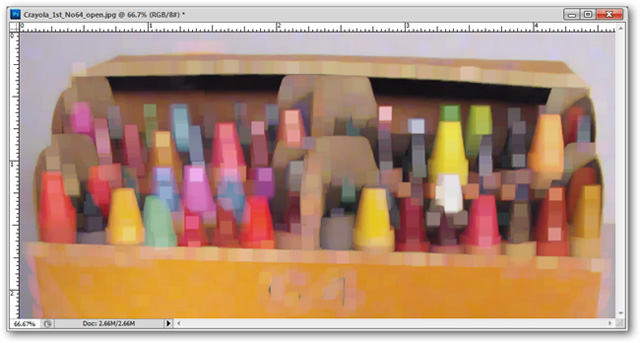
Filter> Pixelate> Crystalize
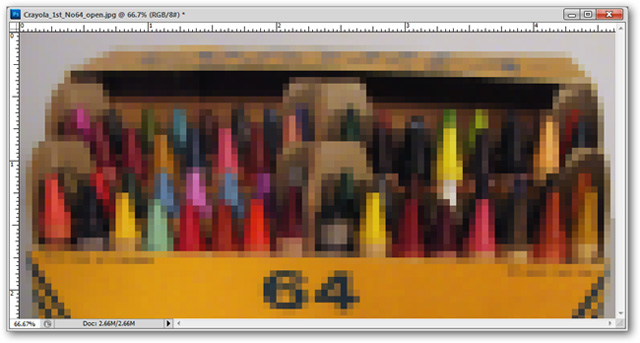
Filter> Pixelate> Mosaic
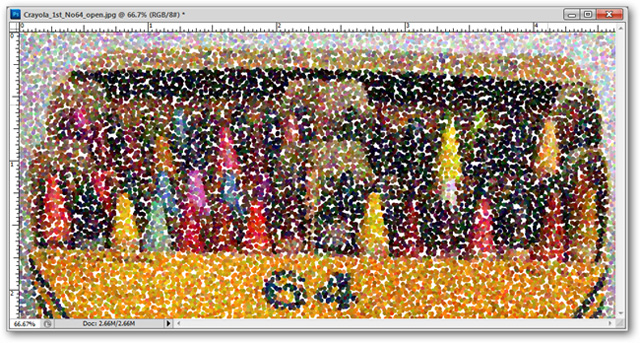
Filter> Pixelate> Pointilize
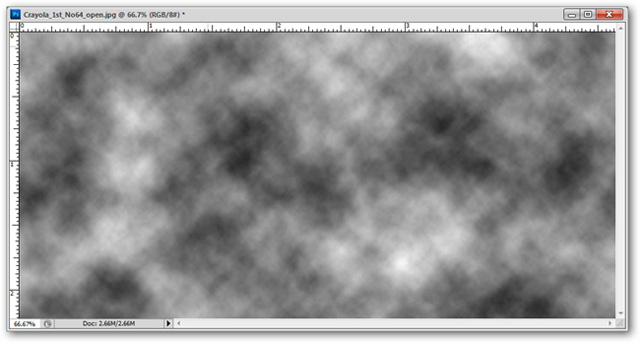
Filter> Render> Clouds
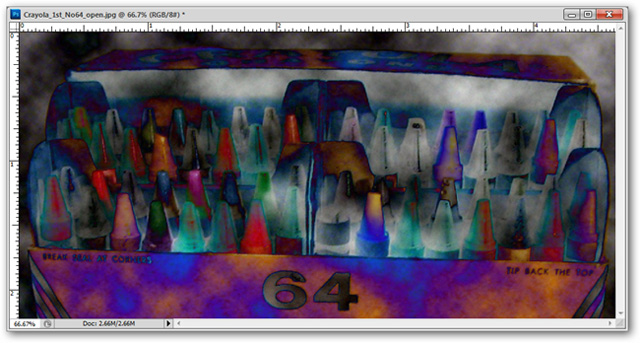
Filter> Render> Difference Clouds
Filter> Render> Lens Flare

Filter> Sharpen> Unsharp Mask
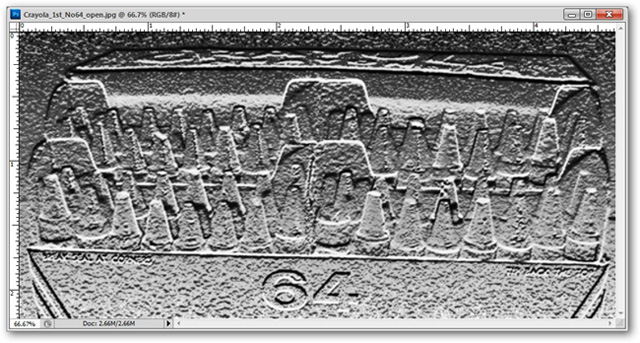
Filter> Sketch> Bas Relief

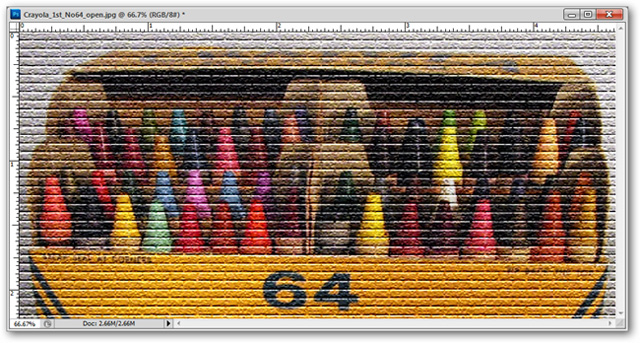
Filter> Sketch> Reticulation
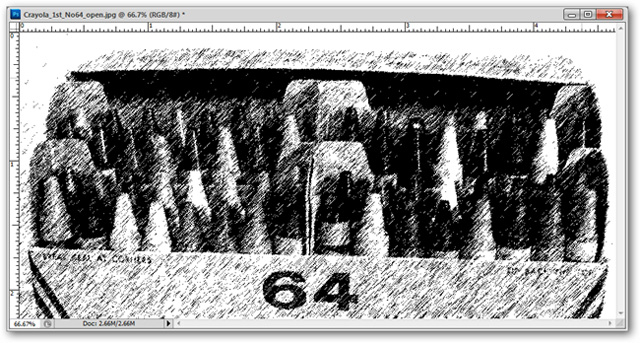
Filter> Sketch> Graphic Pen

Filter> Stylize> Extrude
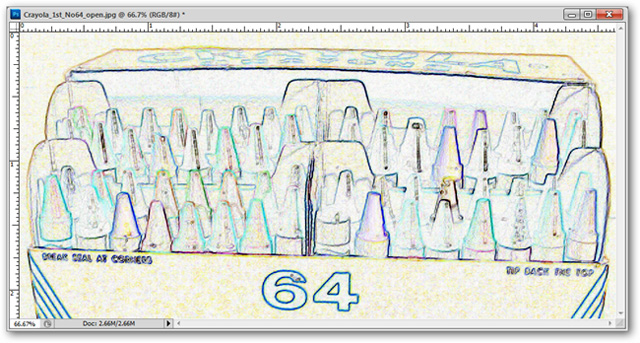
Filter> Stylize> Find Edges
Filter> Texture> Patchwork
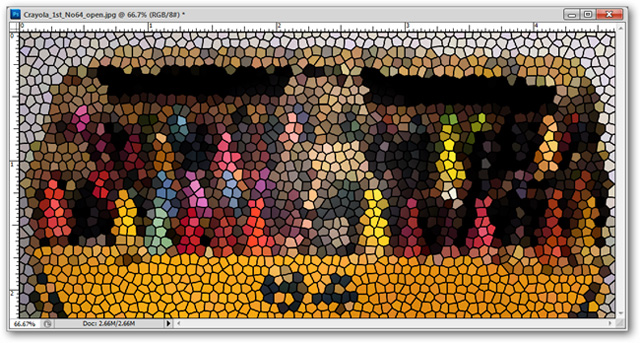
Filter> Texture> Stained Glass
Filter> Texture> Texturizer
Filter> Other> Maximum
Filter> Other> Minimum
Combining filters you will have better results
As in the previous articles we have mentioned, if you combine components skillfully, you will get great effects.
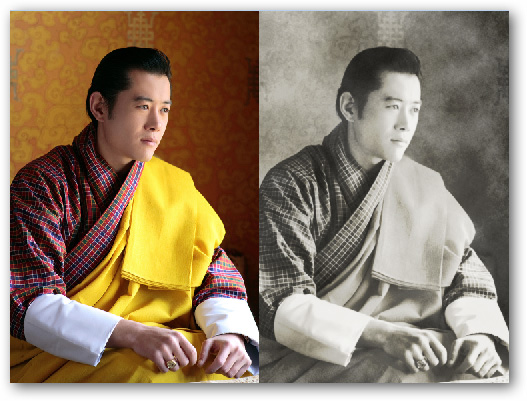
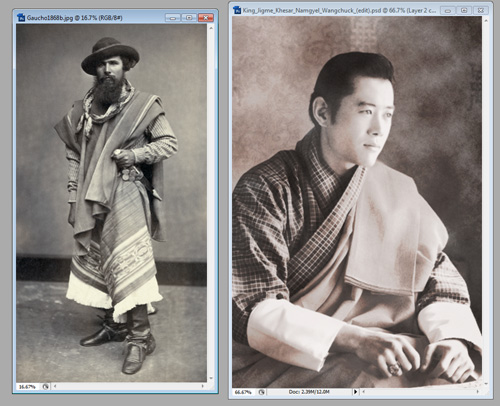
The following tutorial will show you how to quickly turn a color photo into a classic art photo. Many programs offer image filters but are often difficult to use and the results are not very good. In just a few minutes using Photoshop, you can have a beautiful photo that anyone who looks at will find it difficult to detect the edited image.
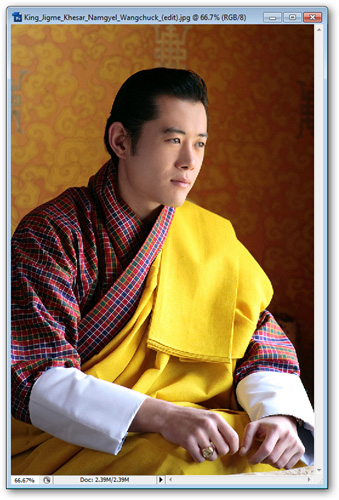
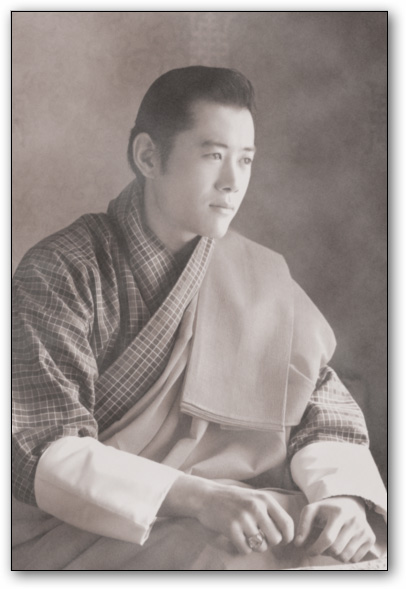
The picture below is the king of Bhutan, but you can take any photo you want to convert. You should choose a high resolution photo, good contrast between light and dark.
Press Ctrl + Shift + U to quickly turn the image into bright colors
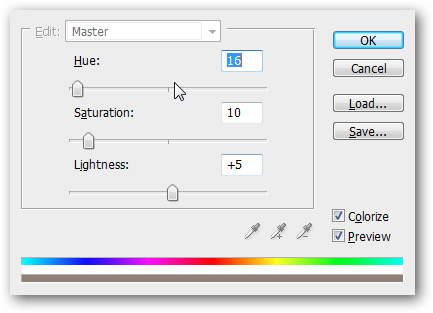
Then press Ctrl + U to open the Hue / Saturation panel and set the Colorize to the Hue / Saturation / Lightness values as shown below.
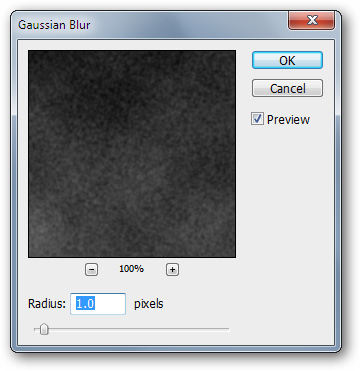
Go to Hue / Saturation / Lightness and set Radius to 1.0, or higher if you want.
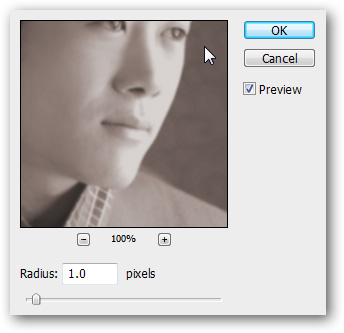
The image is now a reddish brown with Gaussian blur "soft" edges

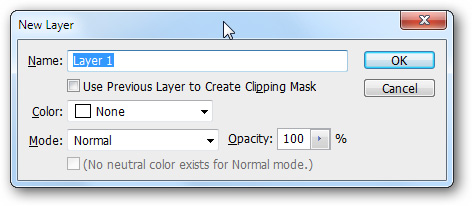
Press Ctrl + Shift + N to create a new layer
Fill the new layer with a black background by going to Edit> Fill and selecting Black in the Use section.

Then go to Filters> Render> Clouds to get the result as shown below
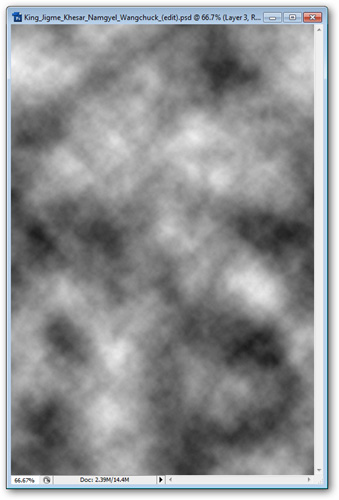
The cloud layer should look like this, if you use Filtes> Render> Difference Clouds it will look very different.
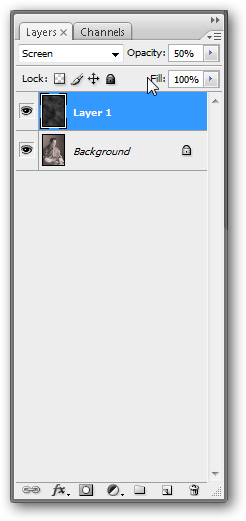
Set the Layer Effect to Screen in the Layers Palette. Also reduce Opacity to 50% .
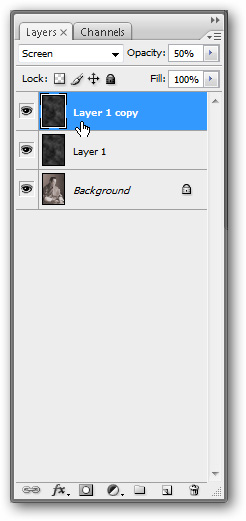
Create a copy of the working layer by right-clicking on the layer name in the Layer Panel and selecting Duplicate
Select the new copy layer, go to Filters> Noise> Add Noise and use the same settings as the following image. It is important to use Monochromatic settings
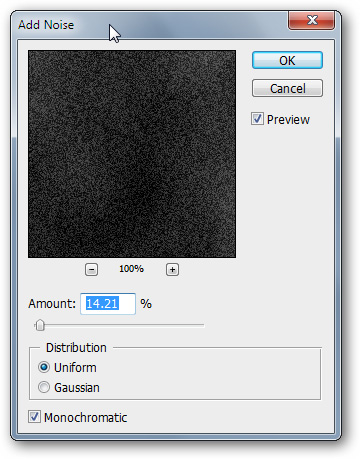
This layer will create a slightly noisy effect on your image. However, these noise points are still a bit "rough" so you need to make it "soft"
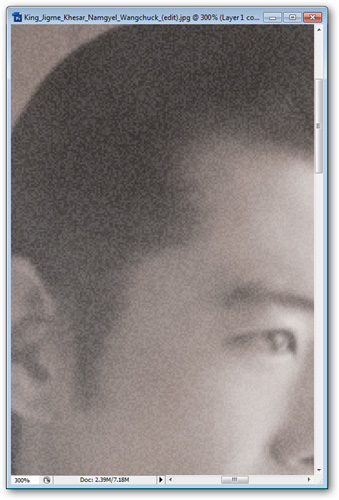
Go to Filter> Blur> Gaussian Blur again. Setup is similar to the following figure
At this point, your photo is pretty classic, but it needs a bit more
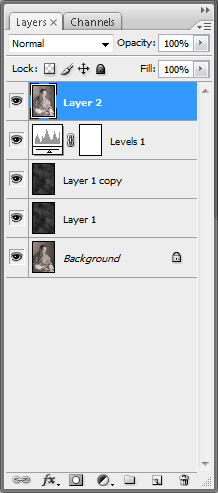
Click on
 at the bottom of the Layer Panel to open the Adjustment Layers , select Levels

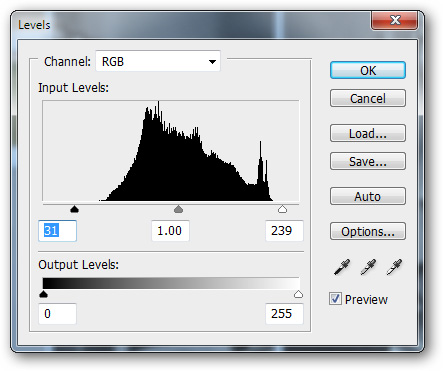
Levels settings are as follows. The black arrow moving to the right causes the darker area of the image to darken, and the white arrow moving to the left will bring the image's whiteness up.
Press Ctrl + Shift + Alt + E to make a copy of the image and place it on top of the layers.
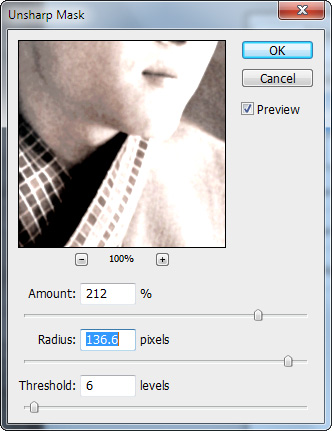
On the newly created copy layer, go to Filter> Sharpen> Unsharp Mask and use the same values as the image below. This will sharpen the darker and brighter parts of the image
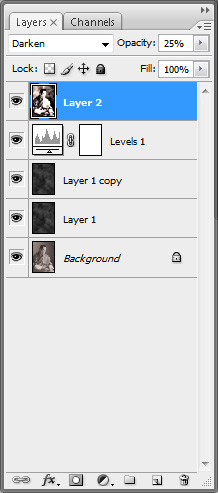
Set the effect of this layer to Darken and set the Opacity to 25%.
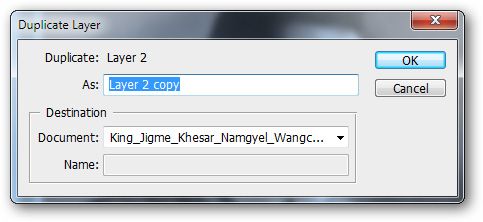
Create another copy of this layer by right-clicking on it and selecting Duplicate
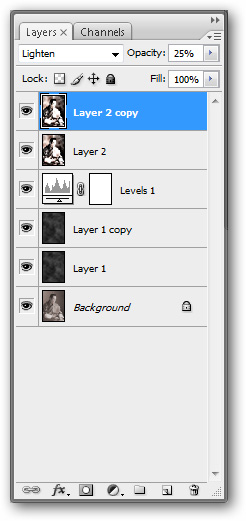
Set the Lighten effect to this new copy layer and adjust its Opacity to 25%.
The image is quite beautiful at the moment but the color is still not the color of the real old photo
Go to the Layer Palette and click to open the Adjustment layer again. Create a Hue / Saturation effect layer at the top, using the settings shown in the following image
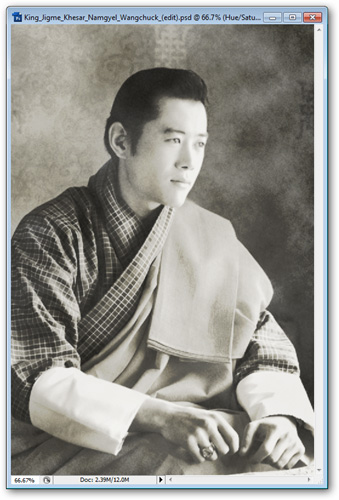
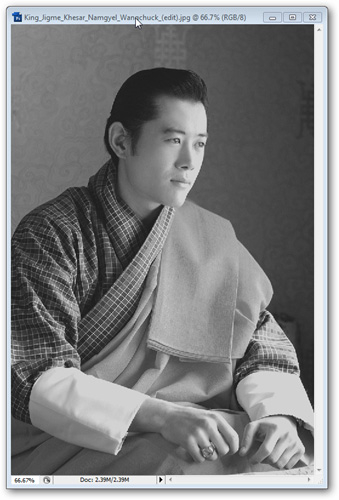
Your photo right now is exactly the old photo. The settings in this article may vary slightly because the image you use is not the same as the image in this example, but the steps are similar.
Next lesson: How to use Photoshop CS5 - Part 9: Delete complex backgrounds in Photoshop
Previous lesson: How to use Photoshop CS5 - Part 7: Design and present with the Type Character Panel