How to use Photoshop CS5 - Part 28: Create bubbles in the image
In the next tutorial on Photoshop, we will show you the basic steps to create a bubble image in a photo using the familiar Brush tool.
TipsMake.com - In the next tutorial on Photoshop theme, we will present the basic steps to create bubble images in photos with the familiar Brush tool.
First, we need to create a new document of size 600 x 600 px , 72 pixel / inch resolution , Background Contents mode White :

Select the Elliptical Marquee Tool from the Tool panel, or press the M button twice:

Press and hold Shift + Alt (Windows) or Shift + Option (Mac) and start drawing from the middle, pulling it outward. We will have the first circle:

Open the Layer menu and select New> Layer via Copy or press the shortcut Ctrl + J (Windows) / Command + J (Mac):

Photoshop will copy the content inside the selection to a new layer and name it Layer 1 , just above the original layer in the control panel:

After that, click on the Layer Styles icon at the bottom:

Select the Inner Glow part from the menu that displays:

The window of Photoshop 's Layer Style control appears, change the Blend Mode from Screen to Multiply , converting the Inner Glow to Inner Shadow . Select the Color Swatch function under the Noise text and pick a black color. And finally, move the Size in the Elements section to about 40 px.
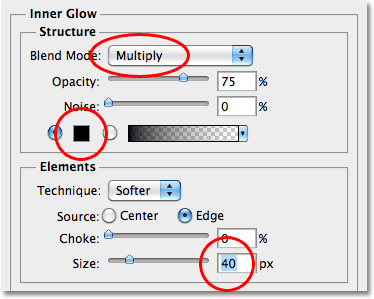
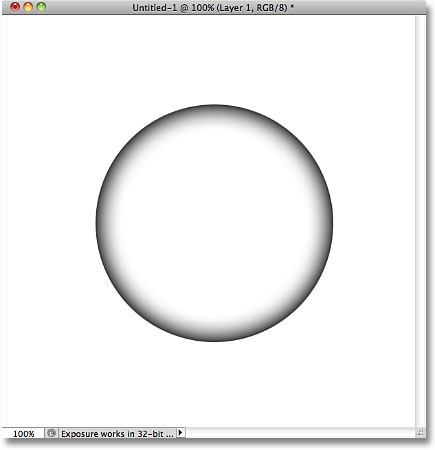
Do not rush to click OK and exit the Layer Style dialog box, because we still have work to do here. This is a temporary result of this process:
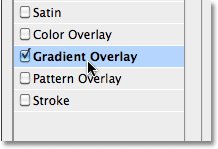
Next, check the Gradient Overlay box (select directly into the text, not just the checkbox):
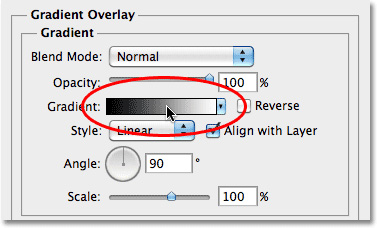
This process changes the middle column change in the Layer Style dialog box to Gradient Overlay . Here, please pay attention to the Gradient part and change it so that it looks like the picture below:
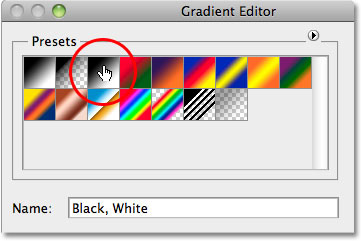
Next, the Gradient Editor dialog box is displayed, we will select the Gradient section named Black , White as below. Then click OK:
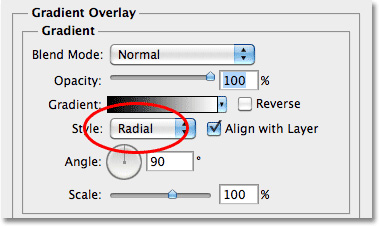
Return to the Layer Style dialog box , continue to change the Style from Linear to Radial :
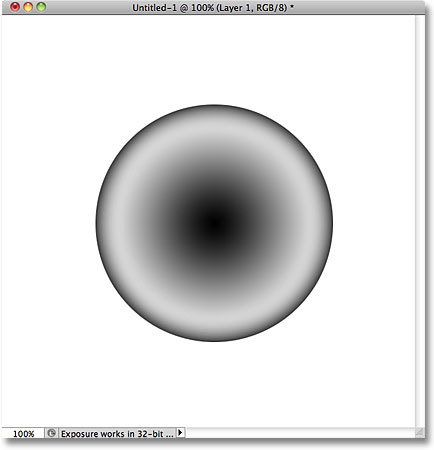
And our results after taking the above steps will look like this:
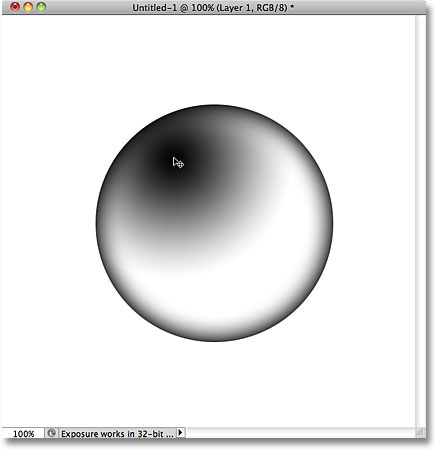
Still open the Layer Style panel, select the middle part of the circle and move to the upper left corner. Then click OK and close the Layer Style window :
Continue, select the New Layer icon to create a new layer:

And use the Brush Tool:
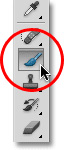
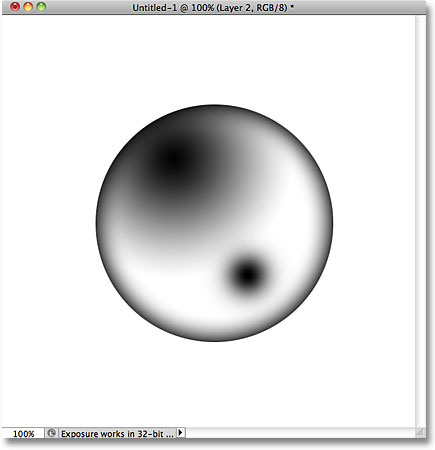
Select the Foreground parameter as black (or press D to change to the default selection), switch to Small, Soft - Edge round brush mode , and click the lower part of the circle to create another point as shown. below:
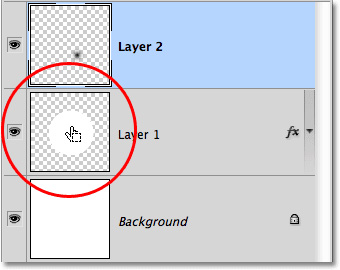
Press and hold the Ctrl (Windows) or Command (Mac) key and directly select the Preview Thumbnail section of Layer 1, we will have the entire selection outside:
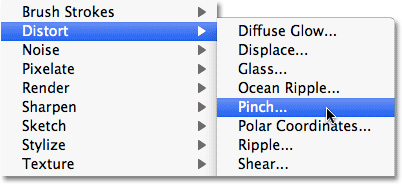
Select the menu Filter> Distort> Pinch:
The main control panel of the Pinch effect is displayed, changing the Amount to the bottom left:
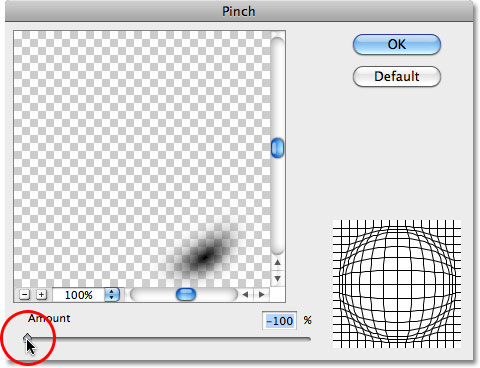
Click OK to apply the changes and close the window, then press Ctrl + F (Windows) or Command + F (Mac) 2 times to apply this effect 2 more times. Then press Ctrl + D (Windows) or Command + D (Mac) to remove the selection:
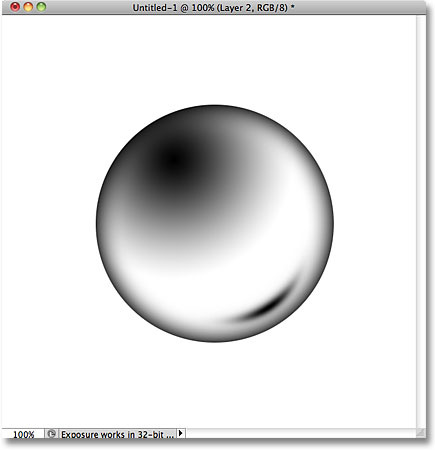
Our interim results
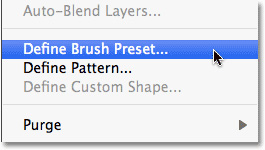
When you have completed the basic part of the bubble image, save it as a Brush . Open the menu Edit> Define Brush Preset:
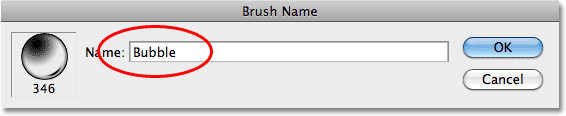
The Brush Name dialog box is displayed, you name it Bubble and click OK:
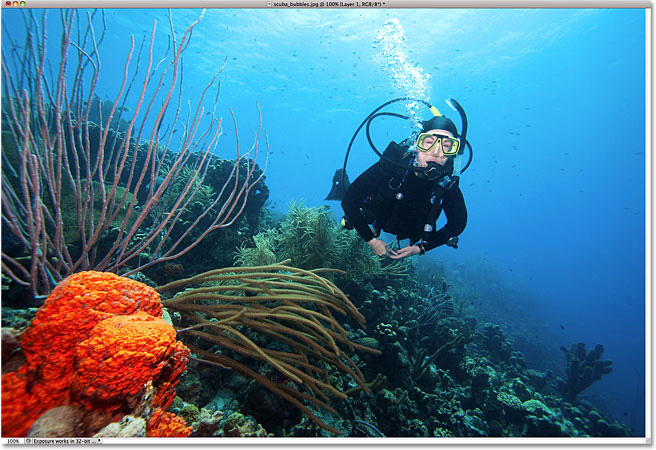
Next, open the photo we need to assign the bubble to. Example here:
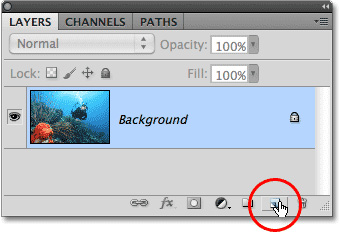
Click the New Layer icon at the bottom of the control panel to create a new layer above the background image:
Select the Brush Tool from the Tool control bar, right-click (Windows) or Control + click (Mac) anywhere on the image to open the Brush Preset picker panel, select the last component in the list and press Enter ( Windows) or Return (Mac) to close this window:

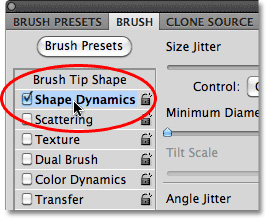
Continue, press F5 to open the Brush , which contains all the Brush Dynamics options that allow us to control the Brush action when drawing. Also in the open Brushes panel, click directly on the Shape Dynamics section :
Increase the Size Jitter parameter to 100%, do the same with the Roundness Jitter , and finally the Minimum Roundness to 25%:

Continue, select the Scattering directly under Shape Dynamics , where you change the Scatter parameter to about 250% and close this window:

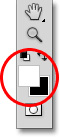
So we have finished ¾ of the way, the rest is big for these bubbles. Make sure that the foreground color is changed to white (press X):
By default, the selected Brush tool is a bit too big, so press the [to change. Then select Layer 1 and start painting. If you are not satisfied with your product, press Ctrl + Z (Windows) / Command + Z (Mac) to go back to the previous step, or Ctrl + Alt + Z (Windows) / Command + Option + Z (Mac) to return to many steps.

Try to make it so natural
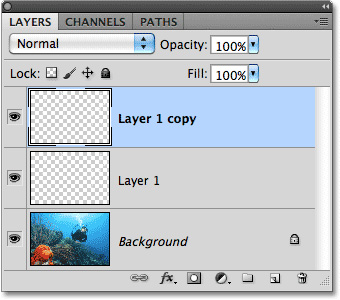
But at this step, our bubble image looks a bit too sharp compared to the water environment. To fix this problem, press Ctrl + J (Windows) / Command + J (Mac) to duplicate this bubble layer:
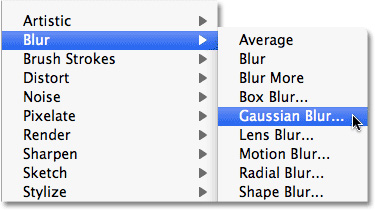
After that, apply the Gaussian Blur effect via Filter> Blur menu :
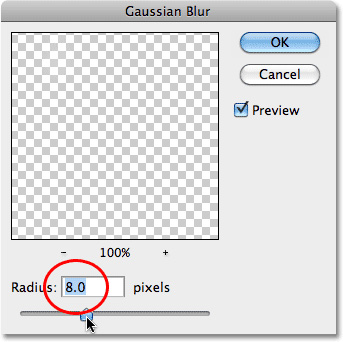
The panel of Gaussian Blur displays, changing the value of the Radius to 8 :
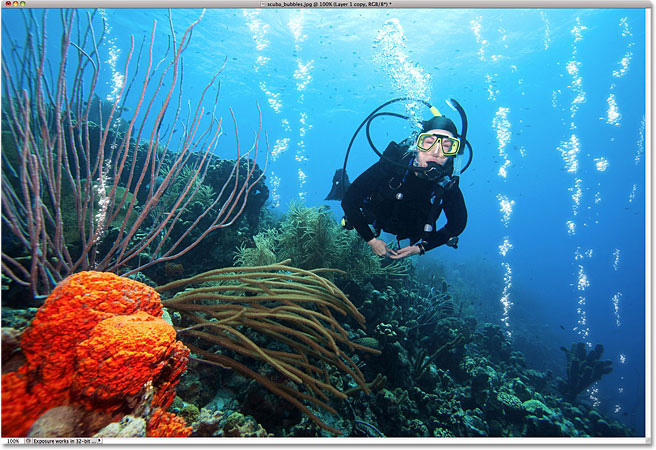
Click OK, and the bubbles will look much more natural:
To complete our work, create a new layer, and use a large size brush to add bubbles, which will make the viewer feel the panorama of the picture below. country:

Good luck!
Was this article helpful?
Your feedback helps us improve.
Related Articles
 How to create water bubbles in Photoshop4 minutes read
 PhotoShop - Create water bubbles1 minutes read
 Why does soap create bubbles?2 minutes read
 How to use Photoshop CS6 (Part 6): Create abstract geometric blocks10 minutes read
 How to create a snowman in Photoshop2 minutes read
 How to use Photoshop CS5 - Part 29: Create a zoom effect in a photo5 minutes read
Reader Comments 0
Sign in with email or Google to join the discussion.