How to Start Blogging on Blogger
Create a blog
Visit Blogger .
Click Sign In in the upper right corner of the window. Then, enter your Google username and password.
If you don't have a Google account, click Create Your Blog . You will be taken to the account creation screen to use on Blogger.
Select profile type. Click Create a Google+ profile to create a single account for all Google services. If you want to use a nickname or limit your visibility on Google, click Create a limited Blogger profile .
Follow the online instructions to complete the creation of a Google+ account or limited Blogger profile.

Enter a display name and click Continue to Blogger . Your display name is the name by which readers identify you.
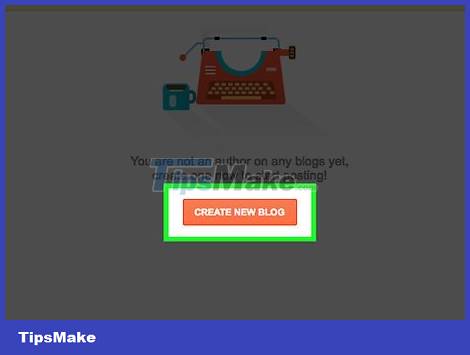
Click Create New Blog .
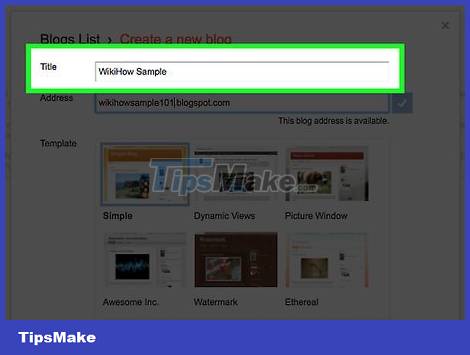
Enter a title for your blog.
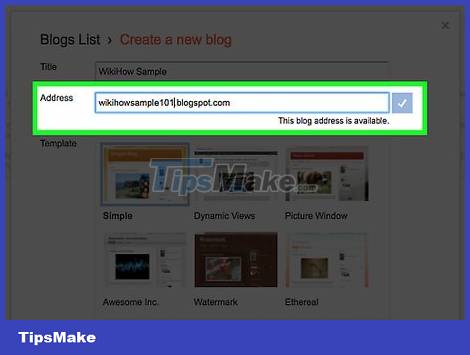
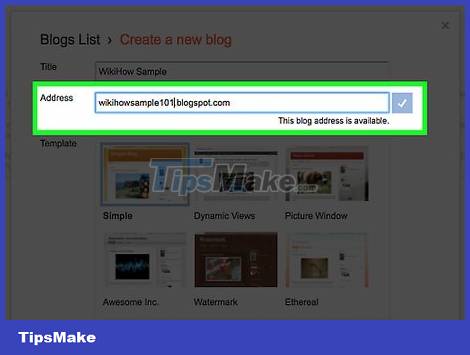
Enter the URL for the blog. If you still can't create one, try other variations of the name you want to use, but remember not to use symbols like hyphens, underscores, and colons.
Enter the confirmation code then click Continue .
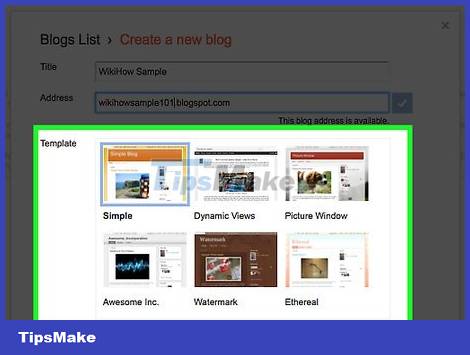
Choose a template to get started. This is the basic design and layout for your blog.
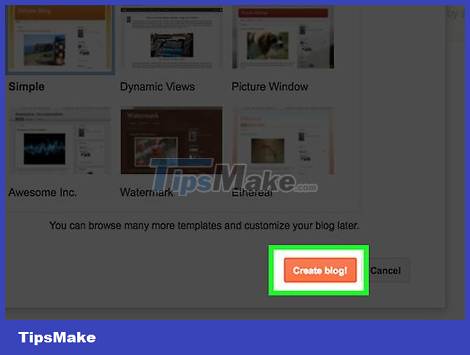
Click Create blog! (Create a blog! ).
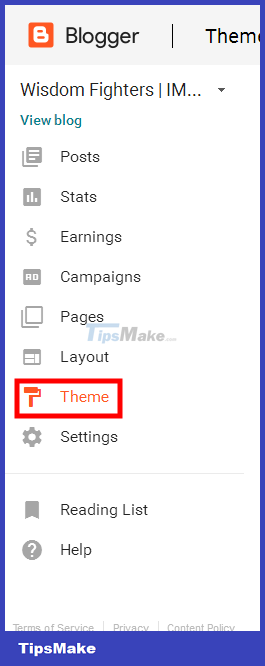
Click Theme. It's near the bottom of the menu on the left side of the page. This option allows you to customize the look and feel of your blog beyond the elements available in the template.
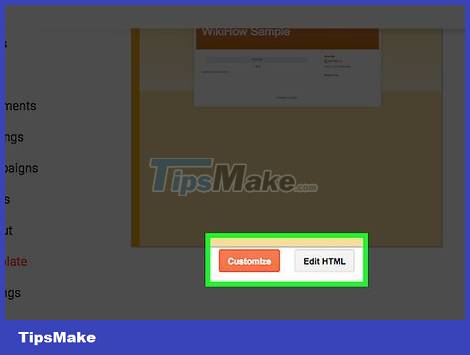
Choose how to customize the design. Click Customize if you want to be guided through your options. The Edit HTML option is for more advanced users.
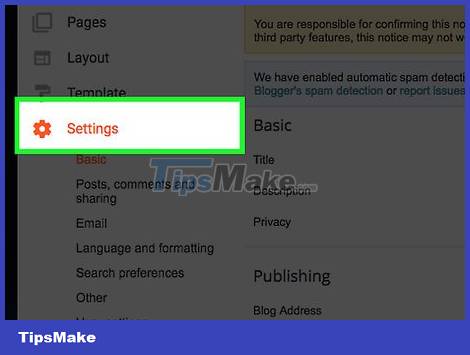
Click Settings . Options are in the middle of the left menu. From here, you can customize other settings like language, search and email options.
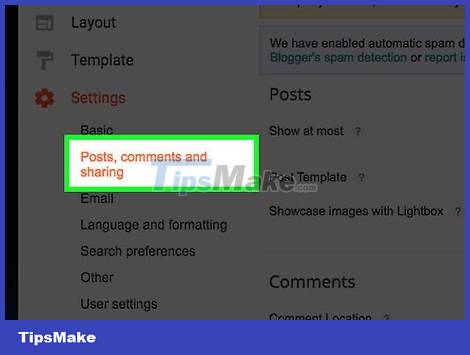
Click Posts, comments and sharing. In this menu you can customize publishing, comments and how the blog is shared outside of the Blogger platform.
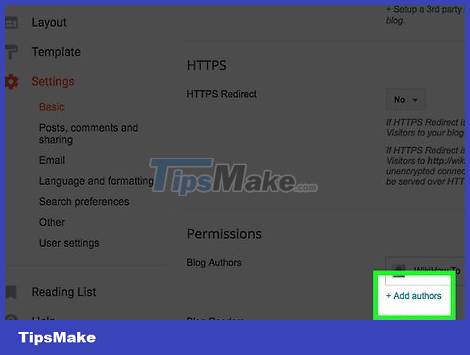
Click Basic and then select +Add authors . This link is in the lower right corner, below the "Permissions" section of the menu. This setup allows you to add contributors to the blog to share the pressure of writing together.
Create a post
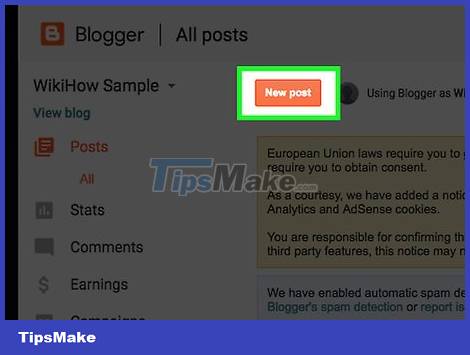
Click New post . It's at the top of the screen.
Below Posts in the menu on the left side of the screen are created posts, post releases, and page releases.
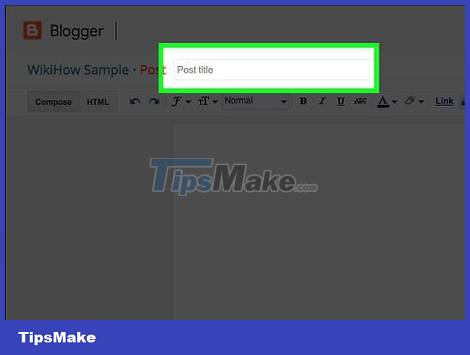
Enter a post title. Enter a title in the text box to the right of Post or Post .
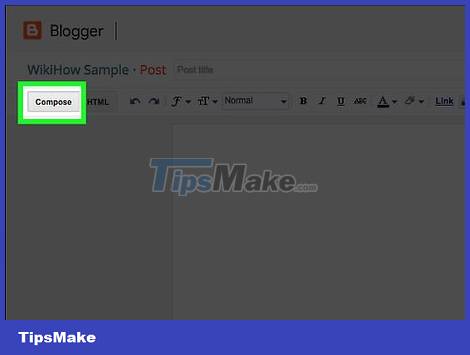
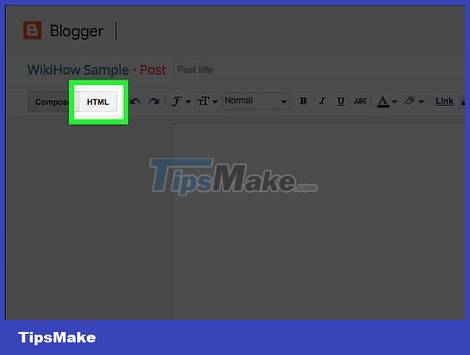
Compose a post. Click Compose to import the post into Blogger's text editor, where you have features like inserting links, different text fonts, sizes, and colors.
If you want to work with programming languages, click HTML .
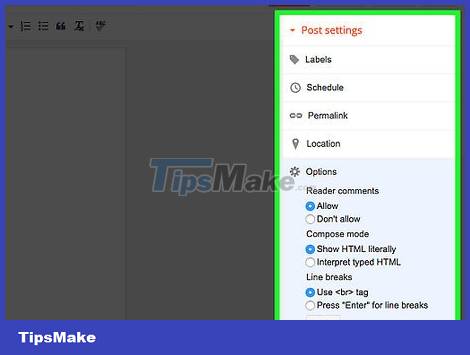
Click Post Settings . Options in the upper right corner of the window. From this menu you can enable reader comments, select HTML and schedule settings. Click Done after making changes.
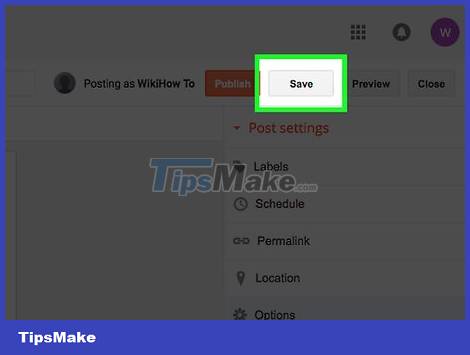
Click Save . Your posts up to this point will be saved. You can click Preview to see how your post will look when completed. Finally, click Publish to publish it to readers.