
How to remove image background in PowerPoint
PowerPoint also has basic photo editing options to support users such as removing photo backgrounds in PowerPoint. When removing photo backgrounds, you can easily insert photos into slides without revealing the background image.
PowerPoint also has basic photo editing options to support users in the process of making slides, such as removing photo backgrounds in PowerPoint. When removing photo backgrounds, you can easily insert photos into slides without revealing the background. Below are instructions for removing photo backgrounds in PowerPoint.
Instructions for removing image background in PowerPoint
Step 1:
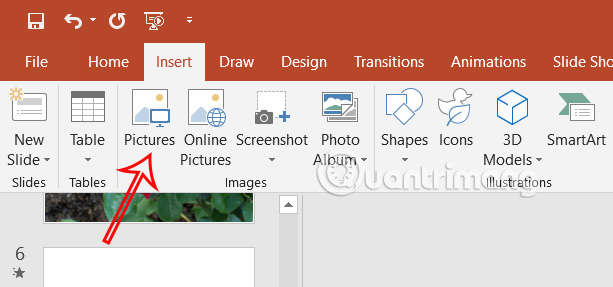
At the PowerPoint slide interface, users click Insert and then select Pictures to select the image they want to insert.
Step 2:
Double-click on the image inserted in the slide, then click on the Format tab and select Remove Background to adjust the image background.

Step 3:
You will then see the image with the background turned purple with the background selected for deletion as shown below.
Step 4:
In case the image background is selected incorrectly, or you want to manually remove the background, look up and you will see the Mark Areas to Keep option to select the area you want to keep and Mark Areas to Remove to manually remove the image background on PowerPoint.
You will need to circle the area you want to keep or remove in the photo so that the tool can recognize it.
After you select the background to delete, the image has been removed as shown below. You continue to edit the image on PowerPoint as you like.
You should read it
- How to remove fonts online, remove photo background very easily
- Instructions to remove background images with PowerPoint 2010
- 'Magically' photo wallpaper removal apps you should try
- How to use Remove Object & Background to remove photo background
- 6 photo editing tips with GIMP
- 100+ Beautiful Background PNG
- How to use Photoshop CS5 - Part 9: Delete complex backgrounds in Photoshop
- How to use PicWish to remove photo background, improve quality
- The divine tool separates the photo background with just a click of the mouse that is available on Photoshop CC
- How to blur background images in PowerPoint - Adjust background image display mode
- How to delete the photo background without Photoshop using Remove.gb
- Instructions for creating PowerPoint background color effects - Create a new background for slides
Maybe you are interested
Top 10 applications to replace Youtube Vanced Youtube Vanced How to download and use YouTube Vanced on your phone How to download Instagram photos and videos to iPhone with InstaSaver How to download photos, YouTube videos, Instagram on SocialSnapper Add a tool to download high quality YouTube and Facebook videos How to download photos and videos on Instagram on Android to share with friends