How to use Photoshop CS5 - Part 9: Delete complex backgrounds in Photoshop
In the next part of the tutorial series on Photoshop, we will describe the basic steps to remove background images from the picture, by combining some familiar tools.
Table of Contents
In the next part of the tutorial series on Photoshop, we will describe the basic steps to remove the background - background image from the picture, by combining some familiar tools.
The article is in the tutorial series of TipsMake.com using Photoshop CS5, please do not ignore other articles.
Delete photo background, split photo background with Photoshop CS5
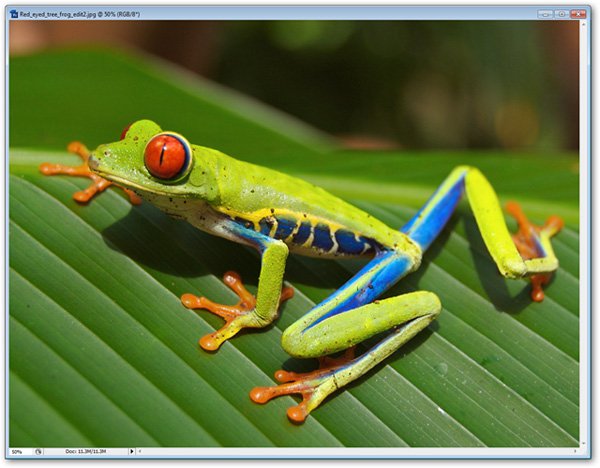
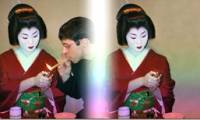
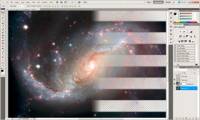
For example, with Magic Eraser , you can completely erase simple background images, but for a more complicated case, how do you do it? For example, the following picture:
First, right-click Background Layer in the Layers Palette and select Layer from Background . :
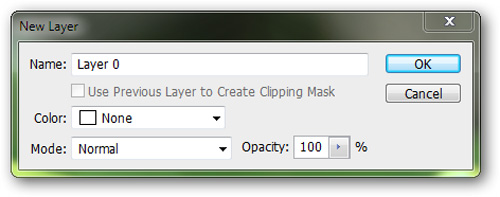
The program will automatically change to Layer 0 . Click OK:

In the Layers Palette section, it will only contain a single Layer 0 layer . Press L to select the Lasso Tool , double-check the Control Palette above the horizontal menu, and adjust it to look like the following:

The most important thing here is to turn off the Anti-Alias feature , then proceed to cut the edge background image as follows:
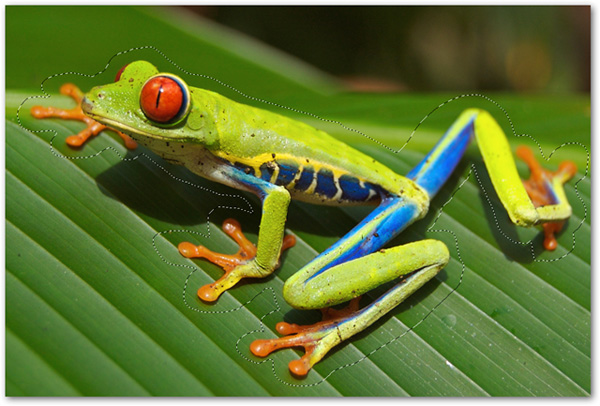
No need to worry if the edge is too small, we can correct it at the following steps:
After completing this step, you press Ctrl + Shift + J to move the selection to a new layer with Layer Via Cut . You can delete Layer 0 and work only on the newly created layer. Continue, press E to select the eraser tool, change the mode to Pencil and adjust the parameters as follows:

Then continue to purge the excesses that are too obvious on the frame:
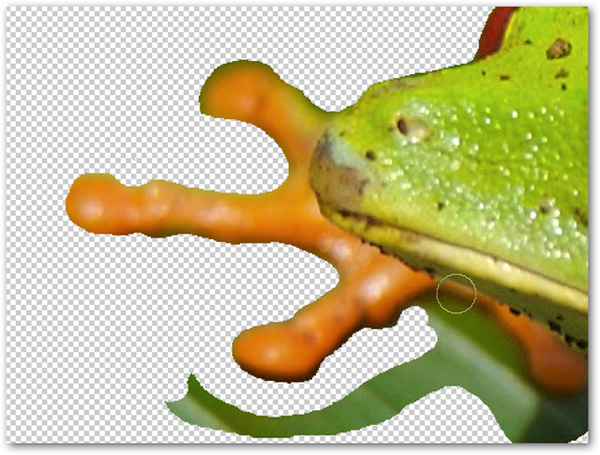
Be careful with each step at this step, move the mouse gently and accurately, select the parts closest to the image, but do not lose the main detail:
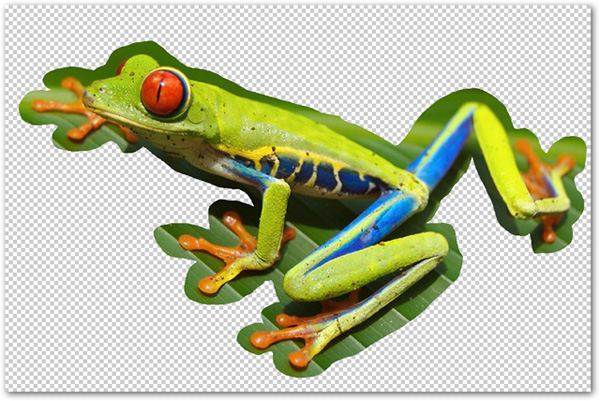
When making a mistake, you can go back to the previous step with the shortcut Ctrl + Z or Ctrl + Alt + Z. After completing this step, the photo will now look like this:
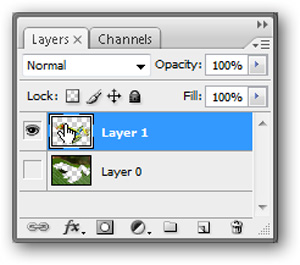
There is no need to delete all the extra details at this step, it is important to create a border that most closely matches the main detail of the image to be processed - here is the frog shape. To quickly remove details of the outer part, hold Ctrl and select Layer 1:
Then click Delete to delete the outside selection. Next, open the Channels palette and select the icon
 to create a new Alpha Channel :
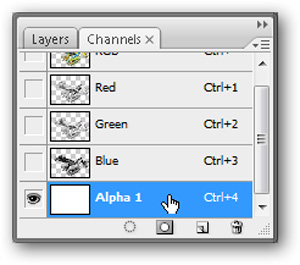
Select this new Alpha Channel (usually named Alpha 1 ), and the program will display a list of the corresponding layers. Press Ctrl + 4 into RGV class:
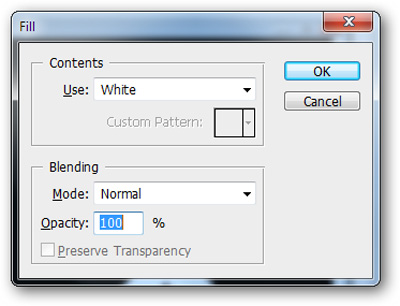
And select Edit> Fill , switch the Contents mode to Use: White and click OK:
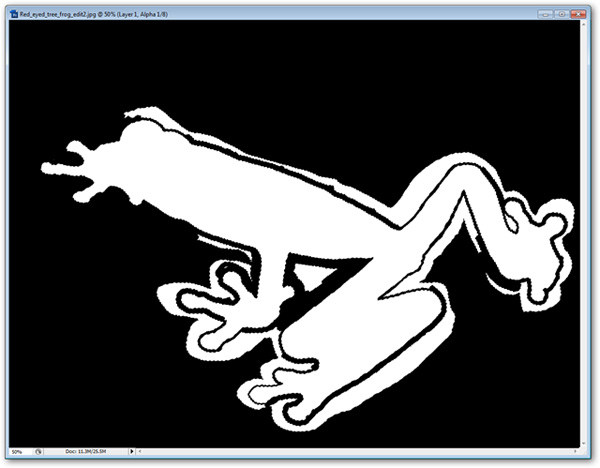
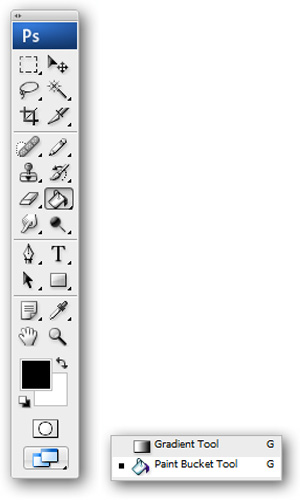
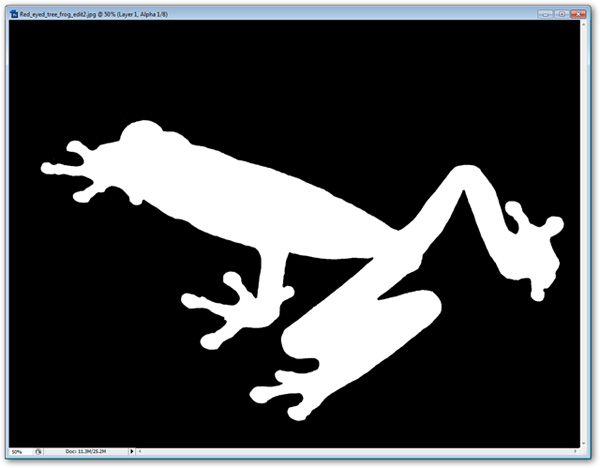
After that, Alpha chanel will be covered in white with the outer selection. Press Ctrl + D to remove the selection. Continue, press and hold the Gradient Tool to display the Contextual Menu , then select the Paint Bucket Tool and let the Foreground Color be Black :
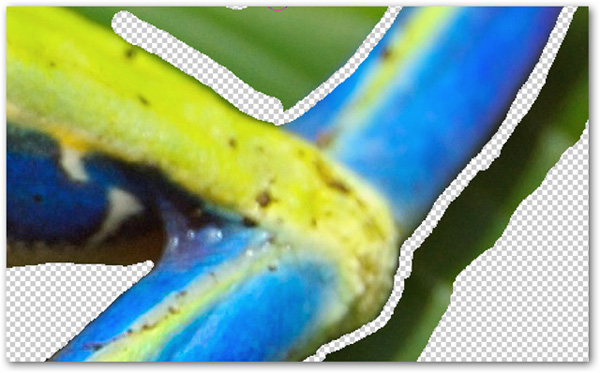
Select the parts you don't want to black on, be careful with every detail:
Next, press Ctrl and select Alpha 1 Channel to select the new part you just created:
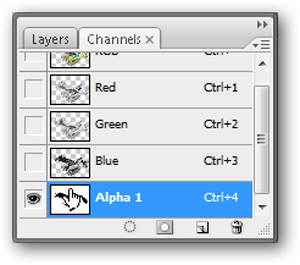
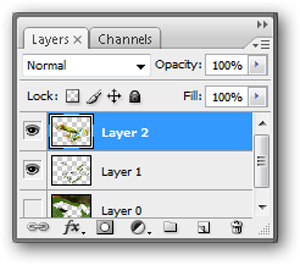
After that, press Ctrl + ~ to return to the RGB layer, select the Layers Palette and press Ctrl + Shift + J to convert the image to a new layer. You can delete the old layer or hide it:
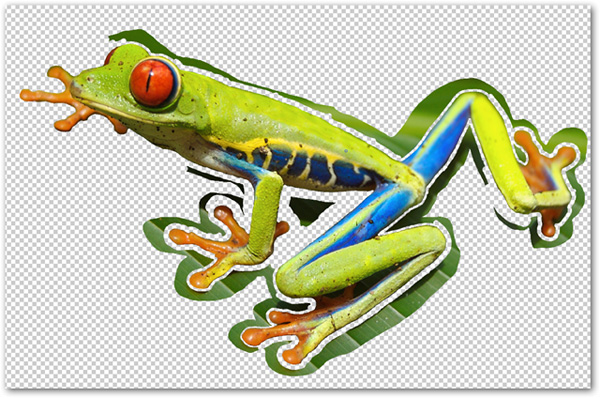
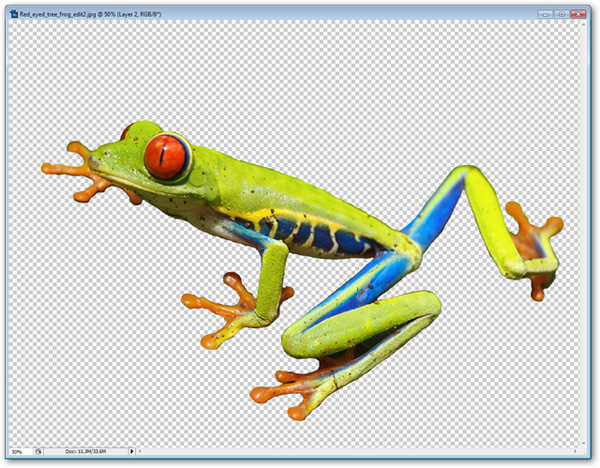
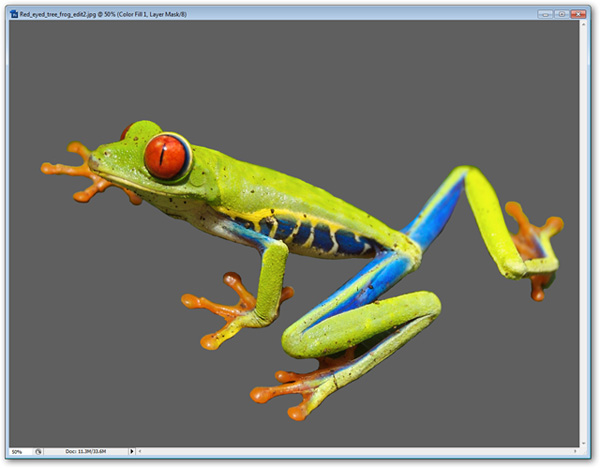
The photo after this step will look like this:
We often choose tools
 to adjust Color Fill and Adjustment Layer , great for removing small details and blending into the main picture. You can choose different background colors to check if there are any extra items around the photo:
Good luck!
Next lesson: How to use Photoshop CS5 - Part 10: Use Layer Mask and Vector Mask to delete the background image
Previous lesson: How to use Photoshop CS5 - Part 8: Menu Filters
Was this article helpful?
Your feedback helps us improve.
Related Articles
 How to use Photoshop CS5 - Part 16: Delete any object from the image4 minutes read
 How to delete photo backdrops in Photoshop3 minutes read
 How to use Photoshop CS5 - Part 10: Use Layer Mask and Vector Mask to delete the background image4 minutes read
 Steps to delete selections in Photoshop are very easy and effective5 minutes read
 How to use Photoshop CS5 - Part 2: Panels8 minutes read
 How to use Photoshop CS5 - Part 25: Remove automatic background images with Photoshop Action3 minutes read
Reader Comments 0
Sign in with email or Google to join the discussion.