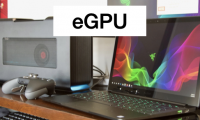
How to make your own eGPU for laptop
Your old laptop is still running fine, so replacing it just because it doesn't have a dedicated GPU is a waste. While many people know that DIY eGPUs exist, they avoid them because they think building their own is too much work—but they're wrong.
Table of Contents
Your old laptop is still running fine, so replacing it just because it doesn't have a dedicated GPU is a waste. While many people know that DIY eGPUs exist, they avoid them because they think building their own is too much work—but they're wrong.
Step-by-step guide to building your own eGPU
There are a few things you should know about eGPUs before you start building one, but if you're primarily looking for flexibility, building an eGPU is probably the best solution.
What you need to build an eGPU
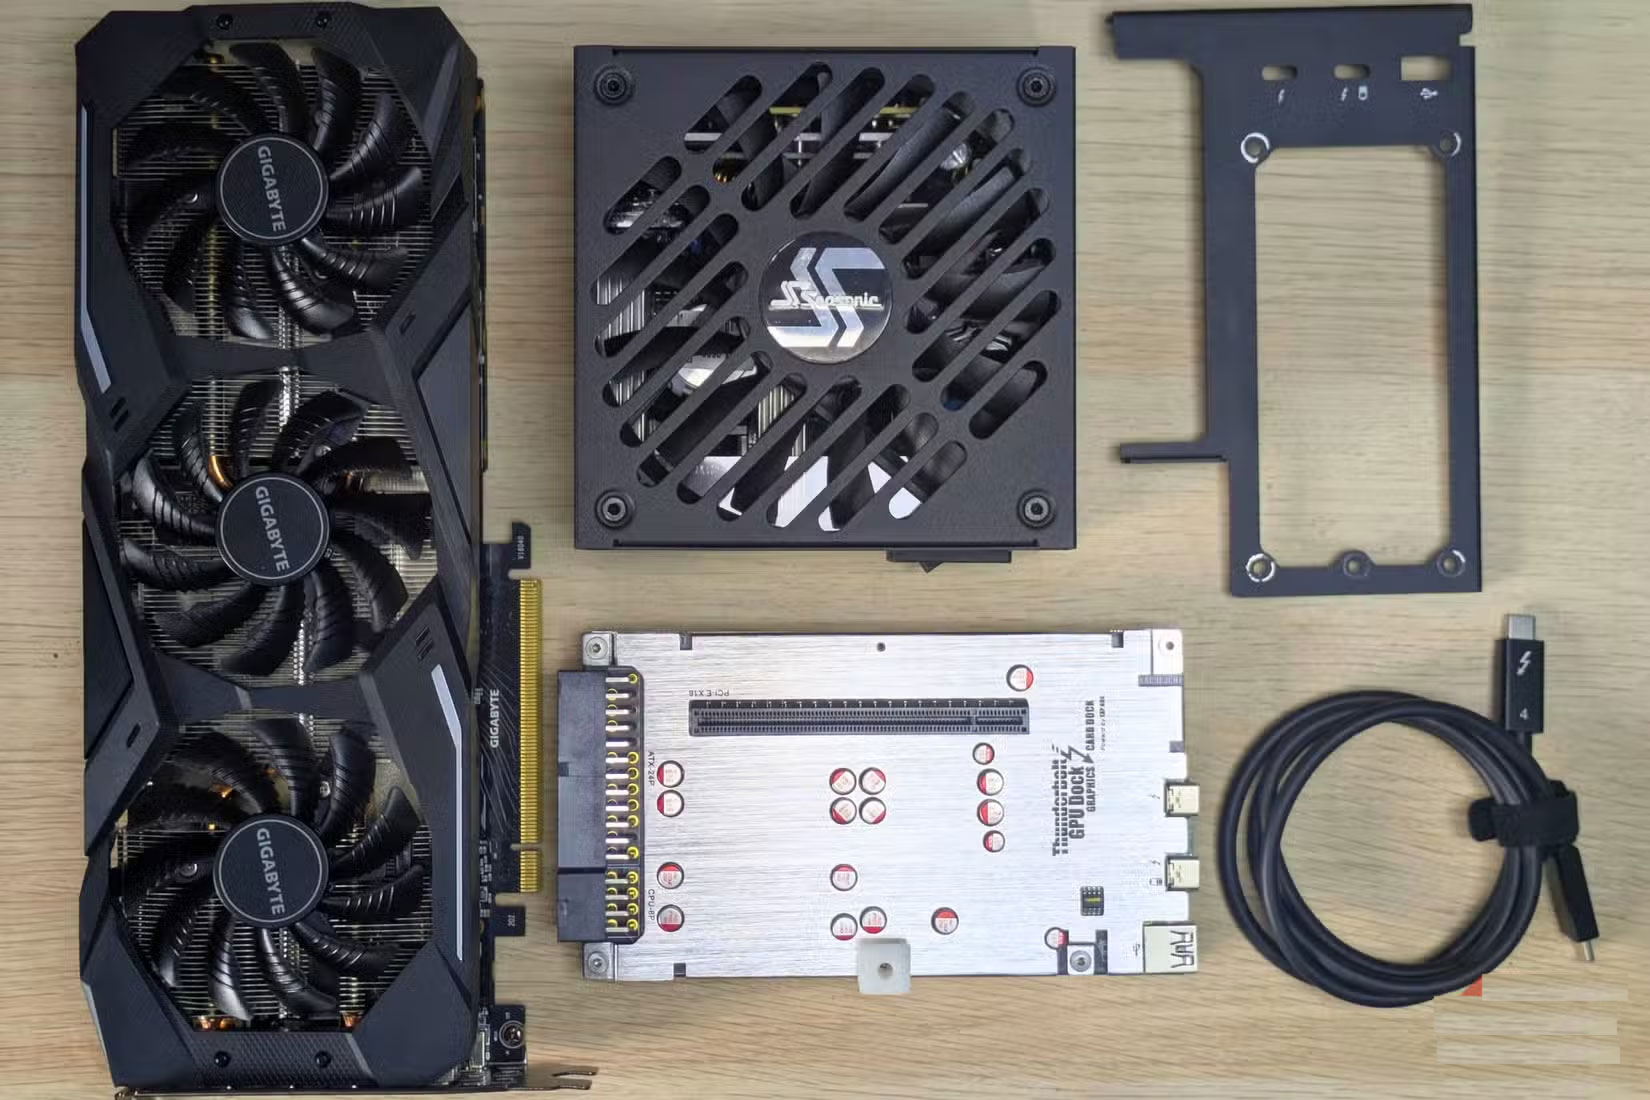
Building an eGPU requires only a few main components:
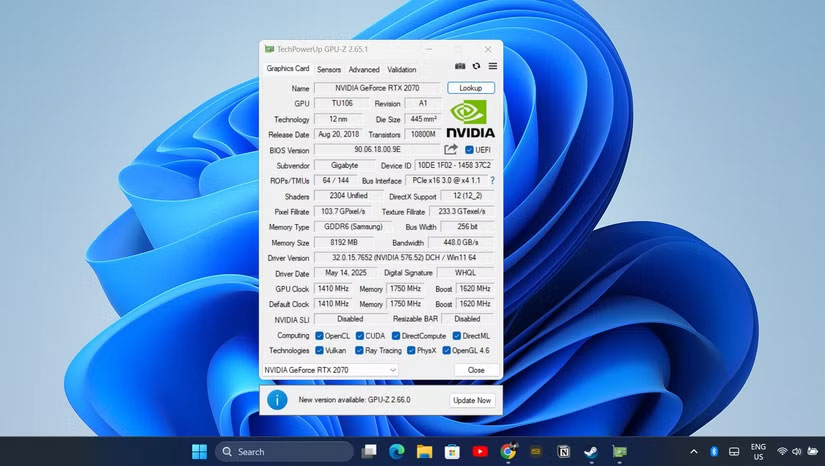
- Graphics Card : RTX 2070 was chosen because that's what the author had, but any desktop GPU should work, depending on your performance needs and budget.
- Power Supply : The example used a Seasonic Focus 500W ITX power supply, which provides enough power for most graphics cards. You can use almost any existing power supply. Most eGPU docks today have brackets that can fit most standard PSUs.
- eGPU dock : For this example, we will use the TH3P4 Thunderbolt GPU Dock with an 85W power supply option as the base. Unless your laptop has an OCulink port, purchasing a Thunderbolt eGPU dock will be the most convenient option.
- Thunderbolt Cable : Usually included with the dock, this handles both data and power. If you're planning on buying one separately, keep in mind that USB-C cables and Thunderbolt cables aren't always the same. Be sure to check the cable's specifications.
- Thunderbolt Control Center software : Available on the Microsoft Store to manage connections.
- GPU Driver : Download the latest driver from NVIDIA or AMD, depending on your graphics card.
The total cost of the specific setup will be around $430 (including GPU and PSU ), which is significantly less than buying a pre-installed eGPU enclosure and graphics card. Most commercial eGPU solutions start at $300 for the eGPU enclosure alone, and you don't even need to install a graphics card. Of course, if you already have a spare GPU and PSU, you'll only need to pay for the dock, which is around $120. You can also buy cheaper docks, but I chose the TH3P4 dock because it has a built-in power supply and supports connecting to many other Thunderbolt devices.
How to assemble and configure eGPU
Setting up an eGPU may sound complicated, but you'll find it's much simpler than you think. There's no need to mess around with complicated software or hidden settings. Just assemble the components, install the drivers, and you're done.
Start by preparing the eGPU dock. Attach the bracket, which will hold both the graphics card and the power supply in place. This will ensure nothing moves around when you boot up.
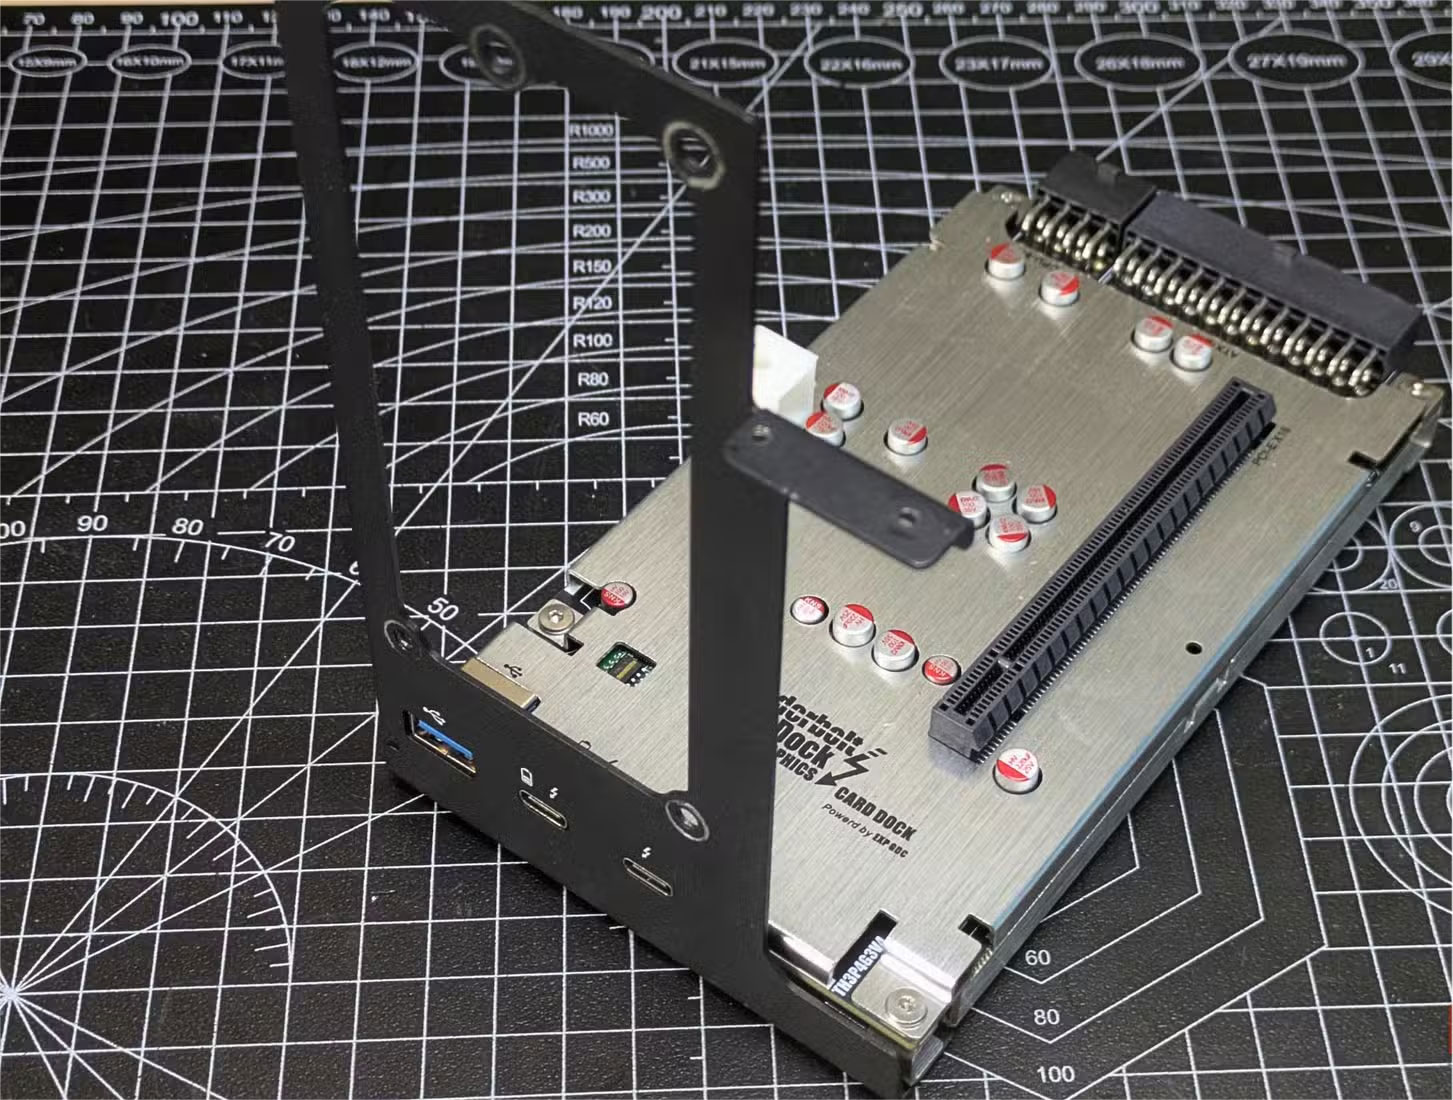
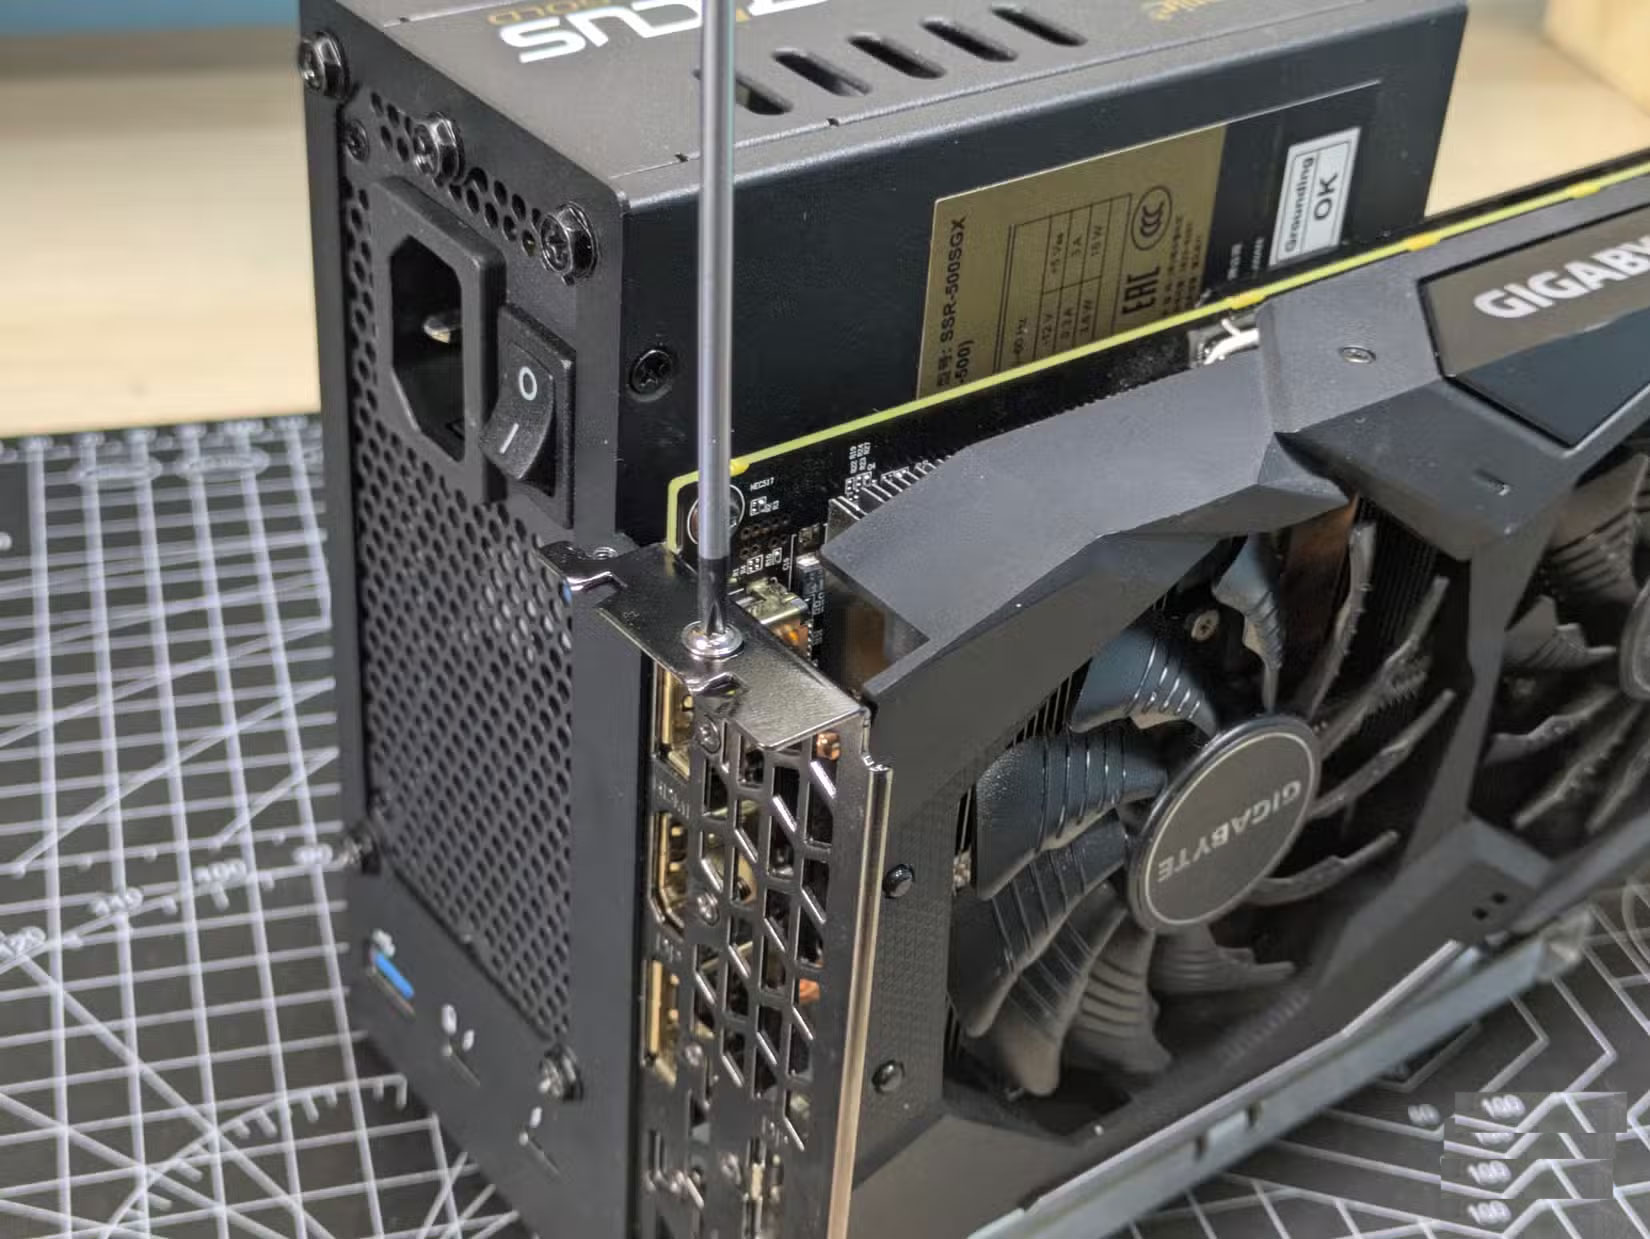
Once the bracket is attached, secure the power supply. It is best to position the PSU with the fan facing outwards, ensuring the GPU does not block airflow once the eGPU is fully installed.
Now, lift the graphics card up and gently slide it into the PCIe slot on the dock. Once the card is aligned and fully installed, screw it into the bracket to secure it.
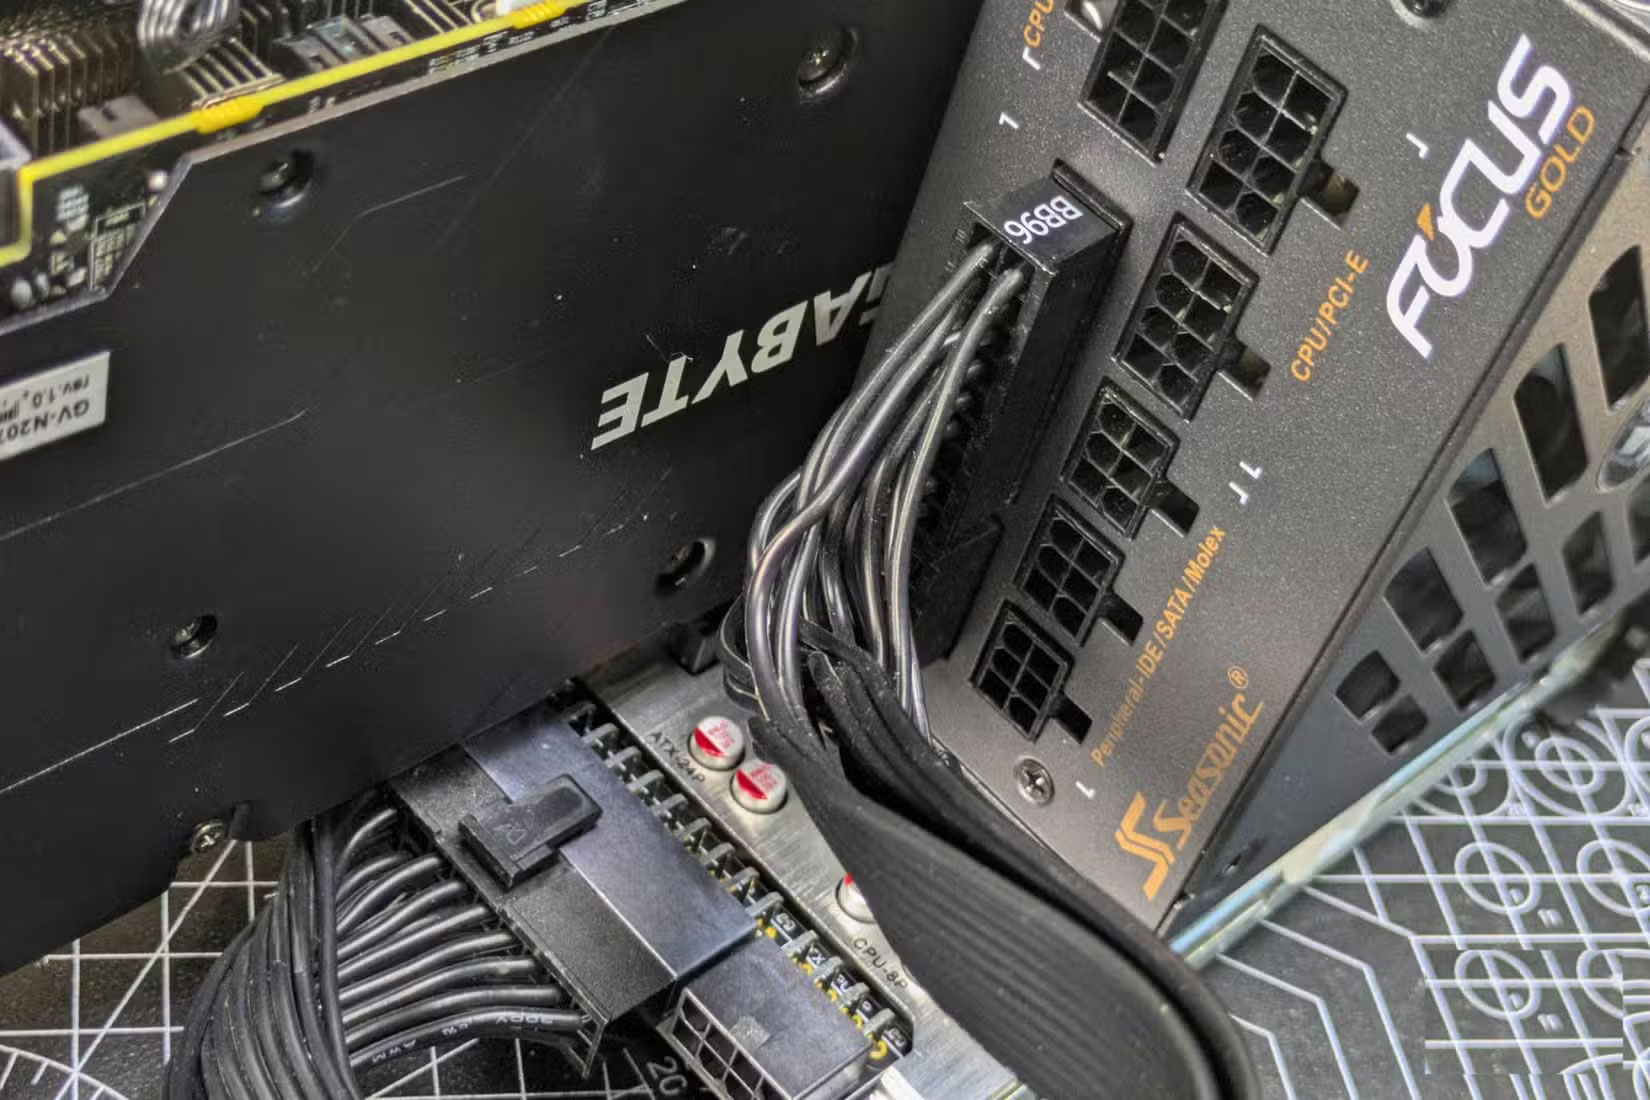
Next, plug in all the power cables. Connect the 24-pin (motherboard) cable to the dock, add a 4+4-pin (CPU) cable to charge peripherals, and then connect both the 8-pin and 6+2 PCIe connectors to the GPU. Double-check that all connections are tight.
Once the hardware is in place, move on to your laptop. Download and install Thunderbolt Control Center from the Microsoft Store. This app helps your computer see and manage all of your Thunderbolt devices, making it easy to connect an eGPU.
Now, take your Thunderbolt cable and connect your eGPU to your laptop. Make sure you connect the cable to your laptop's Thunderbolt port (the one with the Thunderbolt logo) and not to a regular USB-C port. The eGPU requires the Thunderbolt protocol, which isn't available in all cables that use the USB-C interface.
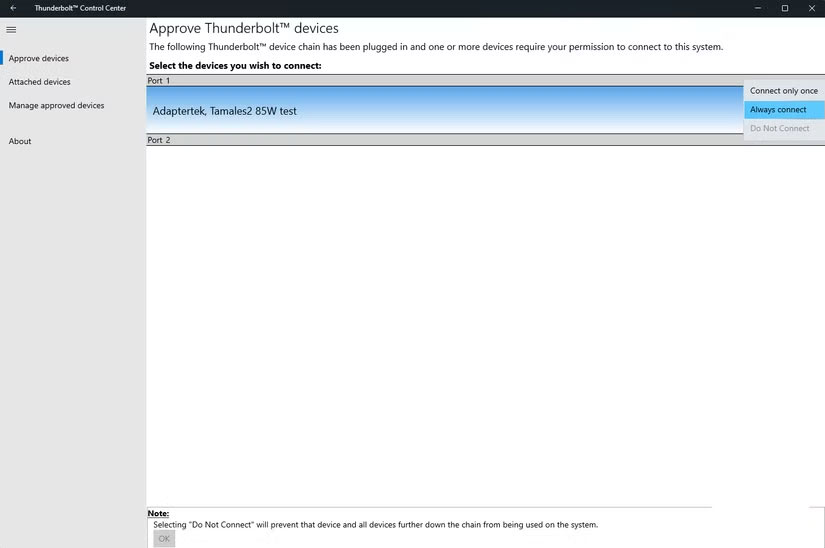
Open Thunderbolt Control Center. Your new eGPU should show up almost immediately. If it doesn't connect automatically, you can click Connect and set the option to Always connect . That way, you won't have to approve the connection every time you plug it into the dock.
Next, head to the NVIDIA or AMD website to download the latest drivers for your graphics card. Install them and look for the GPU control panel icon in your system tray. If you see that icon, you're all set. Of course, you can also install GPU-Z to check if everything is working with your eGPU.
For best results, connect an external display directly to the eGPU's video output. This ensures that all the heavy lifting is done by the desktop GPU rather than the laptop's integrated graphics. You'll see an immediate performance boost when running demanding creative applications and using high-resolution displays.
The whole process can take about 20 to 30 minutes, most of which is spent assembling the hardware. The software is quick and automatic.
Once the driver is installed, you're ready to enjoy your upgraded setup.
Building your own eGPU is one of the most satisfying DIY projects many people have ever completed. It solves the problem of graphics performance without forcing you to compromise portability or the expense of a new laptop. This setup gives you the flexibility to handle graphics-intensive tasks when needed, while still maintaining portability when traveling.
Was this article helpful?
Your feedback helps us improve.
Related Articles
 What is eGPU? eGPU How to speed up laptop?3 minutes read
 What is eGPU? What is eGPU used for? The most popular types of external VGA9 minutes read
 eGPU And 5 Things Laptop Users Need To Know Before Buying7 minutes read
 What is eGPU? Criteria to know when choosing an eGPU13 minutes read
 How to make old laptop run faster immediately4 minutes read
 The mistakes are easy to make when buying a laptop15 minutes read
Reader Comments 0
Sign in with email or Google to join the discussion.