How to enable/disable 'Let's finish setting up your device' screen on Windows 11
The Let's finish setting up your device screen is a SCOOBE (Second-Chance Out Of Box Experience) that can display when you sign in to suggest ways to get the most out of Windows and complete this device setup.
Table of Contents
The guide will show you how to enable or disable the "Let's finish setting up your device" screen for your account in Windows 11.
The Let's finish setting up your device screen is a SCOOBE (Second-Chance Out Of Box Experience) that can display when you sign in to suggest ways to get the most out of Windows and complete this device setup.
Starting with Windows 11 build 25309, Microsoft is testing SCOOBE with your username included in the title.
Enable or disable "Let's finish setting up your device" in Settings
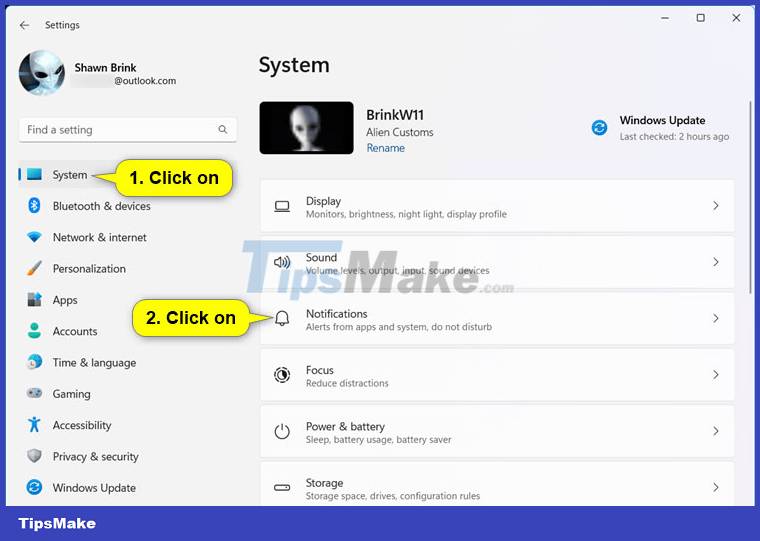
1. Open Settings (Win + I).
2. Click System on the left and click Notifications on the right.
3. Do one of the following actions depending on what content is available for this installation:
- Click on Additional settings to expand it and select (enable - default) or uncheck (disable) Suggest ways to get the most out of Windows and finish setting up this device depending on what you want.

- Select (enable - default) or deselect (disable) Offer suggestions on how I can set up my device according to your wishes.

4. Now, you can close Settings if you want.
Enable or disable "Let's finish setting up your device" using REG file
1. Perform step 2 (enable) or step 3 (disable) below according to your preference.
2. To activate "Let's finish setting up your device" (this is the default setting), download the REG file below and go to step 4.
Enable_Lets_finish_setting_up_your_device.reg
REG file content is for reference only:
Code: Windows Registry Editor Version 5.00 [HKEY_CURRENT_USERSoftwareMicrosoftWindowsCurrentVersionUserProfileEngagement] "ScoobeSystemSettingEnabled"=dword:00000001
3. To disable "Let's finish setting up your device", download the REG file below and go to step 4.
Disable_Lets_finish_setting_up_your_device.reg
REG file content is for reference only:
Code: Windows Registry Editor Version 5.00 [HKEY_CURRENT_USERSoftwareMicrosoftWindowsCurrentVersionUserProfileEngagement] "ScoobeSystemSettingEnabled"=dword:00000000
4. Save the .reg file to your desktop.
5. Double click on the downloaded .reg file to merge it.
6. When prompted, click Run > Yes (UAC) > Yes > OK to approve the merge.
7. Now, you can delete the downloaded .reg file if you want.
Was this article helpful?
Your feedback helps us improve.
Related Articles
 Instructions for quick fix of 'Inaccessible Boot Device' error on Windows 10/8/7 and Windows Vista7 minutes read
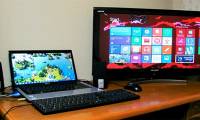 How to use a laptop as the second screen for laptops and computers3 minutes read
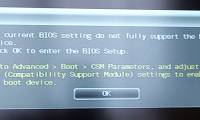 Fix 'The current BIOS setting do not fully support the boot device' in Windows 103 minutes read
 9 Android Phone Lock Screen Security Settings7 minutes read
 4 things to do with Android / iOS lock screen6 minutes read
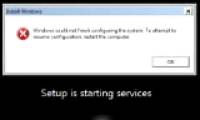 How to fix 'Windows could not finish configuring the system' error after running Sysprep.4 minutes read
Reader Comments 0
Sign in with email or Google to join the discussion.