How to install Windows on Chromebook
Windows 10 is a versatile and powerful competitor to ChromeOS. Although your Chromebook may not come with Windows, you can still install the operating system by following a simple process.
Download Windows and prepare USB boot
To install Windows on Chromebook, you need to download the official Windows 10 ISO file and prepare a USB boot to run that file. You should create this installer using another Windows or Linux device.
Although you can create a boot drive using the Chromebook Recovery Tool, this method seems to work best for Linux distributions. It often doesn't work with Windows ISOs, and what's worse is that Chromebook Recovery Utility puts USB drives in a read-only state making reversing annoying. Instead, you should create a Windows 10 installer using Rufus or a similar program.

Access Developer Mode and install UEFI firmware
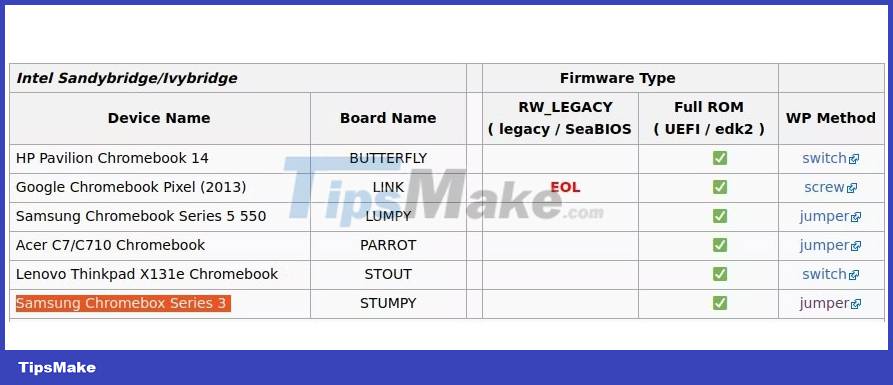
After preparing the USB boot, you will need to turn off the Write Protection feature on your Chromebook. The method you should use to do this depends on your Chromebook model, but you can determine it by checking the MrChromebox.tech wiki. Follow the advice provided in the link next to your specific Chromebook model.

Install UEFI Firmware as follows:
1. Start by turning on Developer Mode.
2. After logging in to your account, open the Developer Console (Ctrl + Alt + Refresh).
3. Enter chronos as your localhost name, then enter this command:
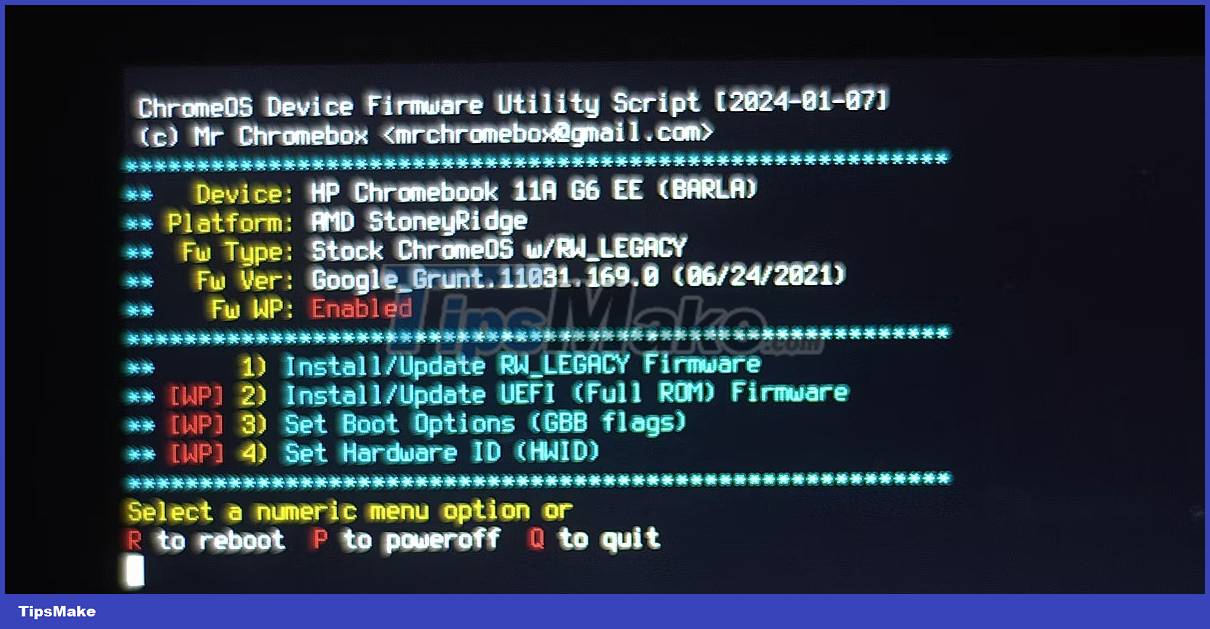
CD; curl -LO mrchromebox.tech/firmware-util.sh && sudo bash firmware-util.sh
4. When the UEFI Flash window appears, enter 2 to select the Install/Update UEFI (Full ROM) Firmware option.

5. Enter Y to confirm your selection, then enter U to confirm that you want to install UEFI-compatible firmware.
Finally, a prompt will appear asking if you want to create a backup of your original firmware. This is important because it allows you to switch back to ChromeOS if you decide that the Chultrabook setup isn't for you.
- Make sure you have a separate, spare USB drive installed.
- Confirm that you want to flash the .rom firmware to your USB drive by entering the number next to it in the device list.
Once you've installed the new UEFI firmware and backed up the old ChromeOS firmware, you're ready to start installing Windows on your Chromebook. You can also reverse the changes you made to disable Write Protection.
Run the Windows installer on your Chromebook
Finally, you are ready to install Windows.
- Turn off your Chromebook.
- Plug in USB boot to install Windows.
- Press the Power button to restart your Chromebook.
- Press the ESC key as soon as your Chromebook boots to access the BIOS.
- Navigate to the Boot Order settings and adjust the boot order so that your USB is the first boot device.
- Restart your Chromebook and wait for it to enter the Windows settings menu. You will need to connect a USB keyboard or mouse to navigate through the installer.
Continue through the Windows installer:
1. Set your basic options and click Install now.
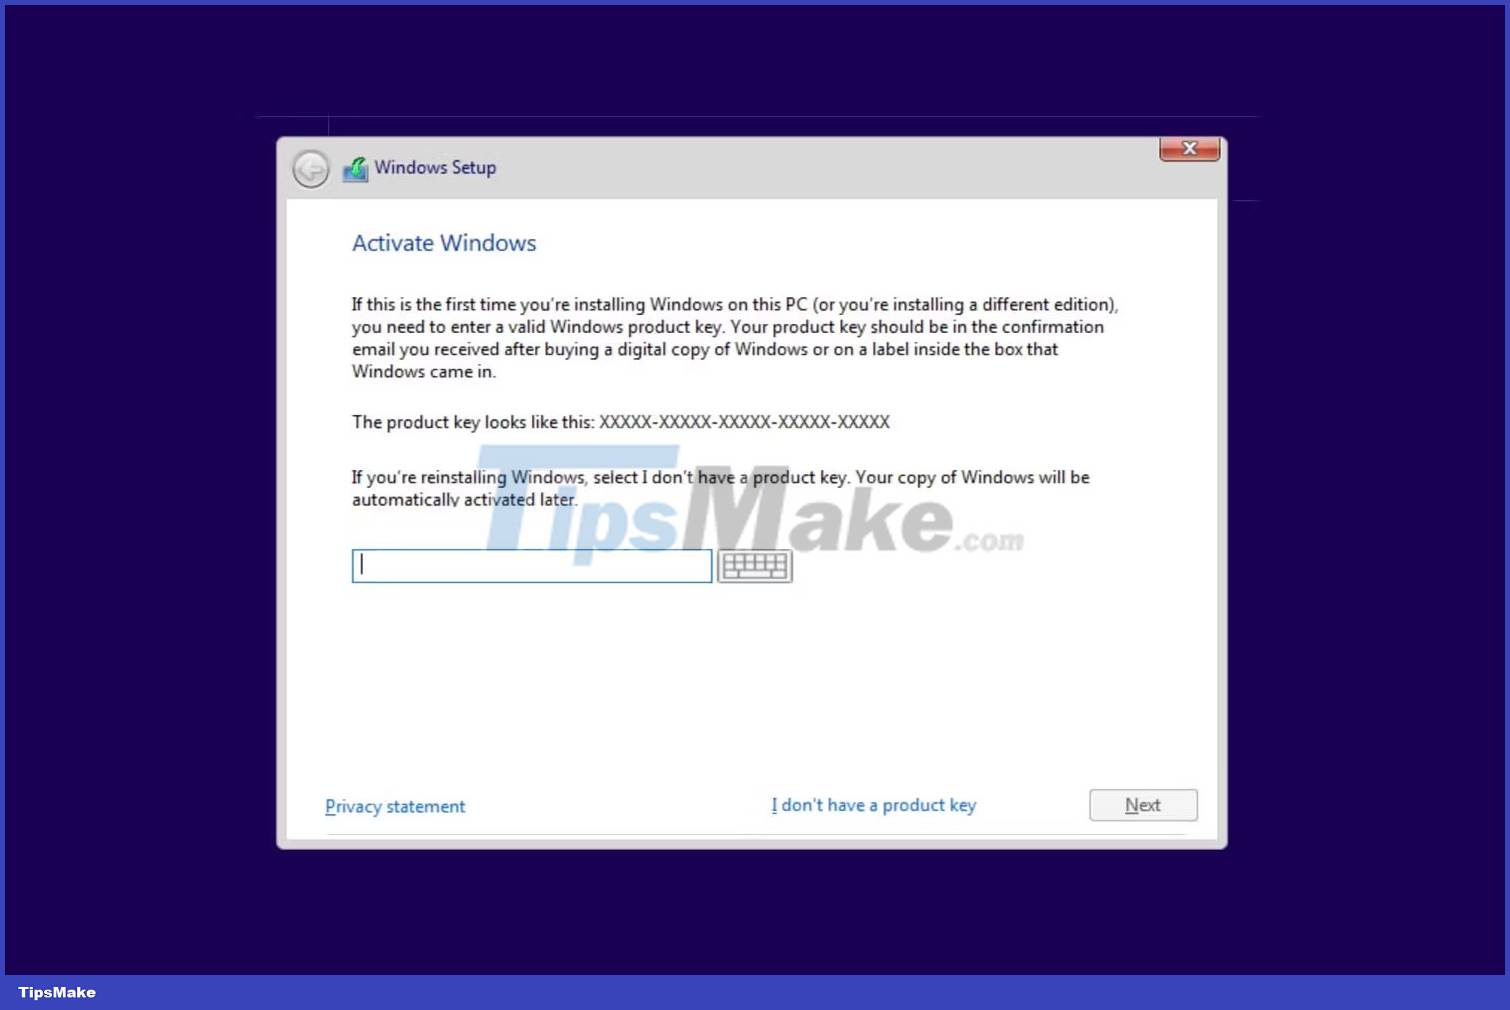
2. You will be prompted to enter the product key. Select I don't have a product key, then select the version of Windows you want from the drop-down list.

3. Select Custom: Install Windows only (advanced) when prompted to choose an installation procedure. You can rearrange your partitions as you like, but you should install Windows in the largest partition.
Once your Chromebook restarts or returns to the beginning of the installer, remove the USB installer and restart the device. If the installation is successful, your Chromebook will boot to the final Windows setup prompt.
Download Windows drivers and customize your setup

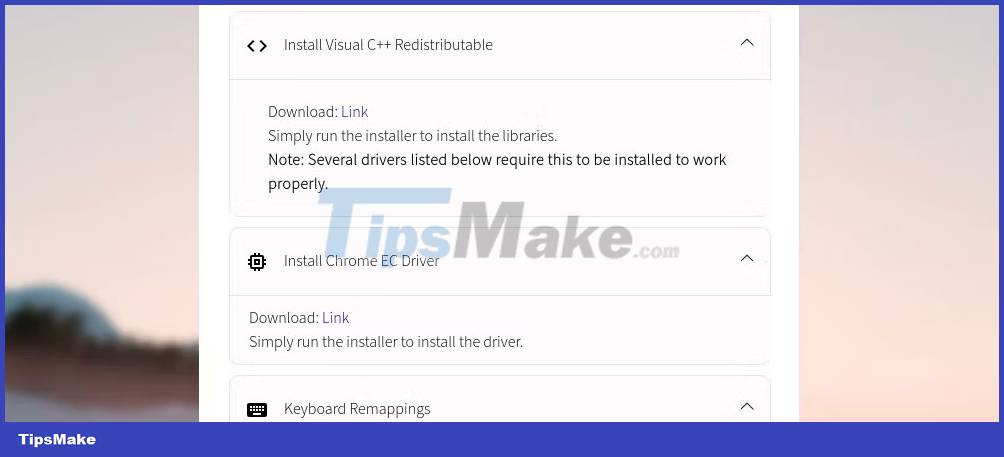
Even though you may have gotten past the most difficult part of installing Windows on your Chromebook, you still need to install some drivers before your new operating system is ready to use. The simplest method to find the right driver for your Chromebook is to use Coolstar's Chromebook Windows Installation helper.
The drivers you need to download are device-specific, so you should trust the instructions Coolstar provides. Additionally, you can take basic steps to customize Windows 10 and install some additional Windows customization apps if you are not satisfied with the basic options provided.