How to create a countdown timer in Excel
Network administrators have previously taught you how to create a countdown timer in PowerPoint slides through the use of other motion effects. And with Excel, we can completely create a countdown timer with a simple implementation, through the use of VBA code.
Accordingly, the user selects the time format type to display and then enters the VBA code to conduct the countdown. When running a code, the clock in Excel automatically counts down and you will see the time change. When the countdown time expires, Excel sends a notification to the user. The following article will guide you how to insert a countdown timer in Excel.
- How to install VBA in Excel
- How to break VBA password in Excel
- How to create blinking text in Excel
- How to automatically highlight rows and columns in Excel
Instructions for inserting a countdown timer in Excel
Step 1:
First we select a blank cell to enter the countdown time, then right-click and select Format Cells .
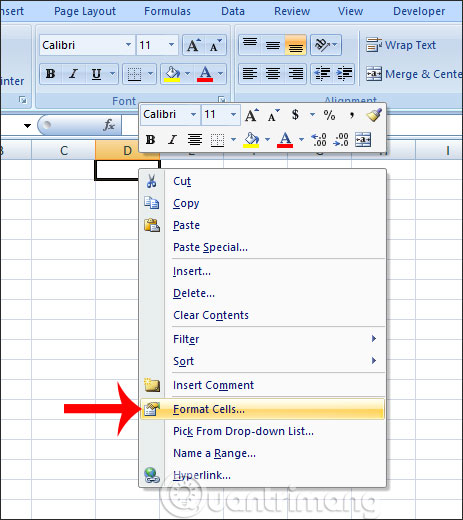
Display the format selection interface for the cell. Here click on the Number tab and then we select the format for the cell is Time , then look to the right to select the time display type . If you want to display by Vietnamese clock style, choose Local as Vietnamese. Click OK below to save.

Step 2:
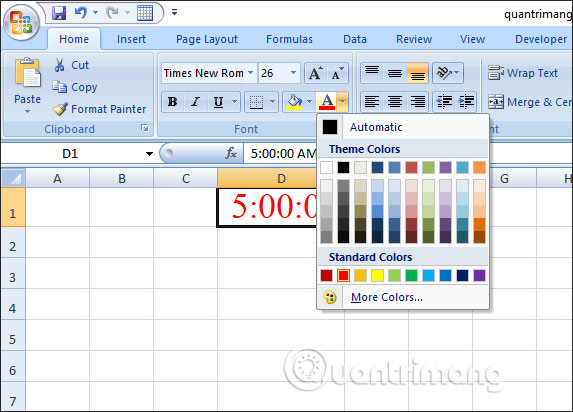
Now we enter the amount of time we want to count down , hour by hour, minute by minute or second as we wish . Adjust the format for the time box, color, font style, font, text size to make the cell more prominent.
Step 3:
Once you've created the countdown timeline, click the Developer tab and then click Visual Basic to open the VBA code editor.

Display the new interface, click the Insert button , select the Module to open the interface to enter the VBA code.
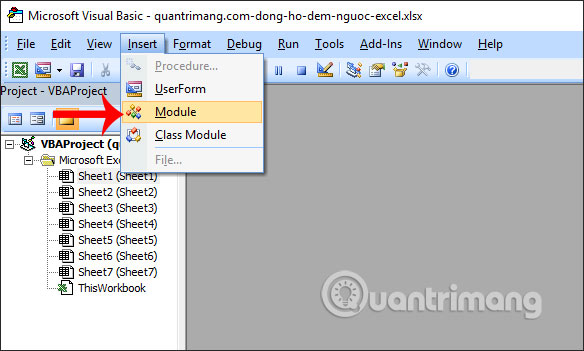
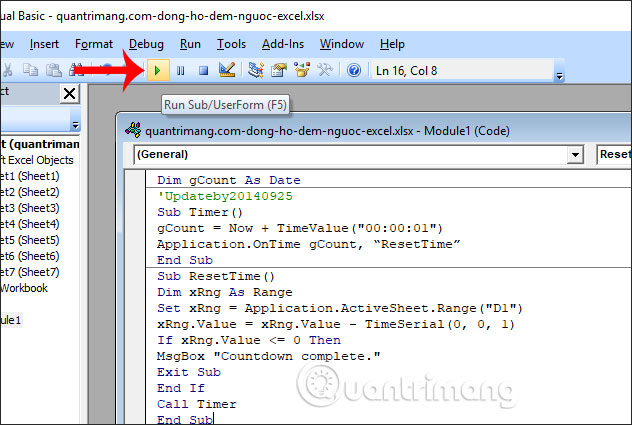
Now show the interface so we can enter the following VBA code into the interface.
Dim gCount As Date 'Updateby20140925 Sub Timer() gCount = Now + TimeValue("00:00:01") Application.OnTime gCount, "ResetTime" End Sub Sub ResetTime() Dim xRng As Range Set xRng = Application.ActiveSheet.Range("D1") xRng.Value = xRng.Value - TimeSerial(0, 0, 1) If xRng.Value <= 0 Then MsgBox "Countdown complete." Exit Sub End If Call Timer End Sub 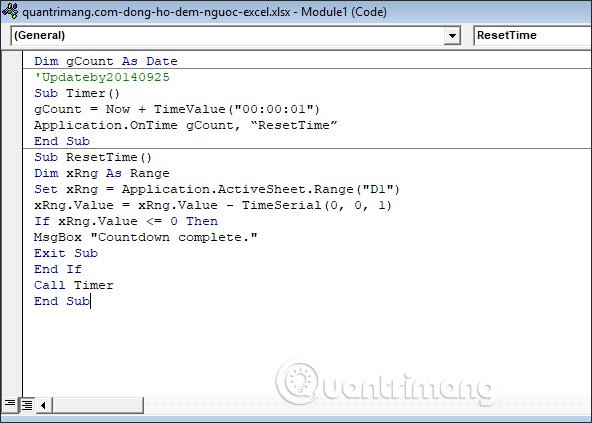
After finishing, click the Run icon to run the code as shown.
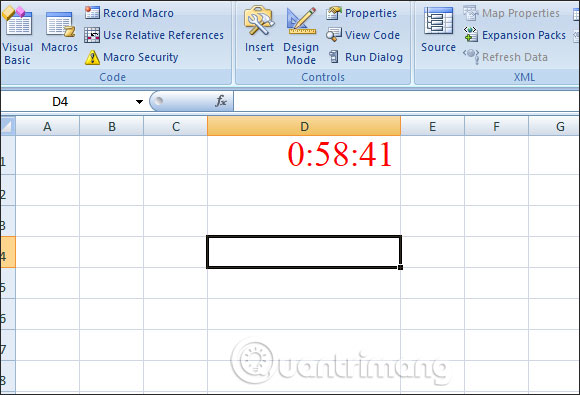
Close the interface and the results we will see the clock automatically countdown. We can change the countdown time as we wish, and the clock will not be changed and still count down until the timer runs out.
Step 4:
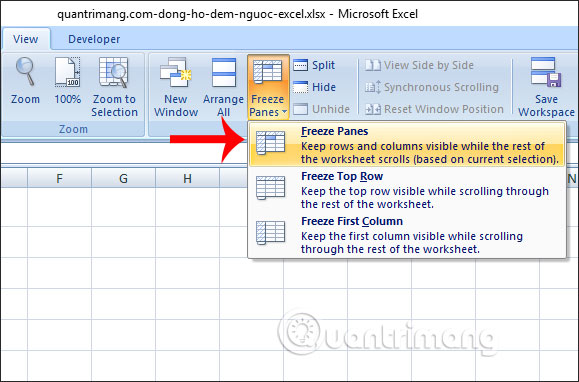
To fix this clock in the working interface in Excel, click the box below the clock box , select the View tab, select Freeze Panes and click Freeze Panes to freeze the row.
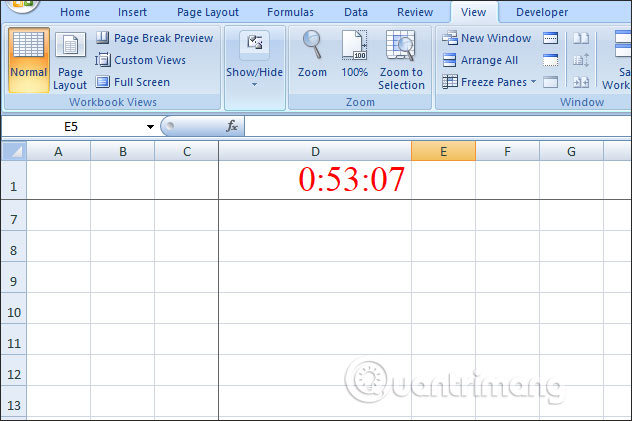
So when you scroll down the content below, the countdown timer is always displayed on top.
Finally, when the countdown ends, the Excel interface will display the completion message as shown below.

With just a few simple steps, we have created a countdown timer in Excel. The countdown time is not fixed and you can change the time as you like, but it must be in the set time format.
I wish you successful implementation!