Instructions for inserting an image into an Excel spreadsheet
Insert images into Excel spreadsheets to illustrate how easy it is to understand or know the unit owner or company ... Steps to insert an image into an Excel spreadsheet are not too difficult..
Insert images into Excel spreadsheets to illustrate how easy it is to understand or know the unit owner or company . Steps to insert an image into an Excel spreadsheet are not too difficult. You can refer to the steps in the following article of Network Administration.
Step 1:
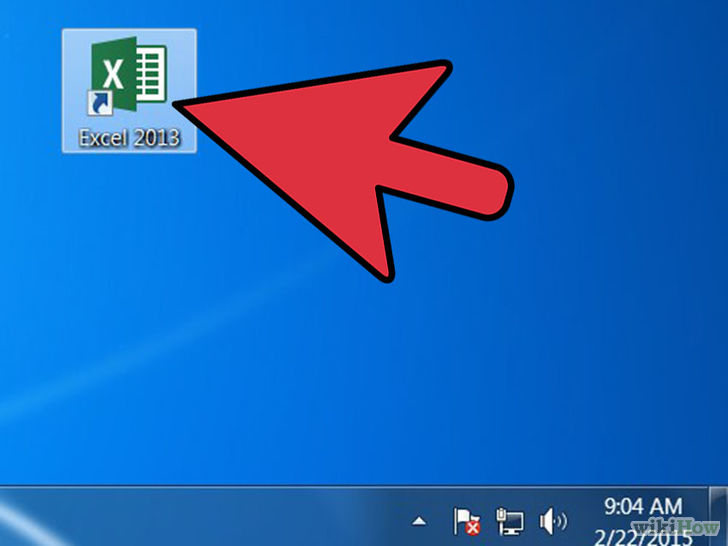
Open the Excel application that you have installed on your computer.
Step 2:
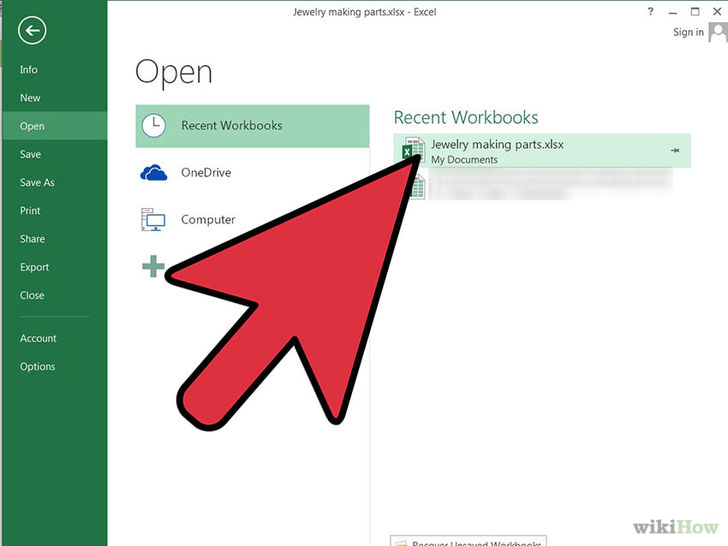
Open the workbook file that you want to add the image to.
Step 3:

Select the image you want to insert into the spreadsheet.
Step 4:

Click on select an empty cell in the Worksheet.
Step 5:

Insert appropriate image into Excel spreadsheet:
- You can search for images on the Insert menu or Insert tab, depending on your Excel version.
- If you want to insert an image that you downloaded on the network or an image saved on your computer, you can use the Insert picture option from the file. Browse for images you have saved on your computer and then double-click on images to insert them into spreadsheets.
- If you want to insert Clip Art, on the Insert Menu select Clip Art and search for Clip Art in the right pane. Click on the Clip Art image to insert it into your spreadsheet.
Step 6:

Change the image size to match the area you want to insert images:
- Move the mouse over a corner of the image until you see the cursor resize.
- Click and drag the corners of the image to the middle to minimize the hybrid image;pull out to enlarge.
Step 7:
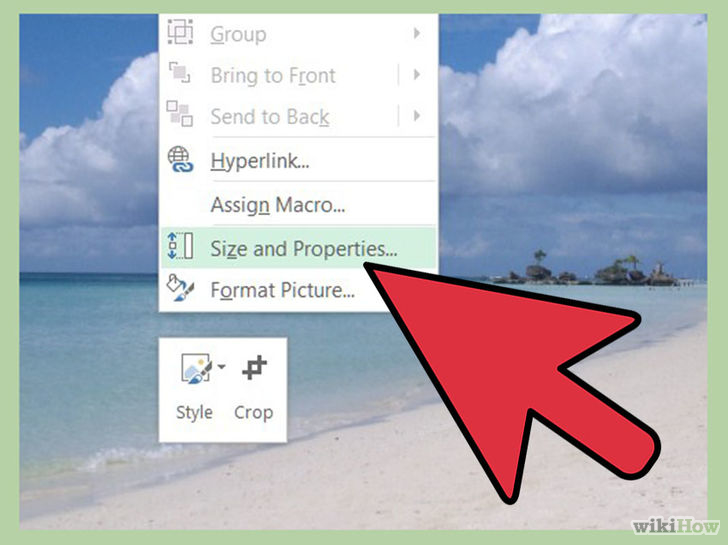
Edit the properties of the image:
- Right-click the image in the spreadsheet and select Properties.
- Add Border (border), Shadow (color), 3D or other effects to images.
Step 8:
Repeat steps to add more images if you want.
You can refer to some of the following articles:
-
10 ways to recover corrupted Excel files
-
Summary - 38 'priceless' shortcuts in Microsoft Excel
-
How to reopen Word, Excel or PowerPoint files when closed but not saved yet?
Good luck!