Table of Contents
This guide explains how to create a Chart in Word 2016, with clear steps, practical tips, and important checks before you begin.
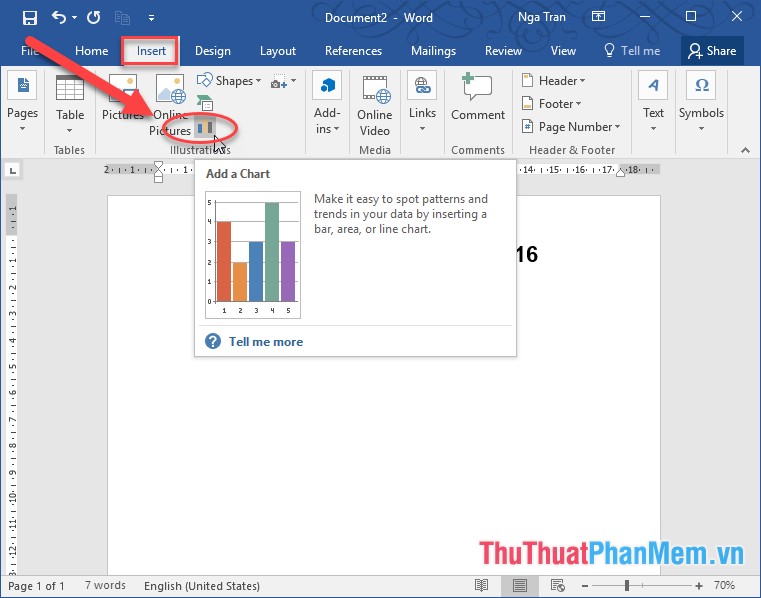
Step 1: Go to the Insert tab -> Chart:
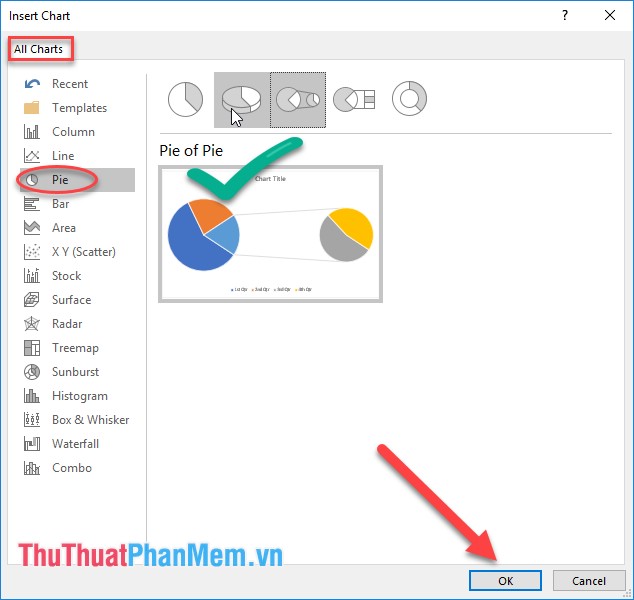
Step 2: The Insert Chart dialog box appears, select the chart type -> click OK:
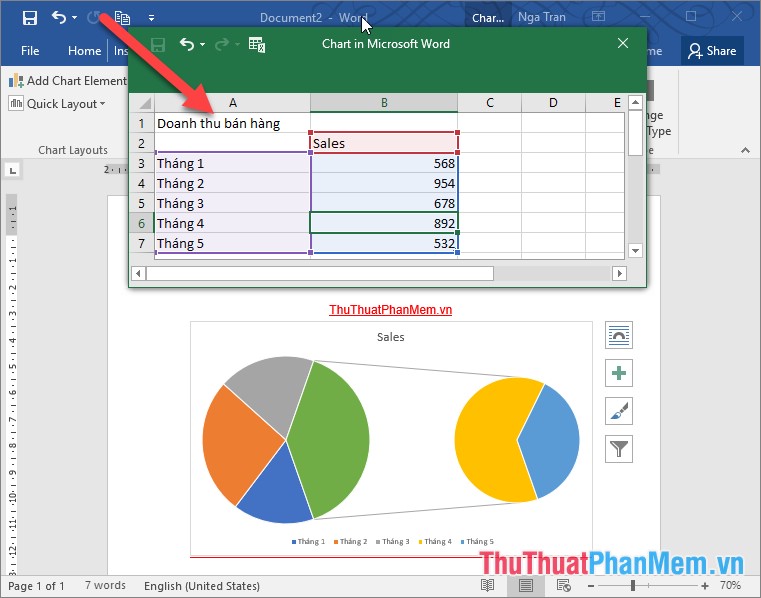
Step 3: The chart type is inserted with the default value, the remaining you enter data in Excel file to draw the chart:
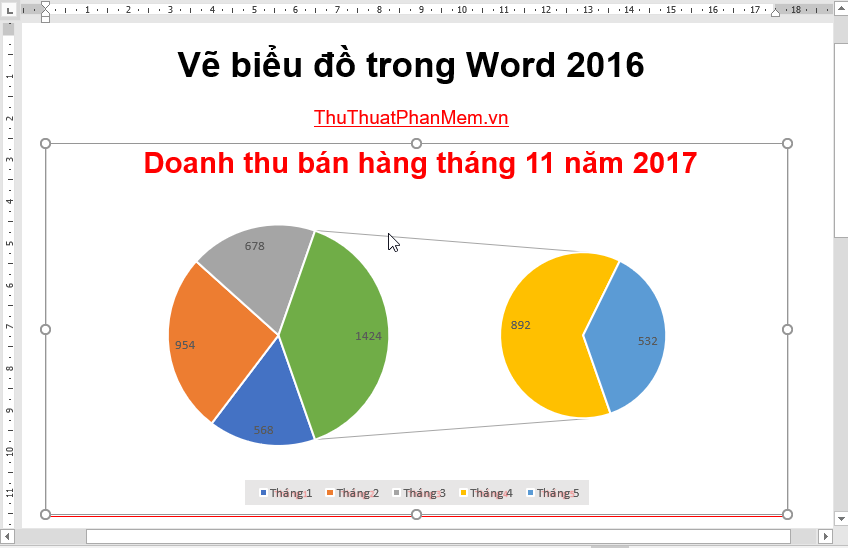
Step 4: Edit the title for the chart by right-clicking the title -> select Edit Text:

Results of editing the title for the chart:

Step 5: Edit the note for the chart by double-clicking the note line at the bottom of the chart -> Format Legend window appears to change the font style, font, color and position of the note on the chart:

So basically you've drawn the chart:
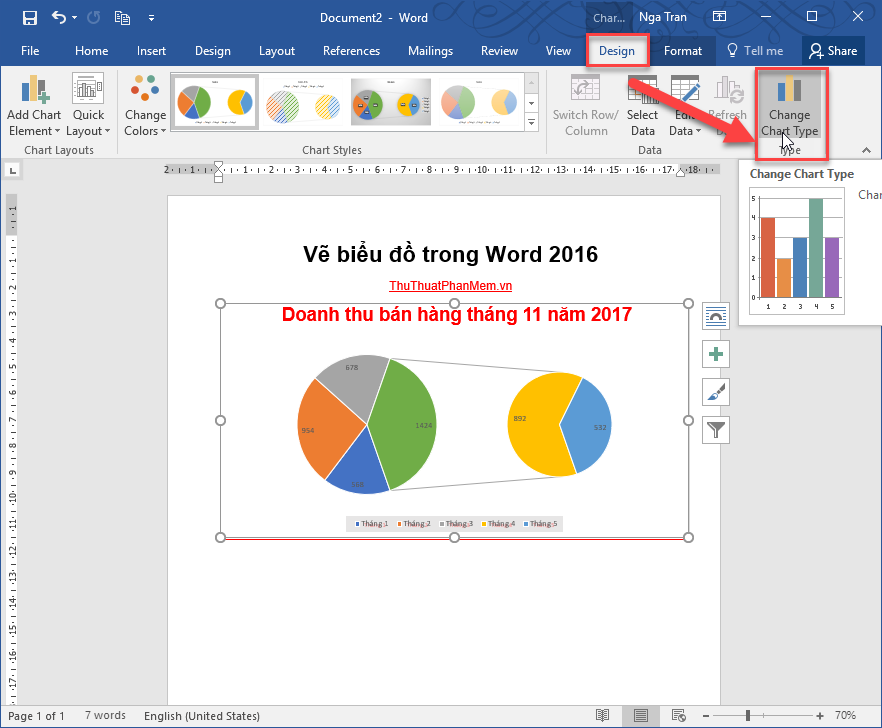
In addition, after drawing the chart you want to change the chart type, click the chart -> Design -> click Change Chart Type:
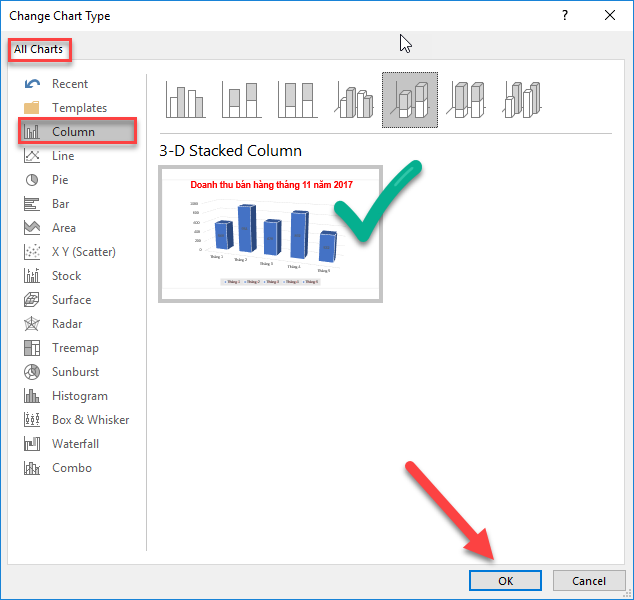
Select the type of chart you want to change -> click OK:
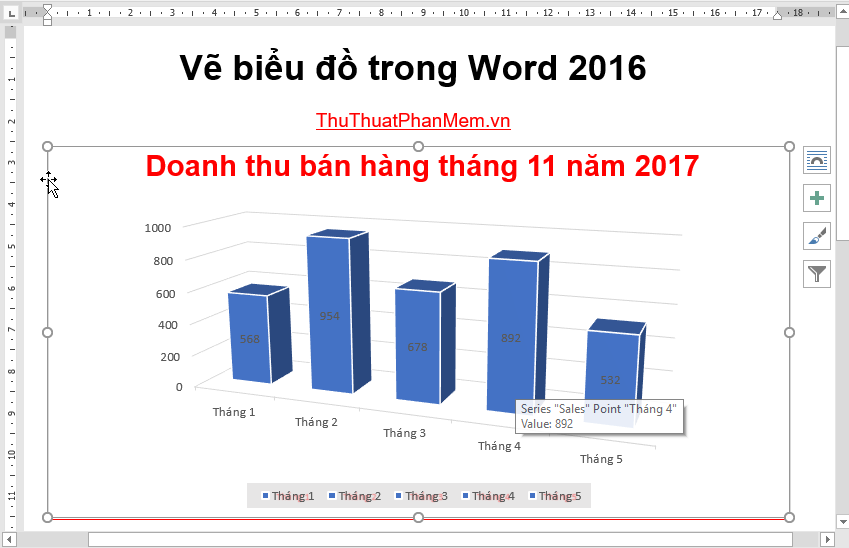
As a result, you have changed the chart style:
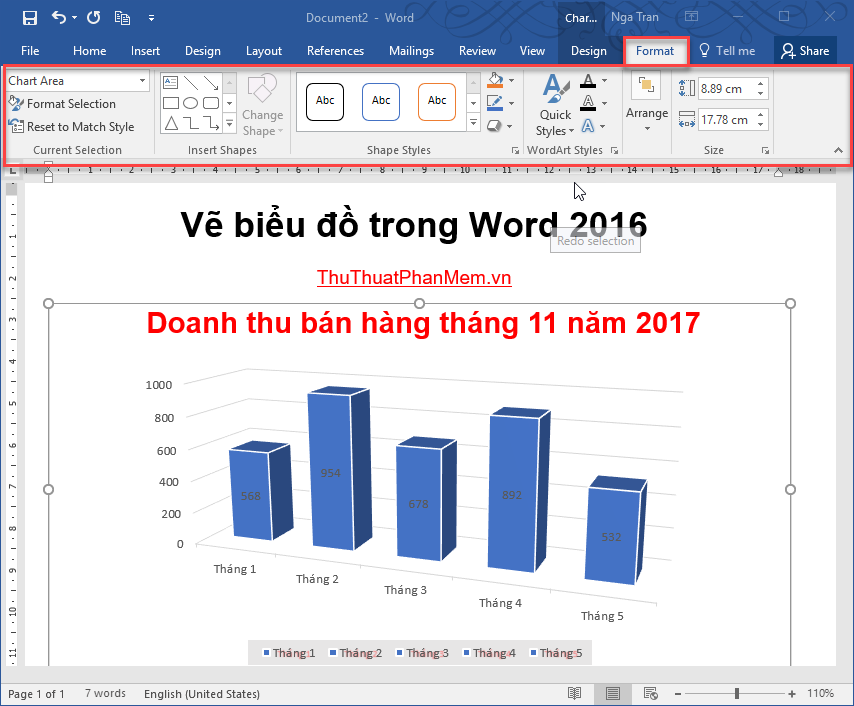
To edit the style, font, font color. click the chart -> select the Format tab to change the font format on the chart:
Edit the chart style, color. click the chart -> go to the Design tab -> change options:

Above are instructions on how to draw charts in Word 2016. I wish you success!
FAQ
What should I know about Create a Chart in Word 2016?
Focus on the key features, requirements, limitations, and practical use cases explained in this guide.
How do I get the best results with Create a Chart in Word 2016?
Follow the recommended steps, use current software or information, confirm compatibility, and review settings before major changes.
Are there any risks or limitations?
Potential limitations depend on compatibility, data quality, cost, privacy, support, and how the product or method is used.
Related Articles
 Instructions for Inserting, Drawing and Creating Charts in Word 20074 minutes read
 How to Create a Pie Chart in Word7 minutes read
 Create and Insert Word 2016 Charts: Create Chart in Word 20166 minutes read
 How to Draw a Chart in Word: Step-by-Step Guide6 minutes read
 How to Make a Bar Chart in Word3 minutes read
 How to Create Funnel-Shaped Charts in Excel, Outlook, PowerPoint and4 minutes read
Reader Comments 0
Sign in with email or Google to join the discussion.