Full Word tutorial 2016 (Part 26): Create SmartArt graphics
SmartArt allows you to communicate information graphically instead of just using text. There are many types to choose from, you can use to illustrate many different types of ideas in Word 2016.
Table of Contents
Check out the video below to learn more about how to create SmartArt graphics in Word 2016 :
Instructions for creating SmartArt graphics in Word 2016:
- I. Create SmartArt graphics
- II. Add text to SmartArt graphics
- III. Rearrange, add and delete shapes
- IV. SmartArt organization from the Design tab
- V. Customize SmartArt
- VI. Change SmartArt layout:
I. Create SmartArt graphics
1. Place the insertion point in the document where you want the SmartArt graphic to appear.
2. From the Insert tab, select the SmartArt command in the Illustrations group.

3. A dialog box will appear. Select a category on the left, select the SmartArt graphic you want, then press OK .

4. SmartArt graphics will appear in your document.

II. Add text to SmartArt graphics
1. Select SmartArt graphics. The text frame will appear on the left.
2. Enter the text next to each bullet line in the text box. Text will appear in the corresponding shape. It will automatically resize to fit inside text.

- In addition, you can also add text by clicking on the desired shape and then typing the text. This will work well in case you just need to add text to a few shapes. However, for more complex SmartArt graphics, typing text directly in the text box is often faster and easier.

III. Rearrange, add and delete shapes
It's easy to add new shapes, change order and even delete shapes from your SmartArt graphics. You can do all this in the text frame and it's like creating a sketch with a multilevel list . For more information on multilevel lists, you can review our List article.
- To delete an image from the SmartArt graphic , select the image bullet you want, then press the Tab key. Bullet will move right and the shape will move down one level.

- To add a shape from the text pane , select the bullet you want, then press the Backspace key (or Shift + Tab). Bullet will move to the left and the shape will move up one level.

- To add a shape from the text pane , move the cursor before or after the text you want to add the shape to and then press Enter . A new bullet will appear in the text box and a new shape will appear in the graphic.

- To remove a shape from the SmartArt graphic , hold the Backspace key until the bullet is removed. The shape will then be removed. In the example, we will delete all shapes without text.

IV. SmartArt organization from the Design tab
If you do not want to use text frames to organize your SmartArt, you can use commands on the Design tab in the Create Graphic group. Just select the image you want to modify, then select the desired command.
- Promote and Demote : Use these commands to move a shape up or down between levels.

- Move up (Move up) and Move Down : Use these commands to change the order of shapes on the same level.

- Add Shape : Use this command to add a new shape to your graphic. You can also click the drop-down arrow to get more accurate location options.

- In the example, we organized a graphic with a hierarchical layout. Not all SmartArt graphics use this type of layout, so keep in mind that these commands can operate differently (or not entirely) on the layout of the graphic.
V. Customize SmartArt
After inserting SmartArt , there are a few things you may want to change about its appearance. Whenever you select a SmartArt graphic, the Design and Format tabs appear on the right side of the Ribbon toolbar. From there, you can easily edit the style and layout of SmartArt graphics.
- There are several types of SmartArt, allowing you to quickly modify your SmartArt interface. To change the style, select the style you want from the SmartArt styles group.

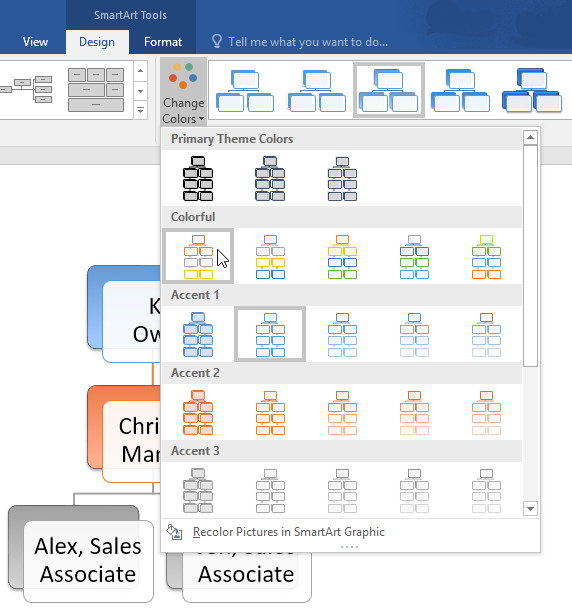
- There are many colors for you to use with SmartArt. To change the color, click the Change Colors command (change the color) and select the desired option from the drop down menu.
- In addition, you can also customize each shape independently. Just select any shape in the graphic, then select the desired option from the Format tab.

VI. Change SmartArt layout:
If you don't like how your information is organized in SmartArt graphics, you can always change the layout to better suit your content.
1. From the Design tab, click the More drop-down arrow in the Layouts group.

2. Choose the desired layout or click More Layouts to see more options.

3. The selected layout will appear.

- If the new layout is too different from the original, some of your text may not appear. Before deciding on a new layout, be careful to check that no important information will be lost.
Having fun!
Was this article helpful?
Your feedback helps us improve.
Related Articles
 PowerPoint 2019 (Part 23): SmartArt Graphics6 minutes read
 Work with SmartArt graphics in PowerPoint 20166 minutes read
 How to create SmartArt graphics in Excel4 minutes read
 PowerPoint 2016: Working with SmartArt graphics6 minutes read
 Use SmartArt effects in PowerPoint2 minutes read
 Full Word tutorial 2016 (Part 4): Formatting text5 minutes read
Reader Comments 0
Sign in with email or Google to join the discussion.