Create borders and fill the background for text in Word
The first impression of the readers with the book is the cover so the beautiful cover presentation is a very important part when writing documents. This article I will guide you how to create borders and fill the background for text.
Table of Contents
The first impression of the readers with the book is the cover so the beautiful cover presentation is a very important part when writing documents. This article I will guide you how to create borders and fill the background for text.
1. Create a frame
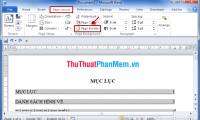
Step 1: Select the DESIGN tab -> Page Borders .

Step 2: The Borders and Shading dialog box appears, select the Page Border tab (Border is the border for a table or a text element).
- Choose the type of frame for the page in Setting , with the following options:
+ None: Does not contain a frame.
+ Box: Select a box-shaped frame.
+ Shadow: Frame has a shadow effect.
+ 3- D: Frame in 3-dimensional space.
- Select the border style for the frame in Style . There are many types of expression: dashed lines, solid lines, 2 lines .
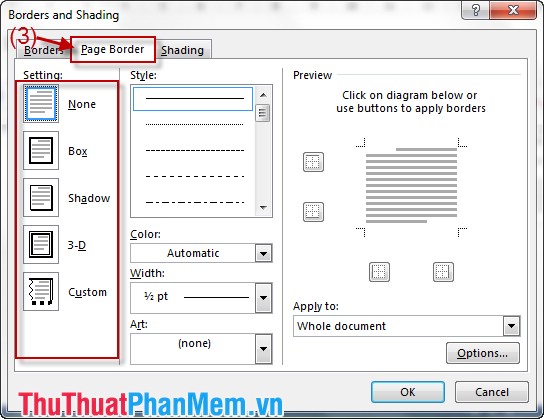
Can edit or remove borders arbitrary right on the image Preview .

Note: In the Apply to section,select the scope to apply to all current pages or pages.

2. Fill the background with text
Step 1: Click DESIGN -> Page Colors .

Step 2: On the Theme Colors palette, select the appropriate color.
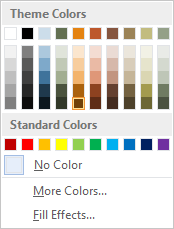
Step 3: Create some color display effects for the text page more vividly.
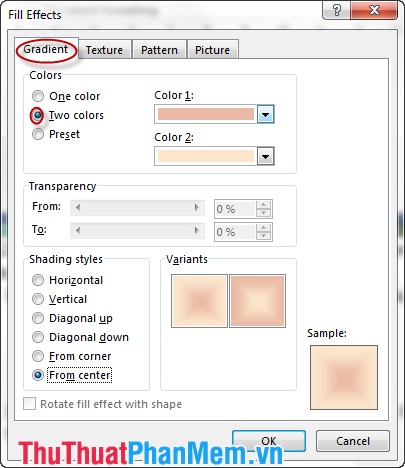
Combine multiple colors: You can choose Fill Effect -> Gradient .
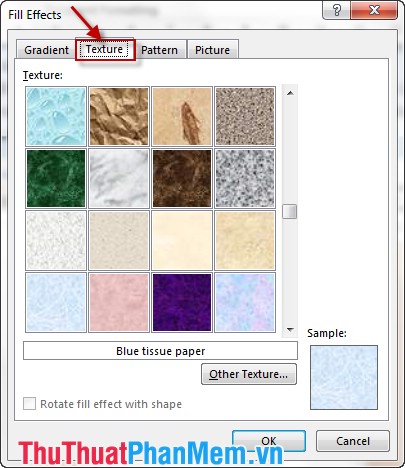
Select the background image: Click Fill Effect -> Texture .
The above are some ways to animate your text. Good luck!
Was this article helpful?
Your feedback helps us improve.
Related Articles
 Create borders for text pages in Word3 minutes read
 How to quickly create borders in Word documents.5 minutes read
 How to create a Background in Word2 minutes read
 How to delete a background color in a Word document?3 minutes read
 How to create text wallpaper in Word5 minutes read
 Create beautiful border borders in Word2 minutes read
Reader Comments 0
Sign in with email or Google to join the discussion.