Instructions on how to create frames in Word 2007, 2010, 2013, 2016
Creating frames on Word, creating borders for text on Word will make the document more unique. The following article will guide how to insert frames in Word 2007, 2010, 2013, 2016..
Create document frames and documents on Word that are used by many people to design beautiful essays, lesson plans or documents, impressing viewers. Users can choose different types of text frames, from solid style, dashed or even add some textures to the document frame. This is one of the basic operations when processing documents on Word. With Word versions, the way to create document frames will take a few different steps, unlike how to create a dot in Word is the same on versions. The following article will guide you how to create frames on Word 2007, 2010, 2013 and 2016.
Note to readers , the following way will use the Shape tool to create frames on Word. In this way, you must create a front frame and then enter the text. In case you need to create a frame for the cover, follow the article How to create a cover page in Word.
- Create a list of tables in Word automatically
- How to activate Microsoft Office 2019 Professional Plus
- Fix word sticking errors in Word 2007
1. Create frames in Word 2013, 2016
The operations in this section, done on Word 2016 version. Download Microsoft Office 2016
Step 1:
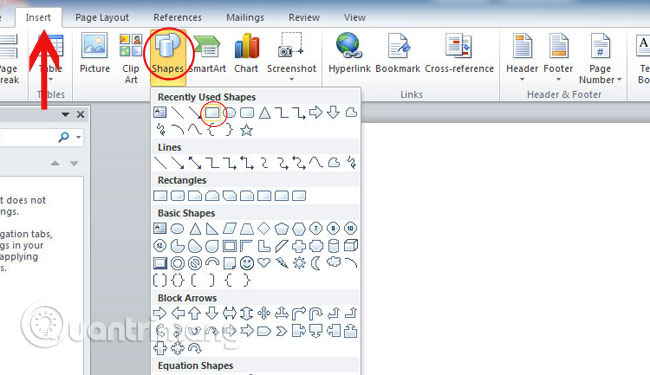
Open the file you want to frame > Insert> Shapes> select the frame shape you want to create, usually a rectangle.

Step 2:
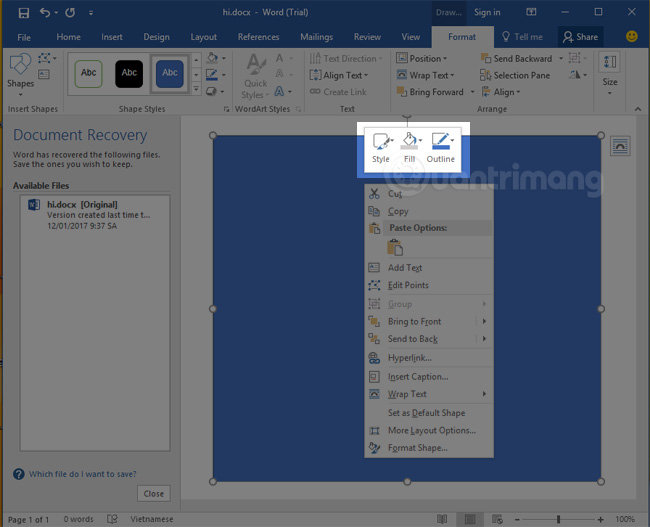
Right-click on the newly inserted frame, select Style, Fill or Outline to customize the frame quickly.
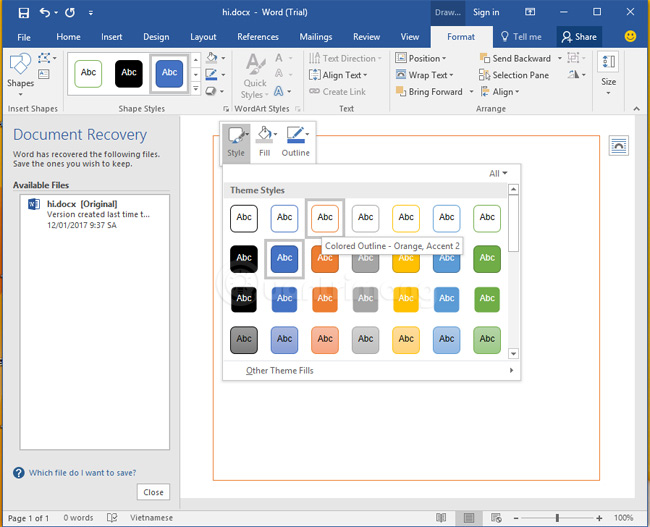
Options to customize frames fast
Step 3:
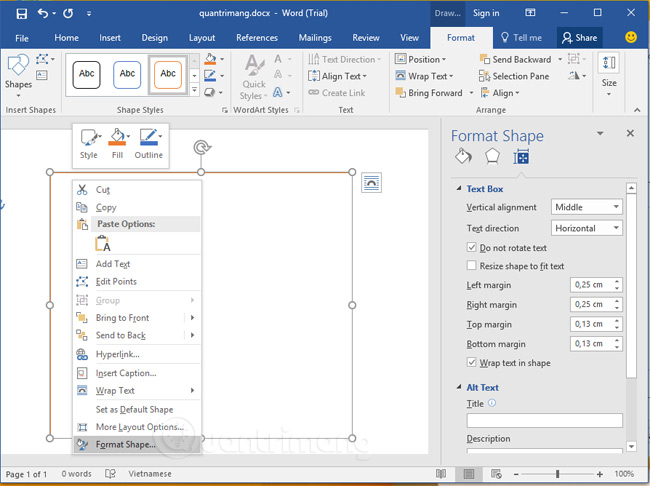
Right-click on the frame, choose Format Shape to have multiple formatting options for frames and text in the frame.
2. Framing in Word 2010, Word 2007, Word 2003
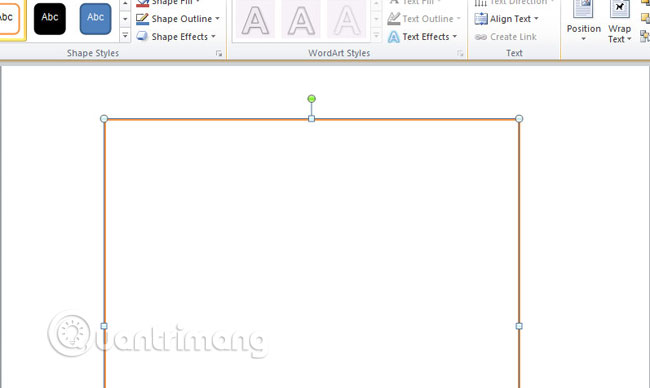
1. Open the working document, select Insert in the Shapes section, click the rectangular icon.
2. After the frame appears as shown below, we can align it when clicking on the frame border.
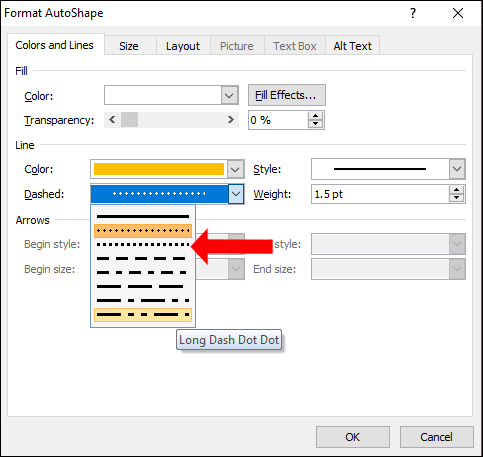
3. Right-click in the border select Format Auto Shapes to customize the lightness of the border.
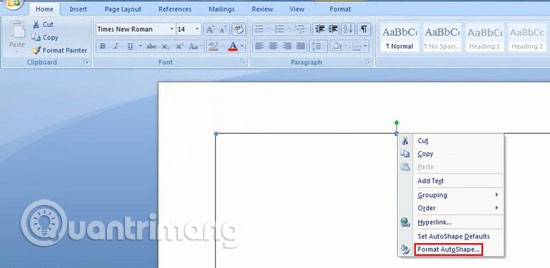
4. Appear a custom panel, select Colors and Lines with Style to choose the frame style and Weight of the lightness of the frame.

3. How to add text in Word frames
Step 1:
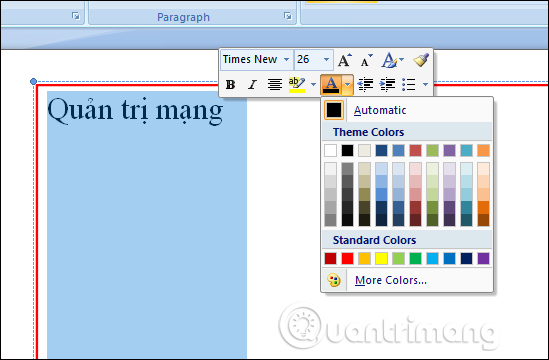
After creating the frame in the way above, right-click on the interface in the frame and click Add Text .

Step 2:
Next, the user enters the content into the frame as usual. We can still change the format for the text in the frame as usual.
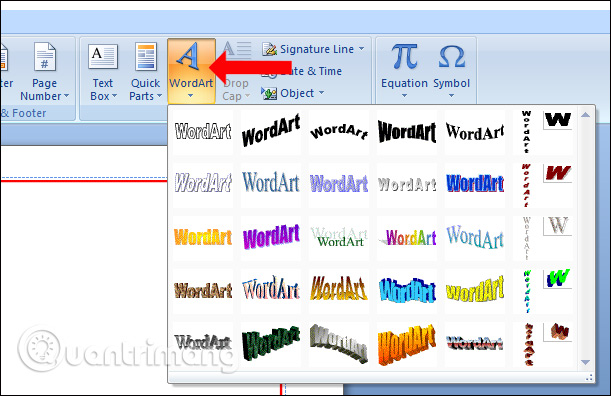
Or if you want the user can also insert the word art on Word into the frame. Click the Insert item and then click WordArt .
Step 3:
Select the artistic font you want to use and enter the text in the Edit WordAre Text box.

Shortly after that will display the text in the frame with the selected font. The user input and text input steps are the same as when writing text on regular Word.

4. How to insert a frame into the created frame
If the user has created the first frame and wants to insert another frame, do the same, click on the Shape and drag the new frame inside the created frame. Then right-click and choose Format Auto Shapes to design for the frame.
If the outer frame is solid, then we can change the style for the second frame in the Dashed section . The size you also choose in the Weight and Colors section in the Color section.
The result will be 2 frames in the document as shown below.

The frames with the Shape tool in Word are relatively simple, just the solid frame styles or dashed lines and then select the colors. If a user wants to add textures to a frame, then use the Page Border tool like when creating a cover on Word.
See more:
- How to insert the date and time format in Word 2013?
- How to disable Hyperlink in Word 2013?
- Tips for copying fast and efficient paragraph formatting in Word
I wish you all success!