Apple's iPad now supports a trackpad. Master these 15 gestures now
Some of iPadOS 13.4's new trackpad gestures are easy to find, others are hidden. Here's every single one we could find.
Table of Contents
In March, Apple's iPad lineup gained a significant feature in the form of trackpad and mouse support with the release of iPadOS 13.4. Being able to control your tablet without touching the display brings the iPad closer to working as a laptop, and in turn, makes it easier to get more work done.
For example, highlighting text or applying edits to a photo is much faster and more precise with a mouse pointer than using your finger. Add in the ease of scrolling with a quick flick of your wrist, or switching between apps, and after a couple of hours of using a trackpad with the iPad, you'll never want to go back.
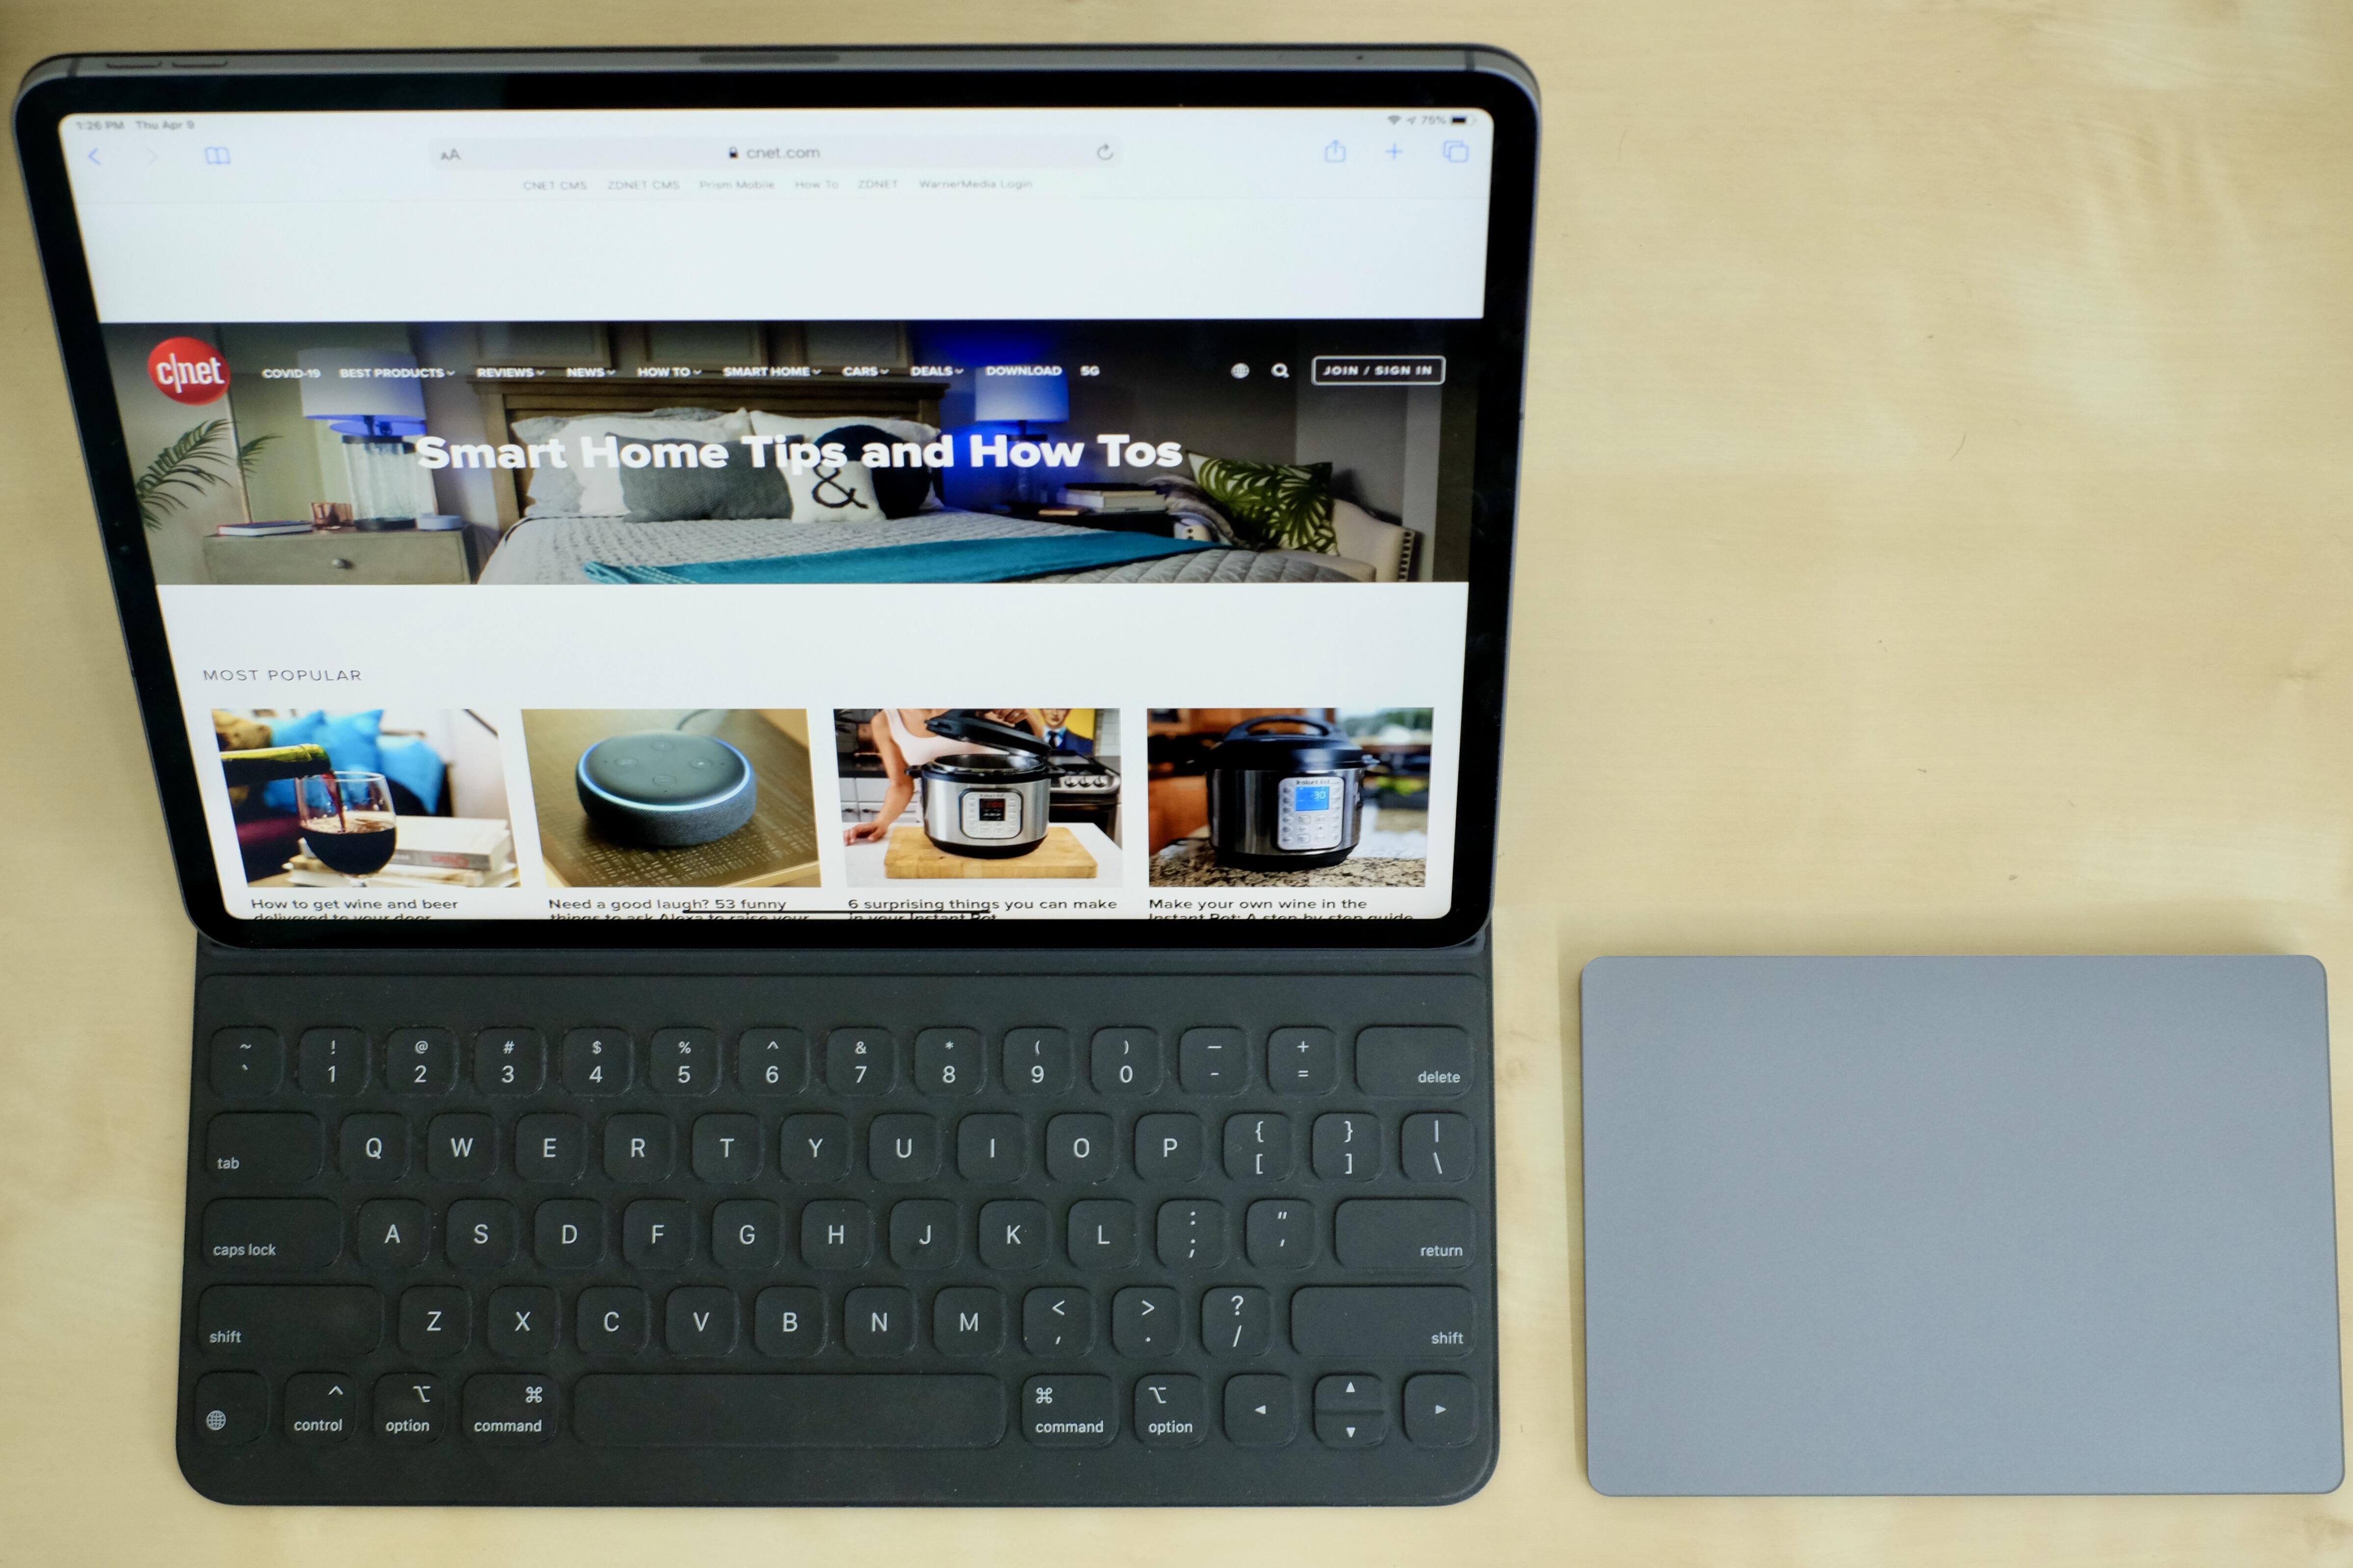
However, not all trackpads or mice are created equal. There's a big difference in overall experience when using Apple's first Magic Trackpad or its newer Magic Trackpad 2, which we'll cover more in-depth below.
I'll walk you through some of the core gestures that work across all trackpads, and then show you all of the gestures that work on Apple's latest Magic Trackpad.
What you can do with any trackpad or mouse
Here are some key navigation tips for getting around your iPad with a standard mouse or trackpad.
Show the app dock by attempting to drag the cursor off the bottom of the screen.
Control Center is home to various system shortcuts, including music controls along with the Wi-Fi and Bluetooth connection settings. Move the cursor to the top-right corner of the iPad's screen, where the battery indicator is, and click. Alternatively, you can keep dragging the cursor up in the same corner until Control Center appears.
View your notifications by dragging the mouse cursor to the top of the screen and either clicking on the time or keep moving the cursor as if you're trying to go past the screen's edge. I've found it starts working roughly a few inches to the left of the battery indicator all the way to the left-hand corner, where the time and date are located.
Accessing apps in Slide Over view is done by dragging the mouse cursor to the right side of the screen, then continue to drag it. Your Slide Over app(s) will then show up.
Quickly switch between slide over apps can then swipe in either direction with three fingers to switch between them.
Apple's Magic Trackpad 2 unlocks all the gestures
Using a Magic Trackpad 2 with an iPad running iPadOS 13.4 adds some key gestures into the mix. You can use a third-party trackpad or the original Magic Trackpad for basic tasks, like clicking and selecting the text. But to get the most out of the iPad's trackpad support, you'll want to use Apple's Magic Trackpad 2.
I've tested these gestures on a Magic Trackpad 2 and a third-party trackpad, and some, like scrolling work on both. Others do not. You can still try to use these gestures on a non-Apple trackpad, but the results will be mixed.
Unlock the iPad by tapping on the trackpad, then swiping up with three-fingers to reveal the homescreen.
Right-click by pushing down with two fingers.
Scroll up or down with two fingers, just like you would on a trackpad connected to a PC or Mac. Alternatively, scroll left or right with two fingers on the trackpad.
Return to the homescreen by swiping up on the trackpad with three fingers.
View the app switcher with a three-finger swipe up, but pausing halfway.
Force close apps from the app switch by moving the cursor to the app and swiping up with two fingers.
Switch between homescreens by swiping to the left with two fingers.
Access the Today View on the homescreen with a swipe to the right using two fingers.
Quickly switch between apps by swiping left or right with three fingers.
Open search with a two-finger swipe down on the home screen.
If I missed any gestures, be sure to leave a comment and let me know. I'll add it to this list. After mastering these gestures, be sure to check out more iPadOS tips to help increase your productivity. Once you're done with that, here are some general -- but useful -- tips and tricks for iPadOS, along with some hidden features you're sure to love.
Was this article helpful?
Your feedback helps us improve.
Related Articles
 15 iPad trackpad gestures to get around without tapping the screen6 minutes read
 Apple has officially supported mouse and trackpad for iPad, this is how they work3 minutes read
 How many red apples should you eat a day?3 minutes read
 How to disable touchpad gestures on Windows 113 minutes read
 iPhone Has Hidden Trackpad: Have You Tried It?5 minutes read
 7 Smart iPhone Gestures Apple Doesn't Tell You6 minutes read
Reader Comments 0
Sign in with email or Google to join the discussion.