Guide to Word Word 2016 (Part 19): Inserting Text Box
The Text Box text box in Microsoft Word is a feature that makes it easier for users to present text. Besides, in Word 2016, Microsoft has added many new effects to help users use Text Box more flexibly. Let us find out about the Text Box options in this article!
Insert Text Box
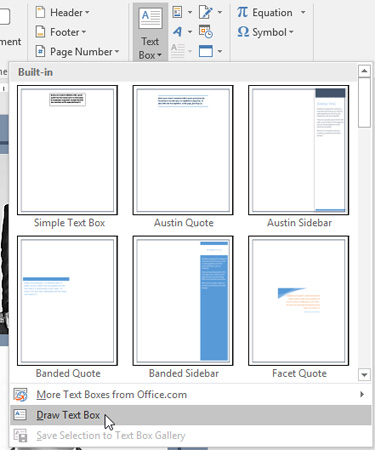
Step 1: Select the Insert tab, then click the Text Box command in the Text section.

Step 2: In the menu that appears, click Draw Text Box.

Step 3: Click and drag the input box to anywhere on the document to enter text.
Step 4: The insertion point will appear inside the text input box. You can type or create text inside this Text Box.

Step 5: If you want, you can select the text and then change the font, color and size using the commands on the Format and Home tab.
Step 6: Click anywhere outside the Text Box to exit the text input box.
Move the Text Box
Step 1: Click the Text Box box you want to move. Hover over any side of the Text Box.
Step 2: Click and drag the Text Box to the desired location.

Resize the Text Box box
Step 1: Click on the Text Box box you want to resize.
Step 2: Click and drag any corner of the Text Box until it reaches the desired size.

Edit the Text Box
Word 2016 provides a number of options to change how Text Box boxes appear in your document. You can change the shape, style and color of Text Box boxes or add different effects.
Change the style
Selecting a shape style allows you to apply colors and effects to quickly change the appearance of the Text Box.
Step 1: Select the Text Box you want to change.
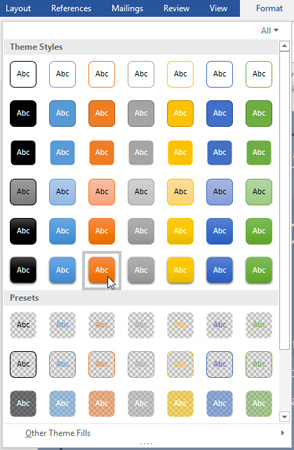
Step 2: On the Format tab, click the More drop-down arrow in the Shape Styles section.
Step 3: In the drop down menu, click on the style you want to use.

Step 4: The Text Box will appear with the selected style.

If you want to format Text Box more, you can use formatting options like Shape Fill or Shape Outline.
Change the shape of the Text Box box
Changing the shape of the Text Box will make your document look better.
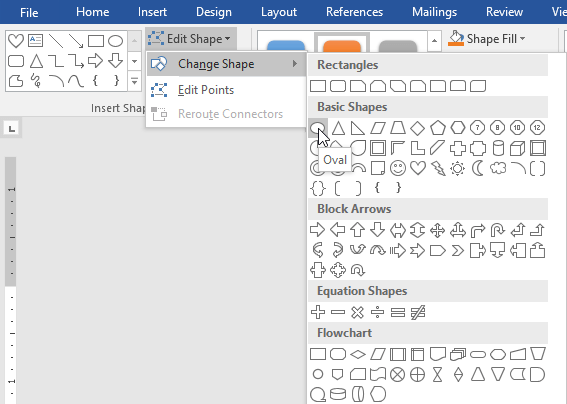
Step 1: Select the Text Box you want to change. The Format tab will appear. Click the Edit Shape command.

Step 2: Hover over the Change Shape option, then select the shape from the menu that appears.

Results after changing the shape for the Text Box.

Good luck!
You can consult:
- Tutorial for Word 2016 (Part 18): How to add Shape shapes
- How to display Ruler ruler bar in Micorosoft Word 2010, Word 2003, 2007, 2013 and Word 2016