The most detailed way to format borders for Excel tables
Inserting tables in Excel is extremely familiar to anyone who works with office tools. We can arbitrarily design the interface and make the table more prominent in the content by formatting the border for the Excel table. So do you know how to format table borders on Excel application?
Table of Contents
Instructions for formatting borders for Excel tables
2. Detailed instructions
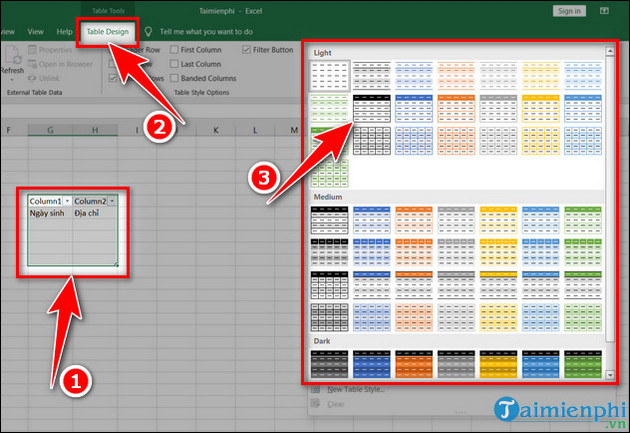
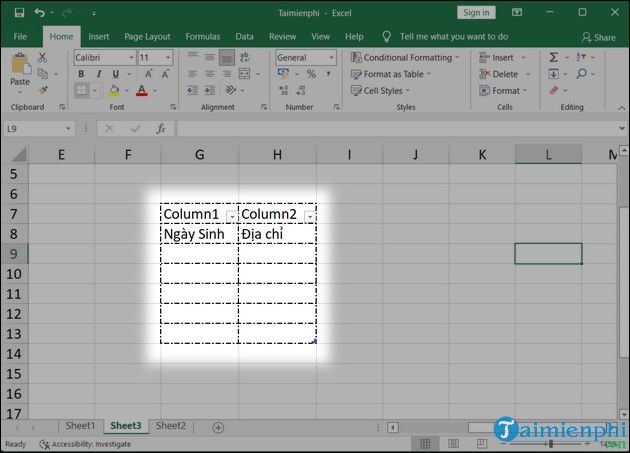
Step 1 : Open Excel on your computer, select the table you want to format.
Step 2 : At Design, select Table Style => click the format style you want to apply.
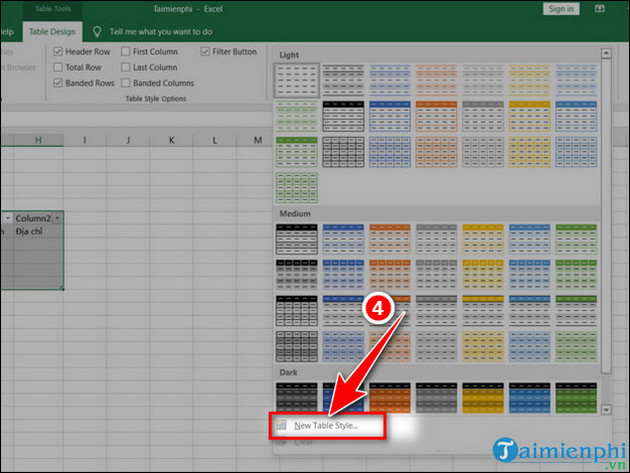
- If you do not want to choose the available formatting templates, you can create your own formatting style by pressing New Table Style .
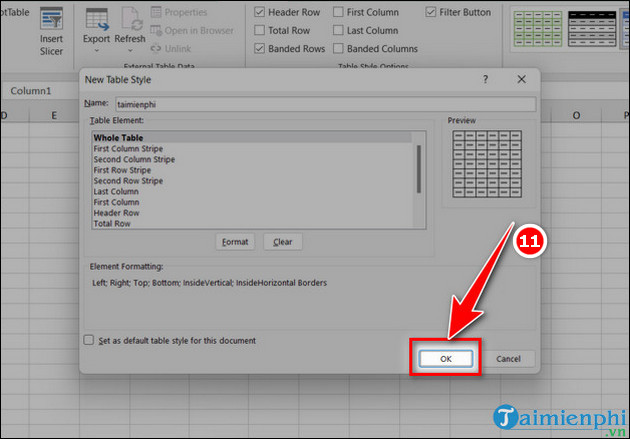
- New Table Style dialog box appears , enter
+ Name : Name the table format.
+ Table Element : Select display elements.

- Then click Format to select formats for the table.

- Click Border , select border format at Style and Border editing => click OK .

- The New Table Style panel appears, click OK to save.
- Select the table , go to Table Design and click to format the newly created table.
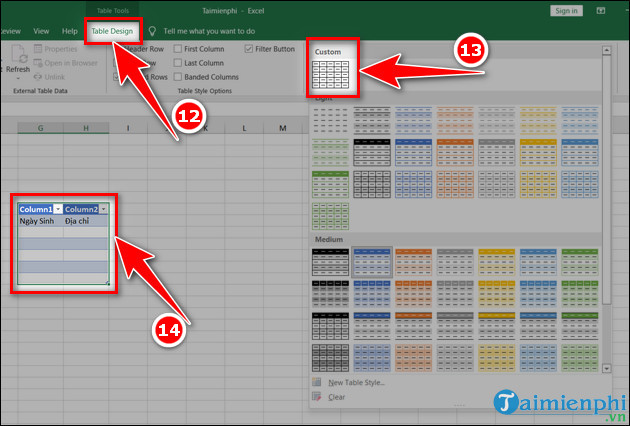
- The results are as illustrated below.
Formatting borders for Excel tables is quite simple and easy to do, right? In case you edit documents on Word and want to create professional borders, please refer to creating borders here.
Was this article helpful?
Your feedback helps us improve.
Related Articles
 How to format borders and background colors for Excel tables4 minutes read
 Format borders and background colors for tables in Excel2 minutes read
 Format borders and should be for tables in Word2 minutes read
 How to automatically create valuable cell borders in Excel3 minutes read
 Table in CSS4 minutes read
 How to delete table format in Excel4 minutes read
Reader Comments 0
Sign in with email or Google to join the discussion.