
Steps to convert PowerPoint files to images
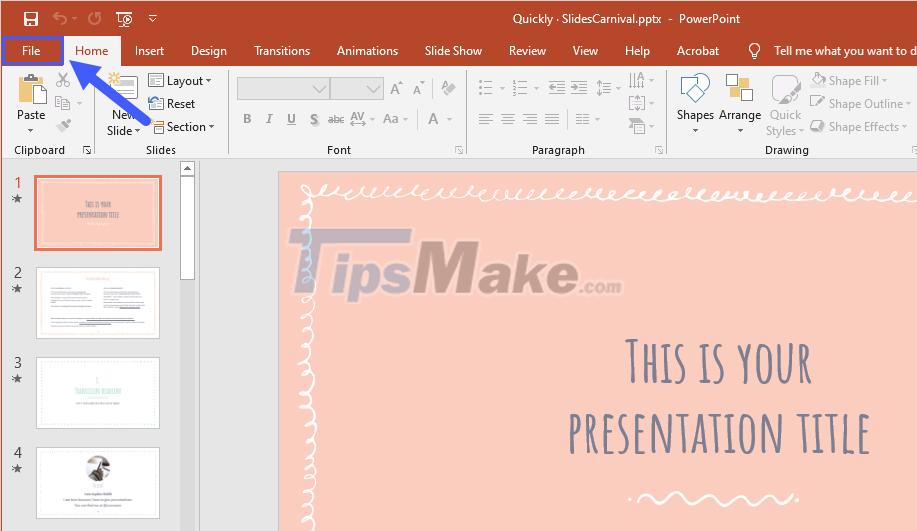
Step 1: First, you need to open the PowerPoint file with PowerPoint software on your computer. Then, you select the File item to see more file options.
Step 2: At the File interface, select Export (1) to enable the file export feature on PowerPoint. Next, you select Change File Type (2) to change the File format.
Here you will see 02 options related to converting to images, including:
- PNG Portable Network Graphics: PNG image format
- JPEG File Interchange Format: JPG Image Format
Depending on your needs, you can choose the appropriate format.

Step 3: After setting the image format, you select Save As to proceed to export the image.
Step 4: We will export all the slides in the PowerPoint file as an image or only export the selected slide as an image.
To easily control images, please create a new folder by right-clicking and selecting New -> Folder.
Step 5: Then, you open the newly created folder and select Save As to proceed to export the PowerPoint file into an image.
Step 6: At this point, PowerPoint will appear a window asking how to export images for you to choose. We will have the following options:
- All Slides: Export all Slides as images
- Just This One: Export the selected slide as an image
- Cancel: Cancel
Step 7: After the image export is complete, PowerPoint will show you a notice and click OK to complete.
So you have finished exporting PowerPoint files to images with the highest quality and no need for other software.
In this article, TipsMake has shown you how to export PowerPoint files to images quickly and with the best quality. Have a nice day!
You should read it
- How to convert PDF files to PowerPoint
- How to convert Powerpoint files to PDF, Word
- How to Convert PowerPoint to Word
- 6 ways to convert PowerPoint presentation files to Flash
- How to convert PowerPoint to PDF on iPhone
- Convert Powerpoint to video
- How to transfer Keynote to PowerPoint on iPhone and iPad
- How to convert Google Slides to PowerPoint
- How to Convert Word to PowerPoint
- How to Convert PowerPoint Files to Google Slides
- How to set a password for PowerPoint files to protect data
- Download Leawo PowerPoint to Video Pro software is free
Maybe you are interested
Aiarty Video Enhancer - Revive Old Videos TeraBox - Cloud storage service with 1Terabyte of free storage Winamp confirmed it will switch to open source later this year How to create a Kanban table in Excel How to fix 'LoadLibrary Failed With Error 87: The Parameter Is Incorrect' error on Windows 8 ways to fix 'There Are No Startup Items to Display in the Task Manager' error on Windows