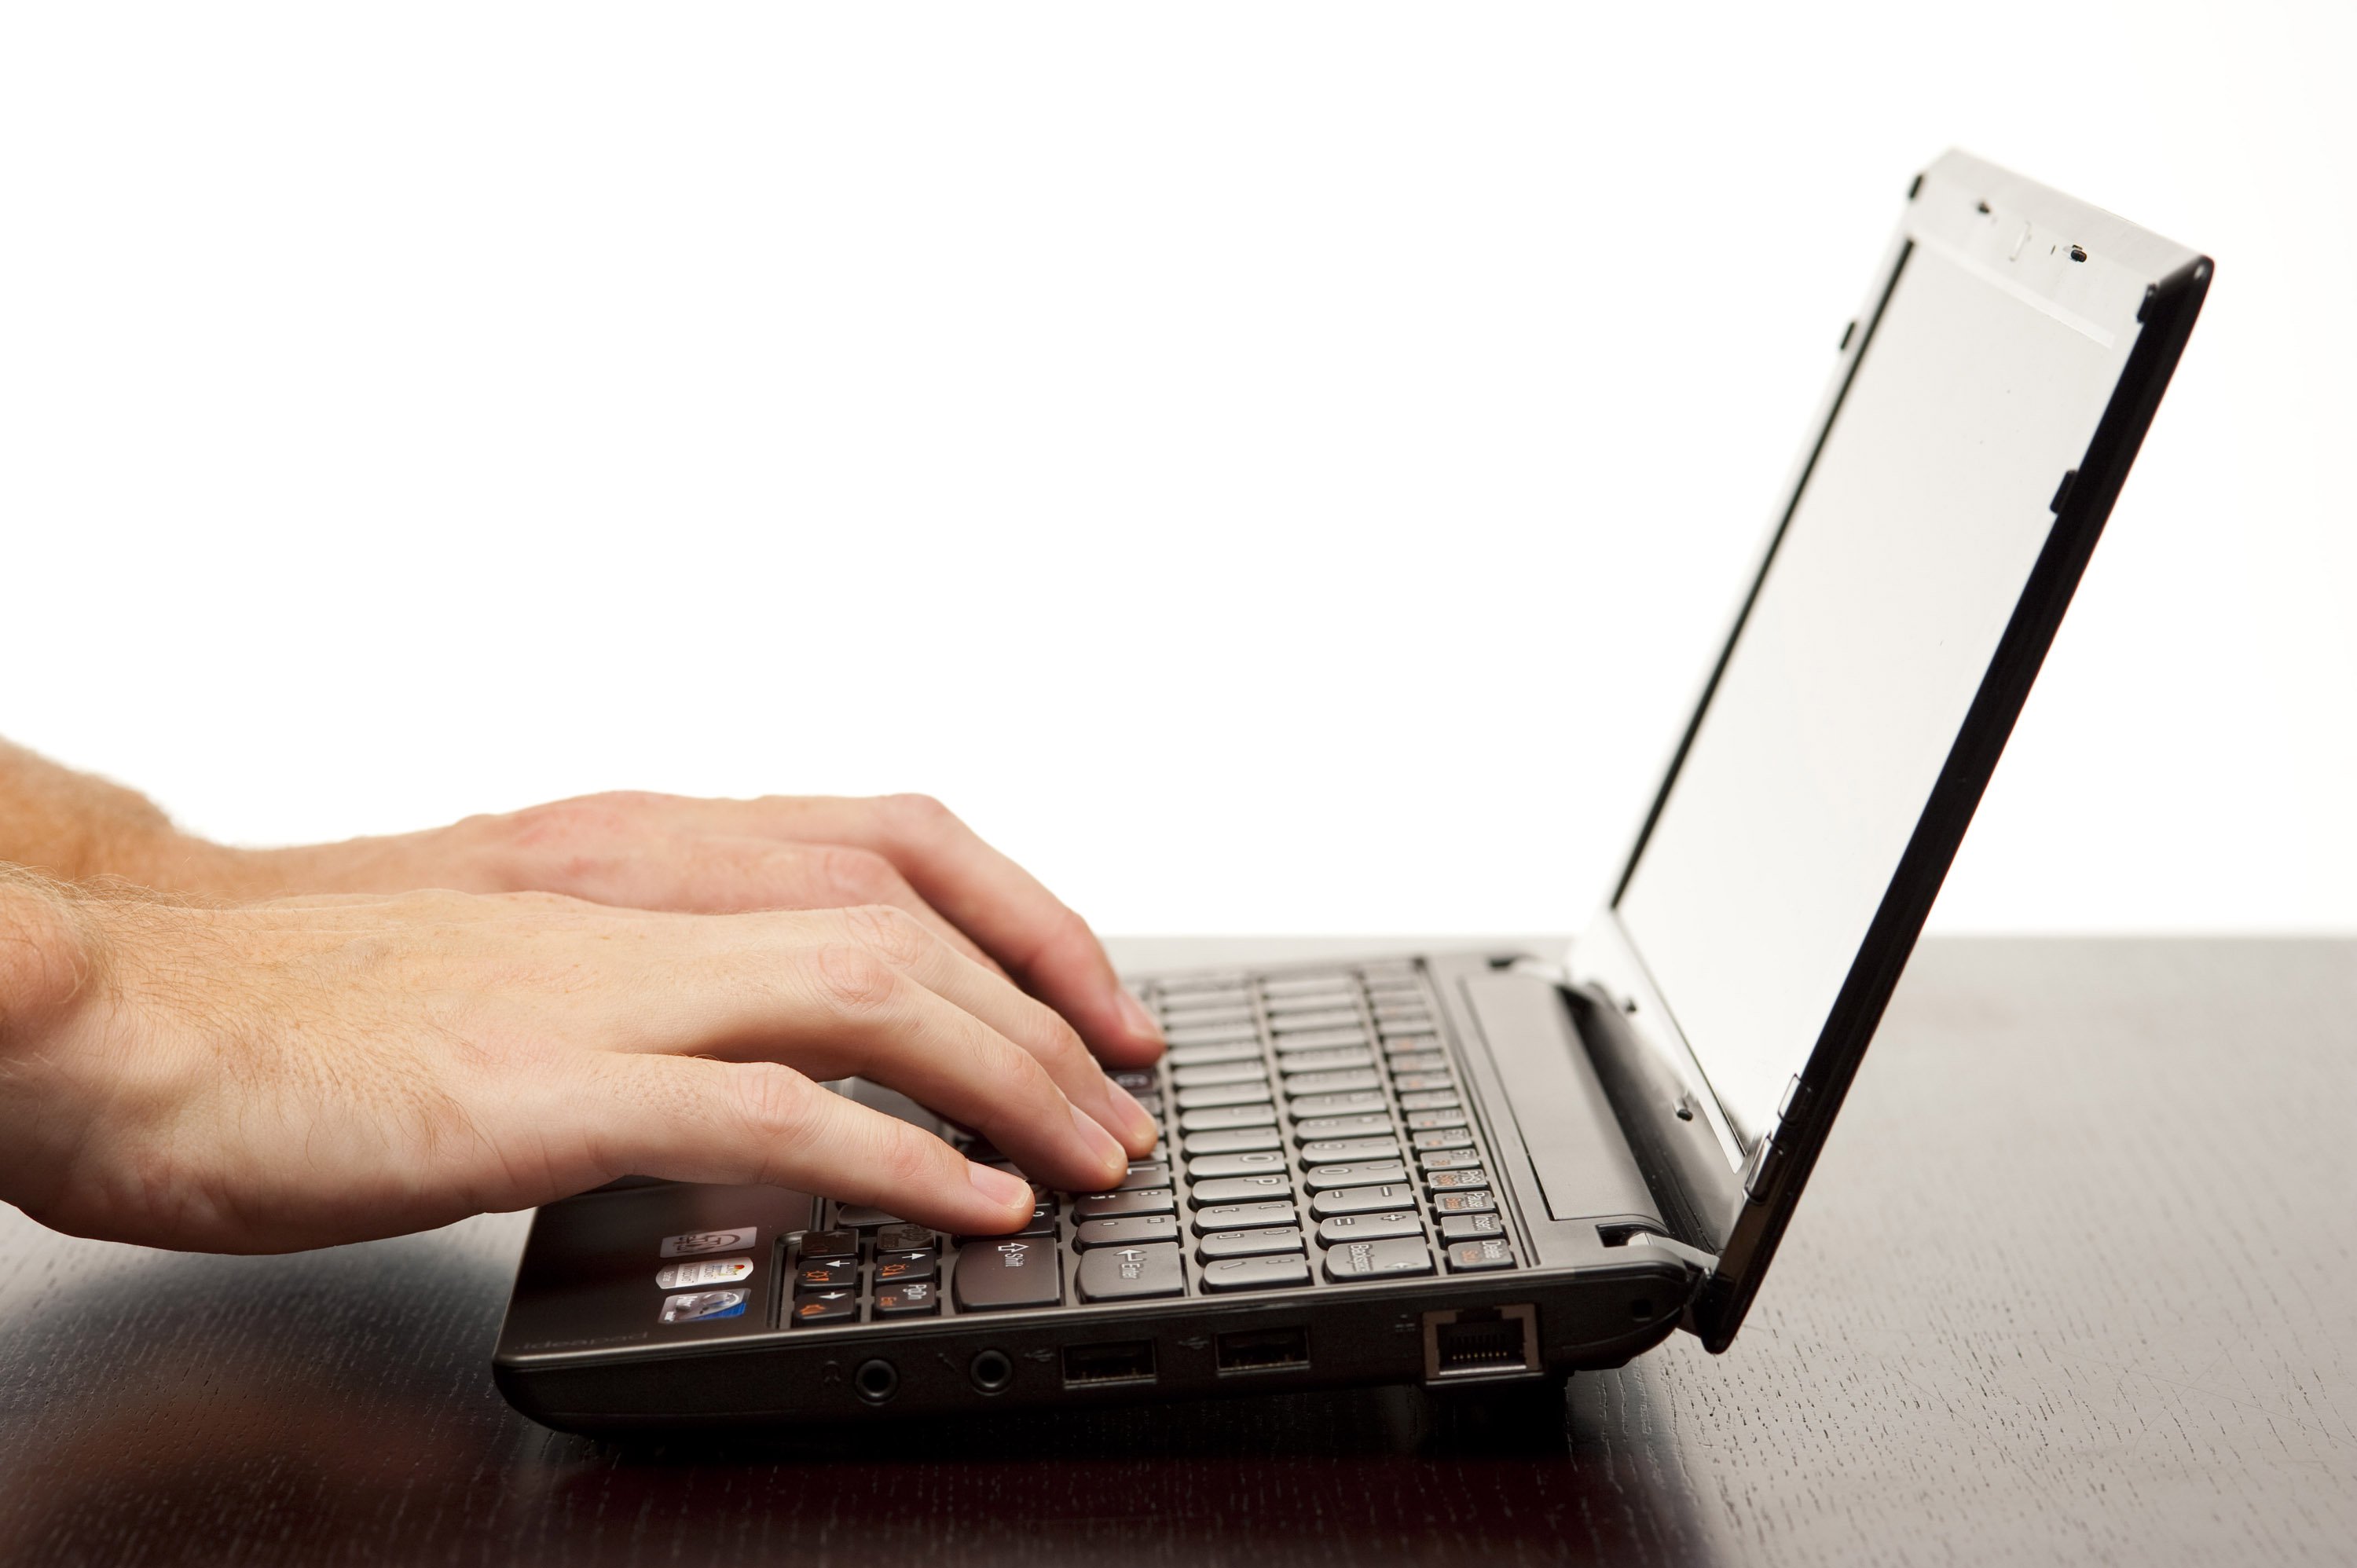
Simple way to learn to type fast without looking at the keys
Quick typing lets you speed up keystrokes, reduce the time for text editing and keyboard operations. If you are trying to practice typing faster, then you are in the right place. The quick typing tips we introduced shortly will help increase your typing speed significantly.
To type quickly the prerequisite is to learn how to type without looking at the keys (also known as Touch Typing ). Right now, you will be guided to practice and wait for the miracle to appear after a persistent time.
Start learning to type fast

Before starting to learn Touch Typing, the first important thing is that you have to master typing with 10 fingers. The best way to conquer this skill is to use typing teaching tools in the form of download software or online programs, such as Typing Trainer or 10fastfingers . If you already know how to type 10 fingers, you can skip this step to learn the next content. [Want to improve typing speed, visit these 5 websites]
The important principles of Touch Typing
1. Make sure nothing is hindering your practice: This is a very important principle that everyone needs to pay attention to. You can't concentrate when your nails are too long or you just wear gloves while practicing typing without looking at the keys.
2. Don't look down at the keyboard: This may be the hardest thing but if you don't do it, you'll never learn Touch Typing. The nature of Touch Typing is your finger, or to be precise, you must feel the position of the keys without relying on the eyes. When your fingers get used to it, you'll type faster. If you still glance down at the keyboard, you can use this tip to restrict: use a sticker, a cloth or something similar to cover the keyboard.

3. Place your finger in the basic positions: The left hand (pinkie, ring finger, middle finger and index finger) will be placed in the order on the keys A, S, D and F. The right hand will set enter the keys J, K, L and the ";" key.
4. If pressing the last key (letter key or punctuation) with your left hand, use the thumb (left hand) to press the spacebar and vice versa. This is very convenient. When stopping typing, place your thumb lightly on the spacebar.
5. When you need to press a key, use the closest finger and then place that finger on the starting position. For uppercase letters, hold down the SHIFT key with the little finger and press the corresponding letter key with your finger closest to it.
6. Do not try to remember the position of the keys: The most important thing you need to know is that for each letter you want to use, use your finger for the most convenient. When you have practiced enough, you may not need to look at the keys and still type, simply relying on the feel of the finger to the position of the keys.
You should read it
- To improve typing speed, visit these 5 websites
- Tux Typing - Free typing practice tool for kids
- Practice typing 10 fingers, typing fast with Mario Teaches Typing game
- 'Secret' typing 'super speed' computer for office people
- 7 perfect text typing applications for Mac, suitable for all levels
- Link to download Typing Master 10.1.1.849
- RapidTyping - Download RapidTyping here
- 4 tips to type Vietnamese fast
- Instructions on how to type a computer super fast
- How to Improve Typing Speed
- Practice typing 10 fingers to speed up typing
- Learn to type fast so that you can 'save' 21 days a year
