MS Word - Lesson 7: Styles
Using Styles in Word will allow you to quickly format a document with a consistent and professional look. Styles can be saved for use in many documents.
TipsMake.com - Using Styles in Word will allow you to quickly format a document with a consistent and professional look. Styles can be saved for use in many documents.
Apply the Styles
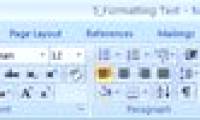
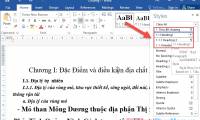
There are many styles available in Word that you can use. To see the available styles, click the Styles dialog box on the Styles group in the Home tab. To apply a Styles:
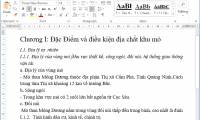
• Select the text you want to apply.
• Click on the Styles dialog box.
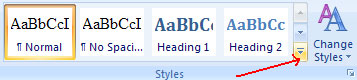
• Choose the Styles you want
Create new Styles
You can create new Styles for formatting that you use regularly. There are two ways to create new Styles: New Styles or New Quick Styles .
New styles
To create a New style:
• Click on the Styles dialog box
• Select the New Style button
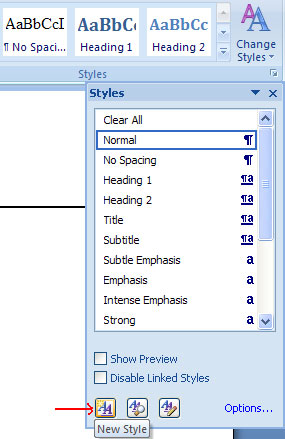
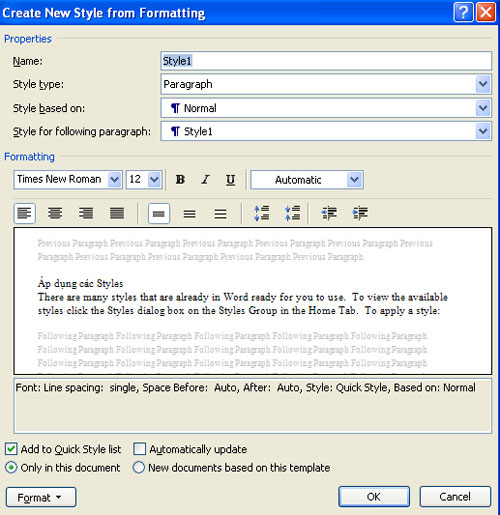
• Complete the New Style dialog box.
• At the bottom of the dialog box, you can choose to add it from the Quick Styles List or just apply it in this document.
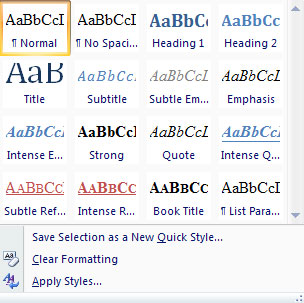
New Quick Style
To create a simple Style:
• Place the cursor anywhere in the Style selected.
• Click on the Styles dialog box
• Click Save Selection as New Quick Style

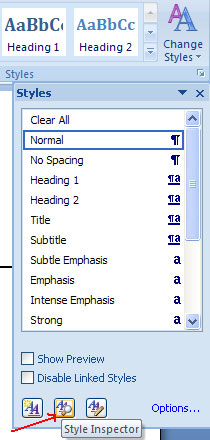
Style Inspector
To define the Style of a specific part in a document:
• Place the cursor anywhere in the text you want to explain Style.
• Choose the Styles Drop Down menu.
• Click the Style Inspector button .
Next article: MS Word - Lesson 8: Insert table
Was this article helpful?
Your feedback helps us improve.
Related Articles
 MS Word - Lesson 7: How to Use Styles6 minutes read
 MS Word - Lesson 5: Format the text4 minutes read
 How to Use Styles in Microsoft Word to Format Documents Consistently5 minutes read
 How to copy styles between 2 Word files (Import, import styles from the old word file to the new file)2 minutes read
 How to create and use styles in Word 20163 minutes read
 Lesson 39: Ultra-Small Grid Styles in Bootstrap 57 minutes read
Reader Comments 0
Sign in with email or Google to join the discussion.