Instructions to insert Texbox in Word
The Text Box in Word is one of the many useful features that are being used more widely in your Word documents and documents. This article guides you to insert Texbox in Word easily.
Word is a word processor program used by many people because of its useful features that can meet the intended use of everyone. The Text Box in Word is one of the many useful features that are being used more widely in your Word documents and documents.
For many of you who are studying the Text Box, the following article will be of great help to you. You follow the article on how to use Text Box in Word.
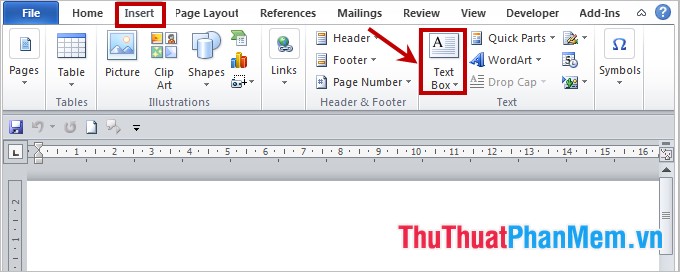
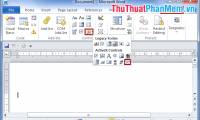
Step 1: First you open the Word file to insert Text Box and select Insert -> Text Box .
After you select the Text Box , a dialog box will be displayed, you can choose the type of Text Box has been formatted as Simple Text Box , Alphabet Quote , Alphabet Sidebar . If there is no available format of Word matches the work content that you are using, you can choose Draw Text Box to create custom shape dang box.

Step 2: After you choose the format for the Text Box , the Word page will immediately appear in the format and content of the example inside. You only need to enter the content for the Text Box .

Step 3: Edit the Text Box.
- You want to zoom out, drag the border of the Text Box border, you drag the mouse on the corner or the middle of the edge of the text box and drag it to the desired size. - If you want to move the Text Box to a position other than the default position, you move the mouse on one of the edges of the Text Box border and drag to the desired position.

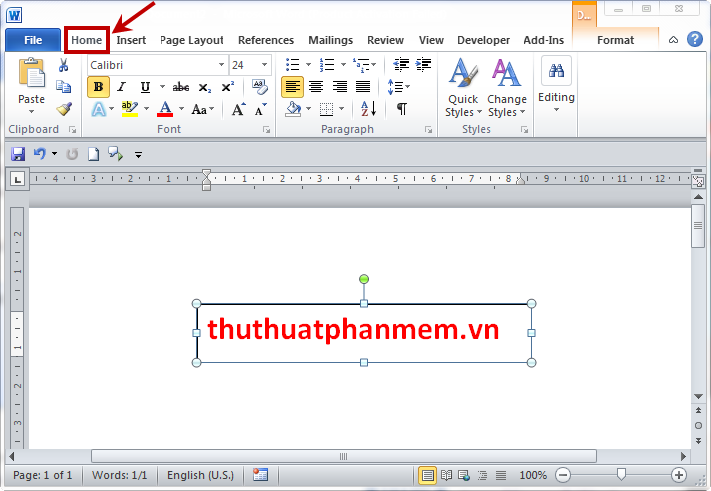
- Edit font, font color, size by returning to the Home tab on the Ribbon and edit as usual. Example after editing:
- Insert WordArt Styles : you want to stylize instead of the fonts in Font , you select the Format tab in the Drawing Tools section (this section appears when you create the Text Box ). Then you choose the art style in the WordArt Styles section.

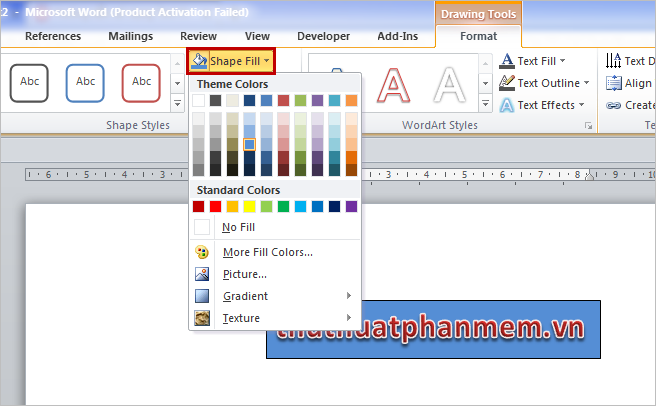
- Next, you choose the shapes and colors for the Text Box in the Shape Styles section of Drawing Tools . In Shape Styles you have 3 options:
+ Shape Fill: fill the background image of the shape.
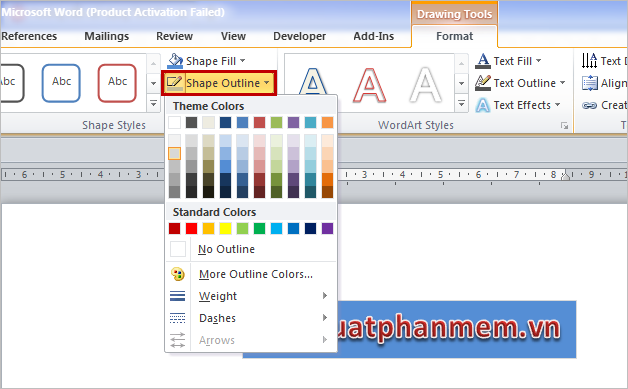
+ Shape Outline: create borders and border colors for the shape.
+ Shape Effects: create effects for shapes.

If you use a lot, you will know how to combine effects, fonts in many styles, your Text Box will be very beautiful, diverse and suitable for each content that you use. Good luck!
Was this article helpful?
Your feedback helps us improve.
Related Articles
 How to insert Video into Word2 minutes read
 How to create text wallpaper in Word5 minutes read
 Instructions for inserting, drawing and creating charts in Word 20073 minutes read
 How to insert sound into Word documents3 minutes read
 How to insert an Outlook contact in Word2 minutes read
 Instructions for inserting captions for photos in Word3 minutes read
Reader Comments 0
Sign in with email or Google to join the discussion.