Instructions for using Snap feature on Windows 10 with shortcut
Snap on Windows 10 is completely different than on Windows 7 and 8. With Windows 10, you can flexibly move or resize open application windows throughout the screen position easily. based on new shortcut keys.
Snap on Windows 10 is completely different than on Windows 7 and 8. With Windows 10, you can flexibly move or resize open application windows throughout the screen position easily. based on new shortcut keys.
So what are the specific key combinations in the Snap feature of Windows 10? Please refer to the following immediately.
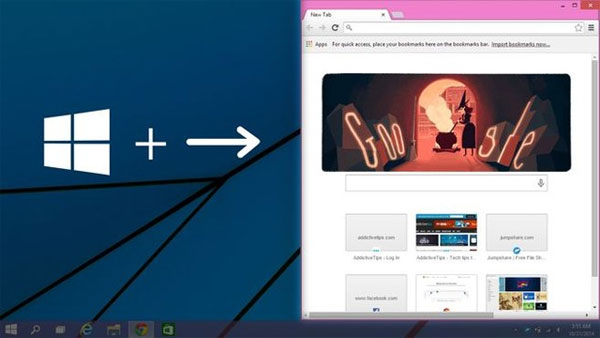
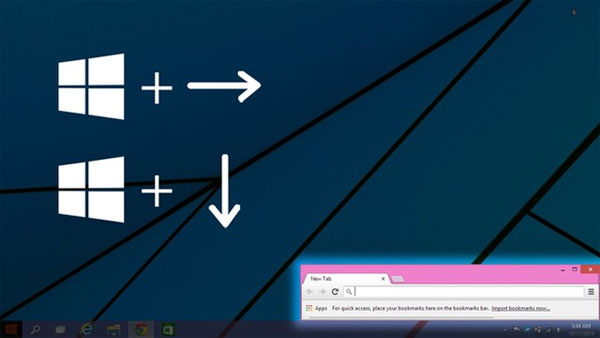
Hold down the Windows key + Left or Windows arrow + The right arrow will correspond to narrow the Windows window to the left or right of the screen
Hold down the Windows key + The up arrow or Windows + The down arrow will correspond to the narrowing operation of the Windows window to the top or bottom of the screen.

Holding down the Windows key + pressing 2 times the Left arrow key will narrow the Windows window to the upper corner of the screen.

Similarly, when you hold down the Windows key + press 2 times left Arrow key and press 1 more time under the arrow key , the Windows window will immediately expand below.

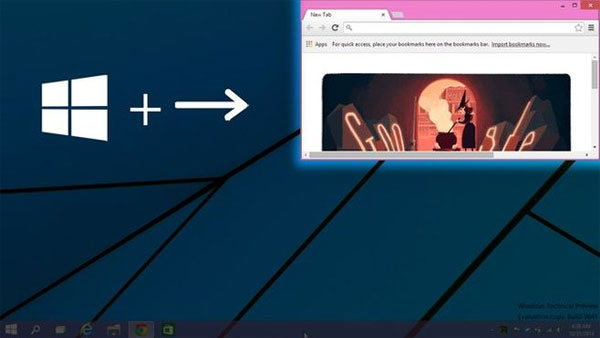
Holding down the Windows key + the Right arrow key will narrow down the Windows window to a quarter of the screen, and when you press the Down arrow again, the Windows window will expand right below.
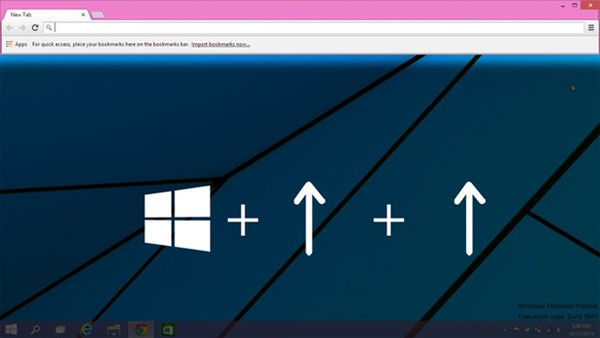
Holding down the Windows key + pressing 2 times the Up Arrow key will cause the Windows window to shrink in the upward direction.
Similarly, if you hold down the Windows key + press the right arrow key and press the downward arrow to add the result as shown below.
- Instructions to turn off some automatic features of Snap on Windows 10
- How to use Windows 11's Snap Layout on Windows 10
- Smart Snap - smart window split feature, self-remembering layout coming soon on Windows 11
- Fix Aw Snap errors on Google Chrome in 4 ways
- Snap.do removal guide on Chrome, Firefox and Internet Explorer
- How to turn off Snap Layout in Windows 11
- Summary of the hottest technology news in November 1
- How does Windows stop adding '- Shortcut' to the file name Shortcut?
- 10 highly anticipated features that turned out to be duds on Windows 10
- Instructions to turn off some automatic features of Snap on Windows 10
- New highlights on Windows 10
- 10 features on Windows 10 are most users require
- Some shortcuts need to be remembered in Windows 10 Technical Preview
- Experience the all-new Task Manager in Windows 8
- Microsoft revealed Windows 8 boot speed
- Windows 8 security feature prevents dual booting with Linux
- Learn Windows 8 before BUILD
- Download the demo version of Windows 8 to explore


-
 Useful AI features in Windows 11
-
Laptop displaying a blue screen: Causes and effective solutions.
-
How to quickly split the screen on a Windows 10, 11, and macOS laptop.
-
How to connect Bluetooth devices on Windows 10, 8, and 7
-
Laptop Windows errors: Causes and how to fix them at home.
-
How to automatically log in to a user account on Windows 11/10
 Useful AI features in Windows 11
 Laptop displaying a blue screen: Causes and effective solutions.
 How to quickly split the screen on a Windows 10, 11, and macOS laptop.
 How to connect Bluetooth devices on Windows 10, 8, and 7
 Laptop Windows errors: Causes and how to fix them at home.
 How to automatically log in to a user account on Windows 11/10