How to Use Snap Assist in Windows 10
Method 1 of 4:
Using Snap Assist to Position Two Application Windows in Equal Halves of the Screen
-
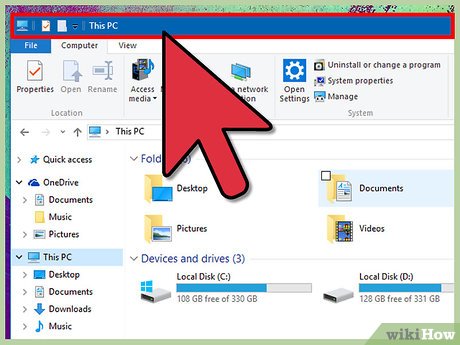
 Left-click and hold an empty space in the title bar of an open application window. The title bar is the horizontal bar at the top of an open application window that contains the name of the program or app and, most of the time, the file name of the active document or website tabs (for browsers). When you left-click the title bar and hold down the mouse button, the app window resizes, and you can move it around the desktop screen.
 -
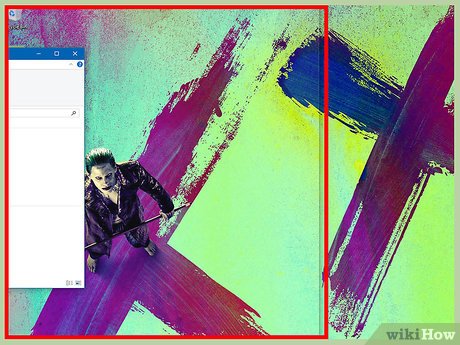
 Move the window to the left or right edge of the desktop screen while holding down the mouse button. When you drag the window to the left or right edge of the screen, you will see a transparent overlay (or boundary indicator) that will indicate where your window will be snapped.
 -
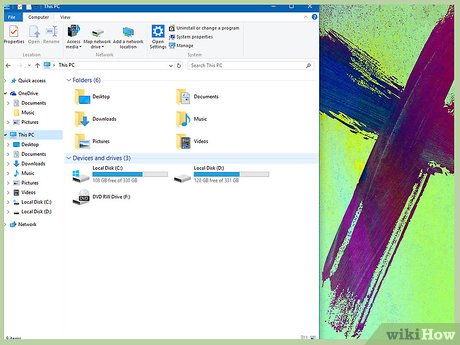
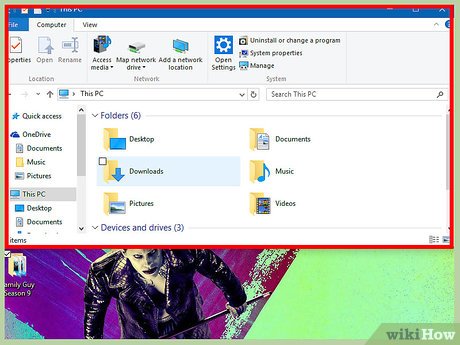
 Release the mouse button. This will snap the window on the left or right half of the desktop screen. Releasing the mouse button will also activate Snap Assist.
 -
 Use Snap Assist to fill up the other half of the screen. When you have snapped an application window to one side of the screen, you still have to fill up the other half.
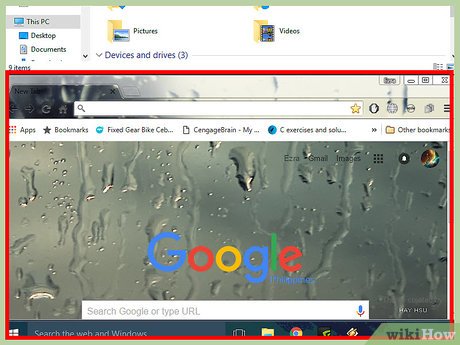
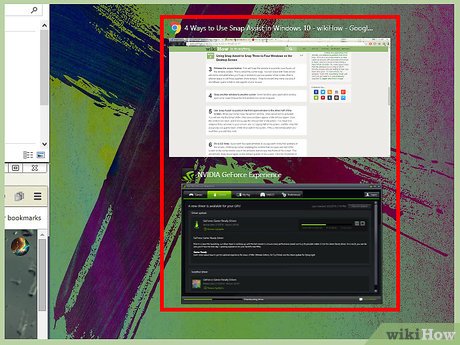
- If you have two or more open programs/applications, and you Snap one of them to the left or right side of the screen, Snap Assist will be triggered as soon as you release the mouse button. Snap Assist will offer you a list of open application windows (displayed as large thumbnails), any one of which you can choose to fill up the leftover space.
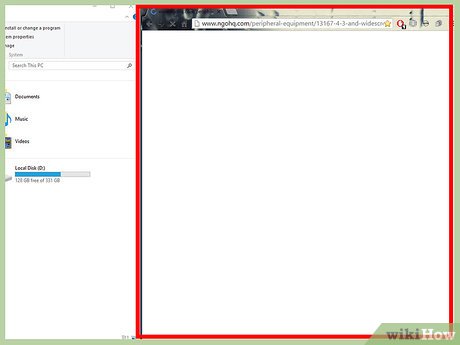
- Click one of the thumbnails and that application will be snapped to the other half of the screen. Thus, you will have two applications side by side occupying equal halves of the desktop screen.
Method 2 of 4:
Using Snap Assist to Snap Three to Four Windows on the Desktop Screen
-
 Left-click the title bar of the application window you want and hold down the mouse button. Assuming that you have more than three windows open at the same time, select one of the application windows you want to snap to a quarter (or one-fourth) of the screen. Left-click the title bar of this window. When you left-click the title bar and hold down the mouse button, it will be resized, and it can be moved around.
 -
 Drag the window to one of the four corners of the screen. When you drag the window to one of the corners, you will see a transparent overlay (or boundary indicator) indicating which quarter of the screen your window will Snap to.
 -
 Release the mouse button. This will Snap the window to a quarter (one-fourth) of the desktop screen. This is called the corner snap. You will notice that Snap Assist will not be activated when you Snap a window to just one quarter of the screen (that is, leftover space is still three-quarters of the screen). Snap Assist will only come into play if the leftover space is half or one quarter of your screen.
 -
 Snap another window to another corner. Select another open application window and corner snap it below the first window you corner snapped.
 -
 Use Snap Assist to position the third open window to the other half of the screen. When you corner snap the second window, Snap Assist will be activated. You will see the thumbnail of the other open windows appear in the leftover space. Click the window you want, and it will occupy the leftover half of the screen. You have now snapped three windows to your screen: one occupying half of the screen, and the other two occupying one quarter each of the other side of the screen. If this is the configuration you want then you can stop here.
 -
 Do a 2x2 Snap. If you want four open windows to occupy each of the four quarters of the screen, continue by corner snapping the window that occupies one half of the screen to the corner beside one of the windows that occupy one-fourth of the screen. This will activate Snap Assist again on the leftover quarter of the screen. Click the thumbnail of the application window you want and you will have four windows occupying each quarter of the screen.
Method 3 of 4:
Using Snap Assist with Keyboard Shortcuts
-
 Select the window you want to Snap. Do this by pressing the Alt key and while holding down the Alt key, pressing the Tab (⇥) key. Thumbnails of all open windows will appear in the middle of the screen. Do not release the Alt key yet. You will notice that one of the thumbnails is highlighted (that is, it is surrounded by a white outline). Press the Tab key again and again until the application window you want is highlighted. Let go of the Alt key and the window you want is selected.
 -
 Press Windows key + → or Windows key + ←. This means that you press Windows key (the key with the Windows logo in it located at the bottom left side of the keyboard) and then press the right arrow (→) or the left arrow key (←) while holding down the Windows key. This will snap the chosen application window to the right or left half of the screen, respectively.
 -
 Use Snap Assist. Snap Assist will then be activated when you release the Windows key and arrow key. The thumbnails of other open windows will appear on the leftover space. You will notice that one of the windows will be highlighted (surrounded by a white outline). This indicates that this particular window is selected to be snapped to the leftover space when the Enter key is pressed.
- If you want another window to be snapped to the leftover space, navigate through the thumbnails by using the arrow keys (or you may just click the window you want snapped in the leftover space to save up on all those keystrokes).
-
 Snap the window into place. Press the Enter (↵) key to snap the highlighted window to the leftover space.
Method 4 of 4:
Using Snap Assist in Tablet Mode
-
 Press and pull down the title bar of the application window you want to snap. This will resize the window and you can move it around.
 -
 Snap the window to one side of the screen. Drag the window to one side of the screen to snap it on the left half or right side of the screen, and then release it. This will snap the window to one half of the screen.
 - Use Snap Assist to snap another window to the other half of the screen. When the window is snapped to one side of the screen, Snap Assist will be activated. It will show the thumbnails of other open windows on the leftover part of the screen. Tap the thumbnail of the window you want to snap this window opposite the one that is snapped to one side of the screen.
Share by
Marvin Fry
Update 04 March 2020
