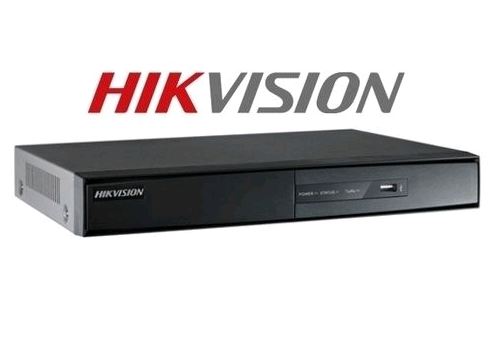
Hikvision recorder is an indispensable device used in Hikvision camera system, and this is also one of the products that many people trust and install.
If you are new to this device for the first time and do not know how to use it, please refer to how to install Hikvision Recorder via network which I will guide the following.
1. What is Hikvision recorder?

Overall, the recorder is an important and indispensable part of any security and surveillance camera system of all brands today.
Basically, a security camera system will consist of the following main parts: Camera, Camera Source, Video Recorder, Hard Drive attached to the recorder and the screen device used to display the extracted images. from Camera.
In particular, the recorder is one of the most important parts because they are responsible for storing all images from the camera system that has been recorded.
And the Hikvision recorder will also work similar to the above concept, this is a specialized device exclusively for Hikvision Camera system, of course, this unit will still be equipped with the basic features that are stored. storing images captured by Hikvision camera system to export to this receiver, then they are processed and exported to display devices such as televisions, phones so that users can easily observe and monitor.
Currently, Hikvision recorder is classified into 3 basic types including: DVR, NVR and HVR and 4 types of HVR recorders including 4 channels, 8 channels, 16 channels and 32 channels to help users can choose the type The device best suits your needs.
2. Outstanding features of Hikvision recorders
In addition to the basic features and functions commonly found on camera recorders, Hikvision recorders are also equipped with the following outstanding features to better meet the diverse needs of users including: after:
- Support the ability to play recorded files at a specific channel when using live view. Play back all day by channel or by the time the user wants to adjust.
- Easily backup photo and video data to other storage devices, such as USB, hard drives and phones, with the ability to quickly export files.
- Users can also customize settings of the system settings, make an appointment for recording / recording first, after which the camera system will automatically record and record images according to the predetermined schedule on the recorder. Hikvision.
- Hikvision camera system is also equipped with many modern modes such as intelligent recognition mode, recognition of abnormal movements or unauthorized intrusion, 2-way communication mode and the ability to record and record images in harsh environmental conditions.
3. How to install Hikvision Recorder to view over the Internet
Before proceeding with the installation, you should note and prepare the following:
- Both Hikvision recorder and computer connected to a stable LAN network together.
- Remember and store the IP address of the device in advance for faster operation.
- Use the [ Internet Explorer ] web browser to access the login site.
Now proceed to follow these steps:
Step 1: Use the software [ SADP Toll ] to find the IP address on your device the easiest way.
Step 2: Once you've determined the IP address, open Internet Explorer on your computer and type ' http:/// camera IP address: PORT HTTP'
At this time, the device web page will appear and you enter the username and password to log in your account.
After logging in, the camera management interface will appear as below.
Step 3: Now, please follow the steps to set up the settings on your recorder. First, click the Configuration tab at the top of the screen.
In Section System Settings , you can change the device name, time, video output mode . then click Save to save.
In Item Maintenance , you can upgrade the firmware or reset the default recorder.
In Camera Management , users can add IP cameras to Hikvision recorders
In Section User Managerment , users have the right to change the old password and create a new account if you wish.
Step 4: To set the settings related to the internet, click the Network section and select Basic Settings> TCP / IP tab, at the IP Address line you can change the IP address and use DHCP to check See if it's valid or not.
Step 5: If you want other networks to be able to access your camera system, you need to set the port by accessing and port tab , then change and NAT 2 port is HTTP.
Step 6: Now you need to proceed to set up the DDNS domain by TCP HTTP port, so that the external network can access the camera system.
Step 7: Now you access the NAT tab and click the enable box , so you have opened the port for the recorder already.
Step 8: In the Advanced Settings section , select the Platform Access tab , click the Enable box , select the HIK Connect view , then create the authentication code and finish installing the Hikvision recorder.
So, I have shown you how to install Hikvision Recorder online. Hopefully the above article will be useful to you. I wish you successful implementation!
