Table of Contents
This updated guide examines Cloud Storage: How to Store Data on Bloom for Free and organizes the essential facts, background, and practical takeaways in clear American English.
Once the user successfully registered a Bloom account, you already have 30GB of free storage on the service. Bloom upload files can be divided into several categories such as music files, specific contacts,. to help you manage faster. Besides Bloom, we can create notes, view monthly calendars, play games,. lots of different options. The following article will guide you how to store data on Bloom.
- How to get 195GB of data immediately on UsersDrive
- How to use Icedrive to store cloud data
- How to store images and videos in the cloud
- The best cloud storage application for Android
Instructions to store online on Bloom
Step 1:
Users access Bloom's homepage according to the link below. At the homepage interface, click on Get started to proceed to register.
https://bloom.sh/
Step 2:
Display interface to create Bloom account. We enter all the required information and click Create Account below.

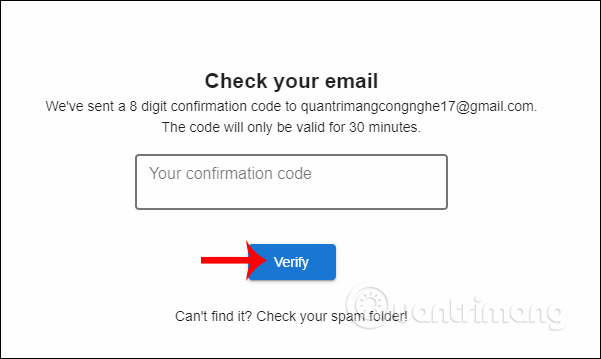
Bloom requires users to enter the confirmation code sent via mail to the site's interface within 30 minutes, then click Verify to complete the registration. Verification code has 8 characters.
Step 3:
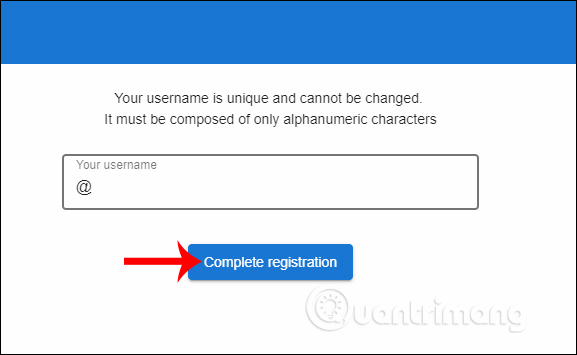
Next enter the username and click Complete registration to complete the registration.
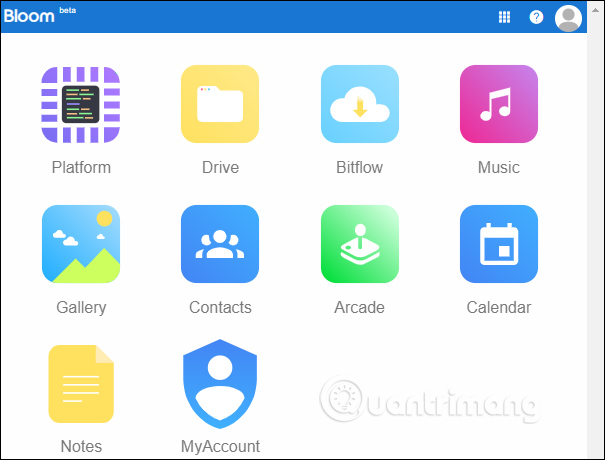
Soon you will see the main interface of the service. Show the interface with all the tools that Bloom provides, including data storage.
- Platform: Store network and IP address information.
- Drive: Store your personal data.
- Bitflow: Download files directly and save them on Bloom.
- Music: Store audio files.
- Gallery: Store photo gallery.
- Contacts: Store contacts.
- Aracede: Play games on Bloom.
- Calendar: View the date.
- Notes: Create notes on Bloom.
- MyAccount: Change personal account information.
To store data, click on the Drive item .
Step 4:
In the archive, Bloom has made many directories available for us to upload data by category, such as Books, Documents, Games, Music, Picture,.
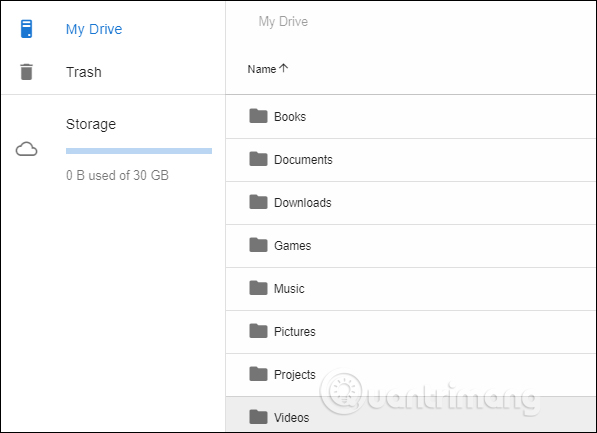
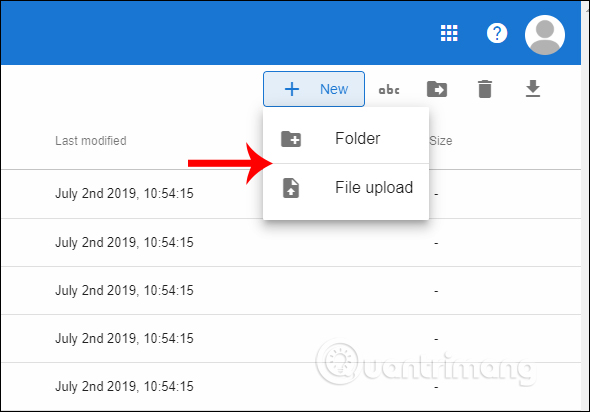
To upload new data, click on the New icon in the right corner of the interface. Then display two options for downloading files, Folder to create file download folder and File upload to download each file individually.
Step 5:
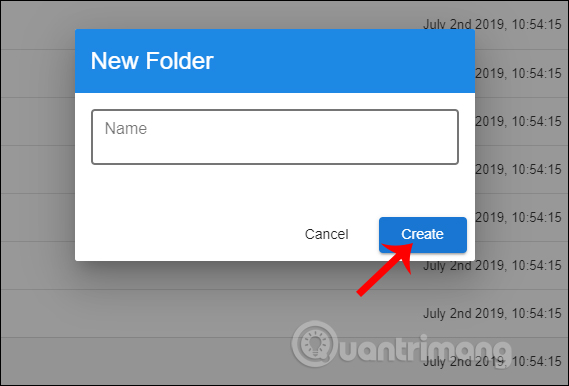
Displays the interface to create a separate filestorage folder for each user.
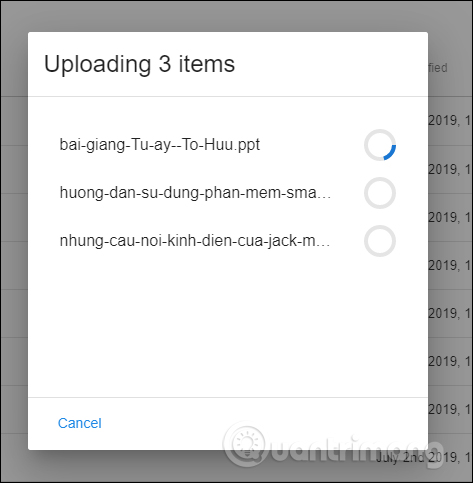
To download files separately, you just need to select the files you want to store on Bloom. The file download process takes place shortly thereafter.
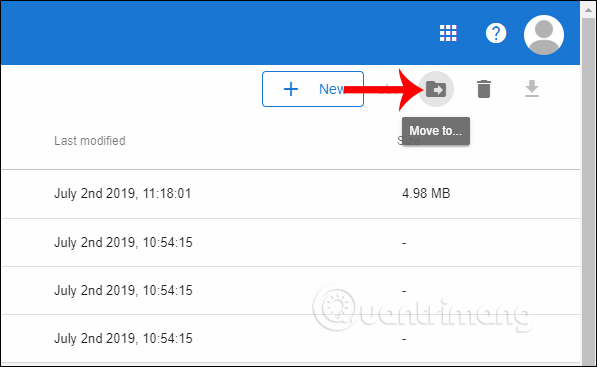
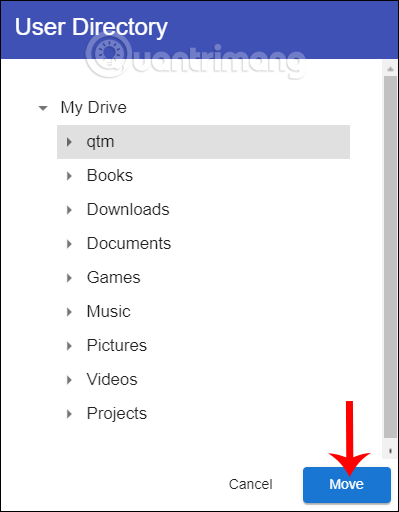
In case the user wants to transfer individual files to fixed folders , click on the file, then click on the Move icon to move the file.
Display the folders for you to choose to move the file. Click the folder and select Move to move.
Step 6:
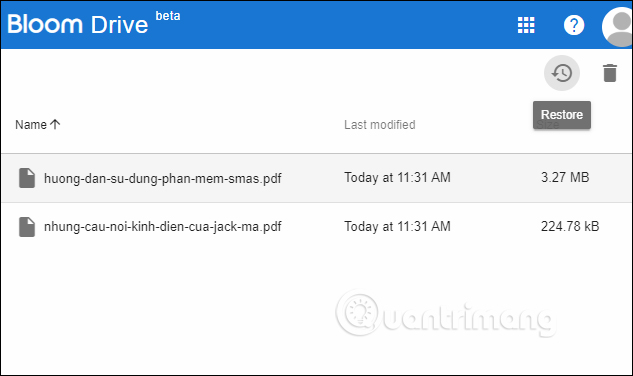
There are also many other options for data stored on Bloom. The Trash section will save the files that we delete from the archive, retrieve them, or permanently delete them when needed.
Step 7:
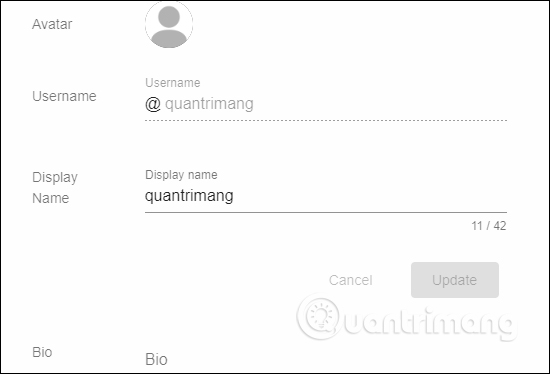
To check personal information on Bloom we click on My Account . At this interface the user changes the avatar. The Username section you are not allowed to change, just change the display name. You can also add information about yourself if you want.
When changing information, click Update to save.
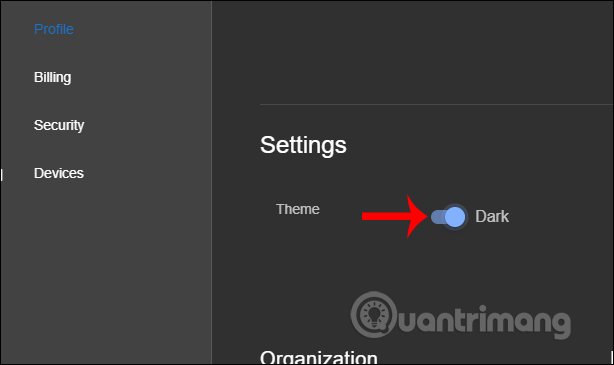
Bloom supports us using a black background , by switching from Light to Dark mode.
With Bloom's other features, users only need to perform as required by the service. The steps to use are as simple as when you use the data storage feature on Bloom. Note to users, Bloom is currently still in the testing process, so there may be errors during use.
I wish you all success!
FAQ
What is Cloud Storage: How to Store Data on Bloom for Free about?
It provides a structured overview of cloud storage, explains the main context, and highlights practical takeaways for readers.
Why does this topic matter?
Understanding the main concepts helps readers evaluate the issue, avoid common mistakes, and make better-informed decisions.
How should readers use this information?
Use the guidance as a practical starting point, confirm details that may have changed, and follow current product, safety, or security recommendations.
Related Articles
 Microsoft's 'Exclusive' 50th Anniversary Windows 11 Wallpapers3 minutes read
 App Store Changes 'Free' Button with 'Get' Button3 minutes read
 8 Free Microsoft Store Apps That Make Windows Better: Practical Guide6 minutes read
 Pcloud Drive - New Online Storage Application8 minutes read
 How to Get Free Games on Epic Games Store: Step-by-Step3 minutes read
 This Is the First GIF Image to Be Stored on a Microbe5 minutes read
Reader Comments 0
Sign in with email or Google to join the discussion.