How to Make Invitations on Microsoft Word
If you're hosting a get-togethers, a small celebration at home, or a birthday party, you might want to send informal invitations to your friends and family. This type of invitation can be done right in Microsoft Word. It provides you the...
Table of Contents
Method 1 of 2:
Making an Invitation Using Word Template
-
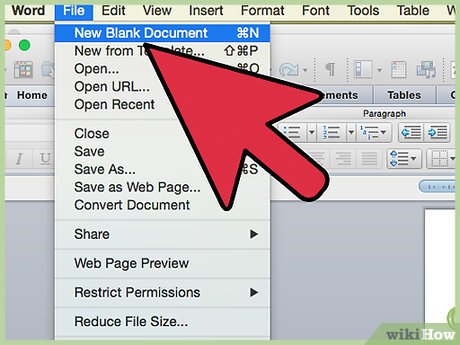
 Open a new Word document. Double-click the MS Word shortcut icon on your desktop or in the Programs menu to launch it. A new, empty Word document will open.
 -
 Open the Template options. Click 'File' at the top toolbar and then 'New.' A window will appear with template categories for you to choose on the left panel while the right will display thumbnail previews of the templates available for that particular category.
 -
 Choose 'Invitations' from the categories. The categories are in alphabetical order, so just scroll down to 'I,' and you'll find it there. The thumbnails at the right panel will display available invitation templates.
 -
 Select an invitation template that suits the occasion from the right panel. Double-click on the selected template to open it in a new Word document.
 -
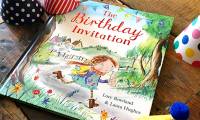
 Customize the template. Depending on the template you selected, the graphics and texts will be in text/image boxes. Click on a text to edit it. Make sure that the event information is provided in the invitation, like the event name, date, time, venue, and other details.
- Most templates will have graphics and art on it. You can adjust this to your liking by clicking on it and dragging the image around, or replace it with an image or art you want by using the Insert Picture feature of Word.
-
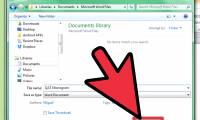
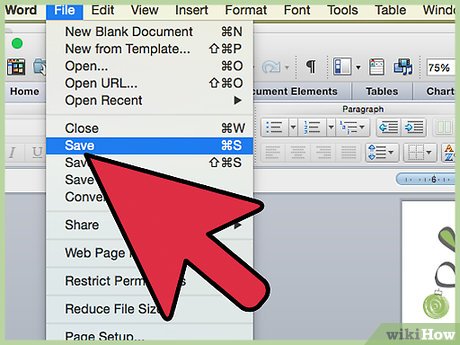 Save the invitation. Once you're done designing the invitation, save it by clicking File --> Save As --> Word 97-2003 Document. Locate the folder where you want to save the invitation file at using the 'Save As' window that pops up. Enter the invitation name as a filename, and click 'Save.'
- Saving as Word 97-2003 Document will make your invitation compatible with all MS Word versions. Now you can print the invitation by using your own printer at home, or save the file in a flash drive and take it to a professional printing shop.
Method 2 of 2:
Making an Invitation Using a Blank Word Document
-
 Open a new Word document. Double-click the MS Word shortcut icon on your desktop or in the Programs menu to launch it. A new, empty Word document will open.
 -
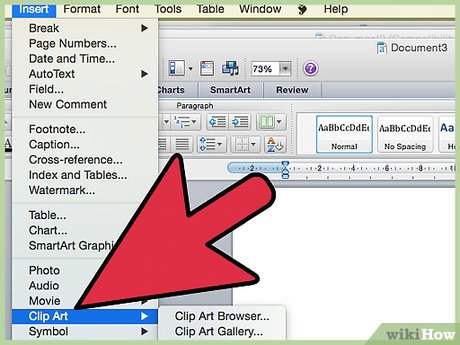 Insert graphics or art. Creating an invitation with a blank document will allow you to be more creative, as it won't restrict you to the graphics or art already in a template. To insert your own image file, click the Insert tab on the toolbar at the top, and from the insert options that appear, select either 'Insert Clip Art' or 'Insert Picture.'
- If you already have the picture or graphics you want to use saved in your computer, use 'Insert Picture.' A file explorer will open where you can locate the image to insert. Use 'Insert Clip Art' to check out available clipart in MS Word. Double-click on a clipart to insert it into the document.
- Once the image or clipart is inserted, you can move it around by dragging it to the location you want to place it, or resize it by dragging its borders to the size you want.
-
 Add text. There are two ways you can add text: by using the 'Text Box' feature or by typing the invitation information in. The Text Box feature will restrict the text you entered within a box, while typing in will utilize the regular lines of the blank document.
- To create a Text Box, click 'Insert' at the top, and then 'Text Box.' It's between 'Page number' and 'Quick Parts.' Select a Text Box style from the drop-down menu, and then enter the information you want into the box that appears on the document.
- Whether using the Text Box or just typing in the information, you can change the text font and size, as well as use boldface, italics, and underlines. You can also change the text color using the options under the Home tab at the top.
- Make sure that the event information is provided in the invitation, like the event name, date, time, venue, and other details.
-
 Save the invitation. Once you're done designing the invitation, save it by clicking File --> Save As --> Word 97-2003 Document. Locate the folder where you want to save the invitation file at using the 'Save As' window that pops up. Enter the invitation name as a filename, and click 'Save.'
- Saving as Word 97-2003 Document will make your invitation compatible with all MS Word versions. Now you can print the invitation by using your own printer at home, or save the file in a flash drive and take it to a professional printing shop.
Was this article helpful?
Your feedback helps us improve.
Related Articles
 How to Create Invitations in Microsoft Word6 minutes read
 How to create birthday invitations on computer, phone3 minutes read
 How to Make a Monogram5 minutes read
 How to merge text, merge Mail Merge messages in Word 20165 minutes read
 Link Download Microsoft Word 20193 minutes read
 Mix text, merge messages, mix Excel tables into Word 2007 documents2 minutes read
Reader Comments 0
Sign in with email or Google to join the discussion.