How to Make a Booklet in Word
This wikiHow teaches you how to set up a Microsoft Word document so it prints like a booklet. The easiest way to do this is to format a document using the 'Book fold' layout, but you can also select and modify a pre-existing template. Open...
Table of Contents
Part 1 of 2:
Setting Up a Booklet
-
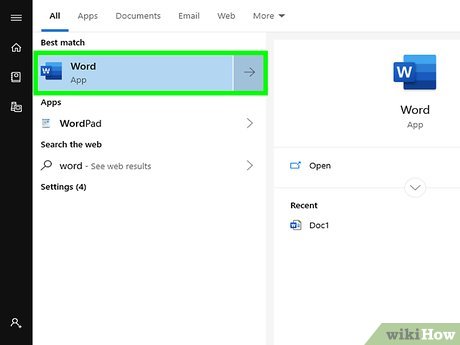 Open Microsoft Word. You'll usually find this app in the Start menu (PC) or in the Applications folder (Mac), indicated by a blue icon with a white "W" in it.
- If you don't want to customize your own booklet, you can start with one of the booklet templates built into Word. To do this, click the File menu, select New, type booklet into the search bar, press Enter, select a booklet template, and then click the Create button to set up your template.
-
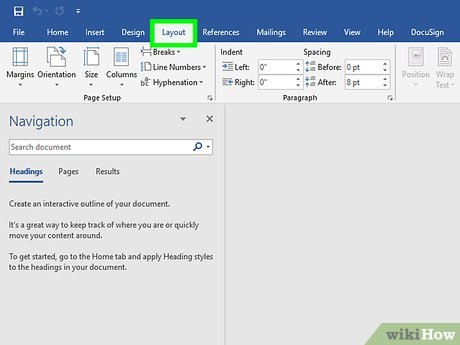 Click the Layout tab. This will pull up different options for formatting how the pages in your Word document will be displayed when you print them.
 -
 Click on the Multiple pages drop-down arrow. This appears in the bottom-right corner of the Page Setup dialog box under the Layout tab.
 -
 Select Book fold from the Pages menu. This changes the layout to landscape (wide) mode with a split down the middle.
 -
 Select the number of pages for your booklet. The page options appear in the "Sheets per booklet" menu.
- Note that if you choose a page number too small to print all of your text, then you'll have to change the selection to All in order to have all the content visible on your computer screen printed.
-
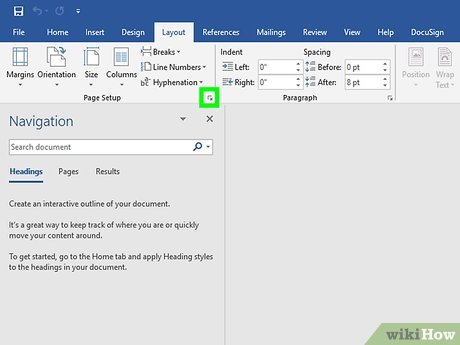
 Adjust the Gutter size. The "Gutter" menu, which is near the top-left corner of the window, determines the amount of space that will be available where the booklet will fold. As you increase or decrease the gutter, the preview image near the bottom will update to show you the results.
 -
 Click OK to save your changes. It's near the bottom of the window.
 -
 Add content to your booklet. Now that your document is laid out like a booklet, you can add your own text, images, and custom formatting.
- If you're new to Microsoft Word, check out How to Format a Word Document to learn how to customize your text, add graphics, and position content as you desire.
- If you're using a template, see How to Use Document Templates in Microsoft Word to learn how to customize its pre-formatted content. You'll usually want to edit the placeholder information anywhere it appears.
-
 Save your booklet. To do so:
- Click the File menu at the top-left corner.
- Select Save As.
- Select a save location.
- If you want to save this file as a template you can edit for future products, select the Template option from the "Save as type" or "Format" drop-down. Otherwise, keep the default setting (.docx) selected.
- Name the file and click Save.
Part 2 of 2:
Printing the Booklet
-
 Click the Layout tab. This displays options configuring how your booklet will appear when you print it.
 -
 Click the Margins menu. It's near the top-left corner of Word. Several options will appear.
 -
 Select Narrow from the menu. You can set your margins to whatever size you need, but the Narrow option ensures that the size of your text and images isn't reduced too much.
 -
 Clean up rags and other formatting artifacts. Rags are extra white space that can be cleaned up by hyphenating a word or by justifying the text. Scan through the document to be sure your text looks the way you would like and fix any rags you might find.
 -
 Click the File menu. It's at the top-left corner.
 -
 Click Print. It's in the menu on the left side of the screen. This displays a preview of your booklet.[1]
 -
 Set your booklet to print on both sides of the page. If this option is permitted by your printer, select the Print on Both Sides option from the "Pages" drop-down menu. Be sure to choose the option that includes the text "Flip pages on short edge" so the back-side isn't flipped upside down.
- If your printer doesn't support automatic duplex (both sides) printing, select Manually Print on Both Sides instead.
-
 Select a paper size. The default paper size is 8.5 x 11, which is a standard sheet of printer paper. If you're using a different size paper, select that paper's size instead.
 -
 Check out the preview. The print preview appears in the right panel. You can use the arrows at the bottom of the panel to page through the booklet and make sure it looks correct.
 -
 Click Print. It's near the top of the window. This sends the booklet to your printer.
Was this article helpful?
Your feedback helps us improve.
Related Articles
 Best Buy is officially on Nokia Booklet 3G on November 152 minutes read
 What to wait for Nokia Booklet 3G?3 minutes read
 Nokia's Booklet 3G Netbook is too expensive2 minutes read
 Nokia Booklet 3G - 'King' of netbook types3 minutes read
 First experience with Nokia Booklet 3G2 minutes read
 Nokia Booklet 3G computer is sold from October 221 minutes read
Reader Comments 0
Sign in with email or Google to join the discussion.