How to Create Invitations in Microsoft Word
Using Word template
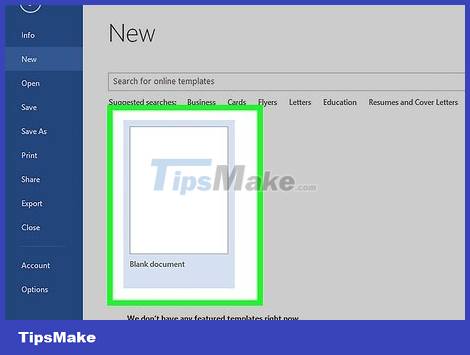
Open a new Word document. Double-click the MS Word shortcut icon on the desktop or Programs menu to launch it. A new Word document without content opens.
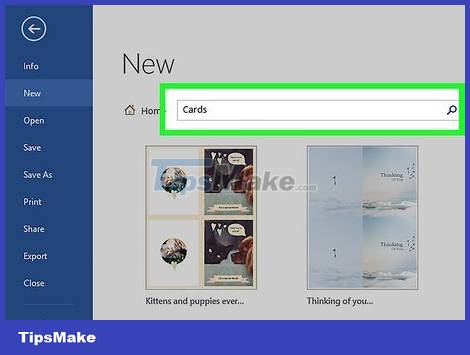
Open template options. Click 'File' at the top of the toolbar and select 'New'. A new window will appear with a catalog of templates in the left pane and a thumbnail preview of available templates on the right.
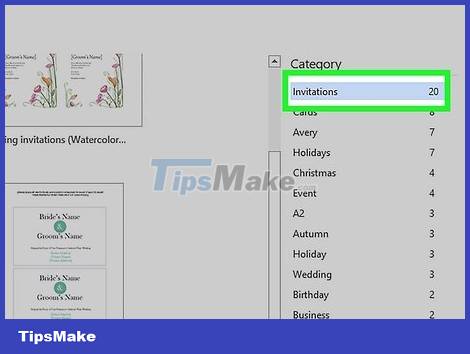
Select 'Invitations' from the category list. The list is in alphabetical order, so just scroll down to 'I' and find it. The thumbnail in the right pane shows the available invitation templates.

Choose an invitation template suitable for this occasion in the box on the right. Double-click the selected template to open it in a new Word document.

Customize templates. Depending on the template you choose, text and graphic art will be in text/image frames. Make edits by clicking on the text you want to change. You need to make sure that event information (including party name, date, time, location, other details) will be fully displayed in the invitation.
Most templates will have graphics and artwork available. You can drag the image anywhere on the template to adjust it to your liking, or replace it with another image/art using Word's Insert Picture feature.

Save the invitation. After completing the design, save the card by clicking File -> Save As -> Word 97-2003 Document. Select the folder to save the card file on the 'Save As' pop-up window. After entering the card name as the file name, click 'Save'.
Greeting card files saved as Word 97-2003 Document will be compatible with all versions of MS Word. Now, you can print out the card using your home printer or save the file to a USB and take it to a professional printing shop.
Using a blank Word document
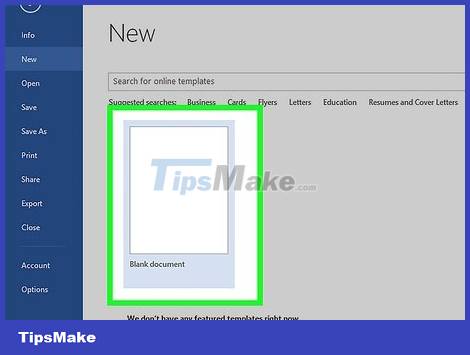
Open a new Word document. Double-click the MS Word shortcut icon on the desktop or Programs menu to launch it. A new Word document without content opens.

Insert graphics or artwork. When you create invitations on a blank document, you'll be able to unleash your creativity because you're not limited by the graphics or artwork included in the template. To insert an image file, click the Insert tab in the top toolbar and select 'Insert Clip Art' or 'Insert Picture' from the options that appear.
If you already have the desired image or graphic on your computer, use the 'Insert Picture' feature. A file browser will open so you can find the picture you want to insert. The 'Insert Clip Art' option is used to select from available images in MS Word. Double-click the image you want to insert.
Once inserted, you can drag the photo or artwork anywhere on the card, or drag the photo border to resize it to your desired size.

Add text. There are two ways to add text: use the 'Text Box' feature or enter the information directly. The Text Box feature will limit the text you enter using frames, while the free typing option will use lines in a blank document.
To create a text frame, click on the 'Insert' tab at the top and select 'Text Box'. This option is located between 'Page number' and 'Quick Parts'. Then, select the Text Box style from the drop-down menu and enter the information you want in the box that appears in the document.
Whether you use the Text Box or enter information directly, you can change the font, size, as well as bold, italicize, and underline text. You can also change the text color using the options at the top, under the Home tab.
Don't forget to provide complete event information (including party name, date, time, location, other details) in the card.
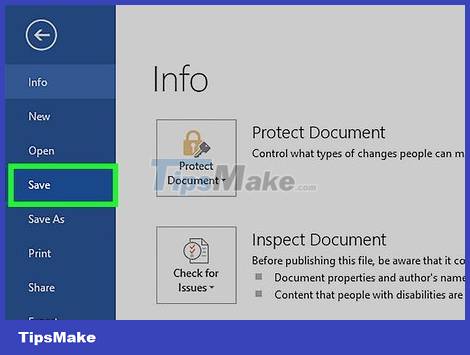
Save the card. After completing the design, go to File -> Save As -> Word 97-2003 Document. Select the folder containing the card file on the 'Save As' pop-up window. After entering a name for the card file, click 'Save'.
Greeting card files saved as Word 97-2003 Document will be compatible with all versions of MS Word. Now, you can print out the card using your home printer or save the file to a USB and take it to a professional printing shop.