How to integrate images into text on Photoshop
Integrating images for text, or creating text backgrounds in Photoshop will make the text more interesting and unique.
Table of Contents
When writing text on photos in Photoshop, for those with basic Photoshop skills, just choose colors for the text. However there are many ways we can change the font, create different typefaces, in addition to using fonts such as integrating images into words.
Text-to-text style can be used to create text backgrounds using different images. Then the word will not only have simple colors but will be replaced with colors on the image. The following article will guide you how to integrate photos into text in Photoshop.
- How to design a simple logo in Photoshop
- Instructions for designing websites in Photoshop
- Instructions to separate photos from the background in Photoshop
Instructions for dubbing images into words on Photoshop
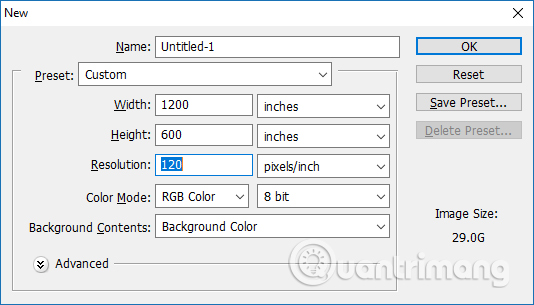
Step 1:
First you need to press Ctrl + N to open a new layer . The resolution part is about 150-300 pexels / inch.
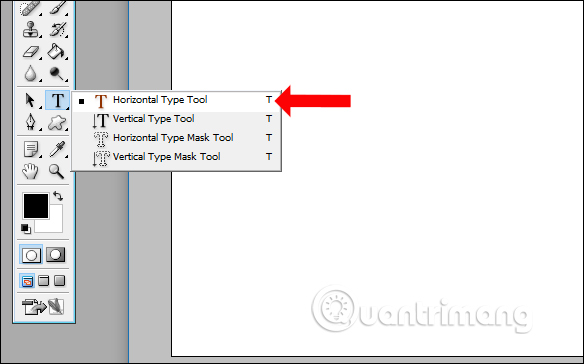
Step 2:
Right-click on the T text box and select the Horizontal Type Tool to write the letter.
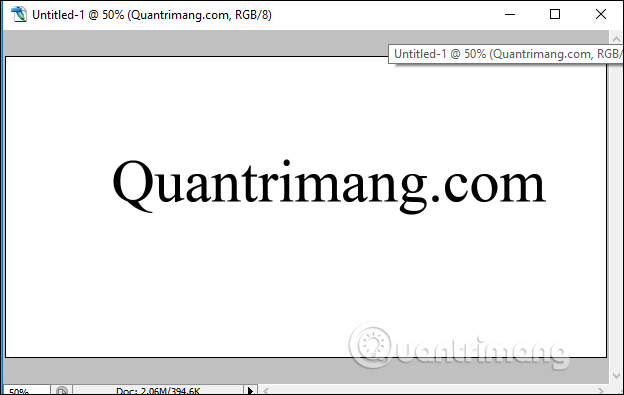
Step 3:
Write the text on the new layer created on the interface. We choose the font, font size depending on the needs of use.
Step 4:
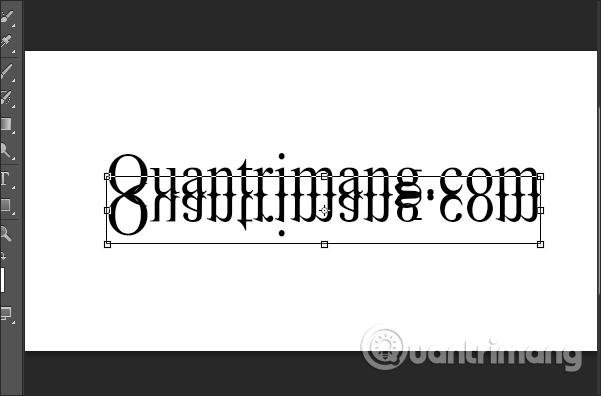
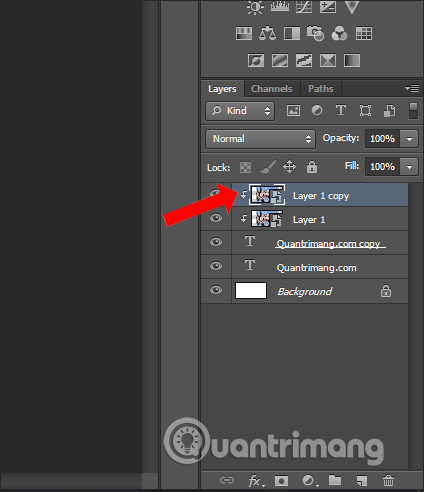
Continue dragging the text layer down to the Create a new Layer icon to duplicate the text field. You will then be added a new text layer.
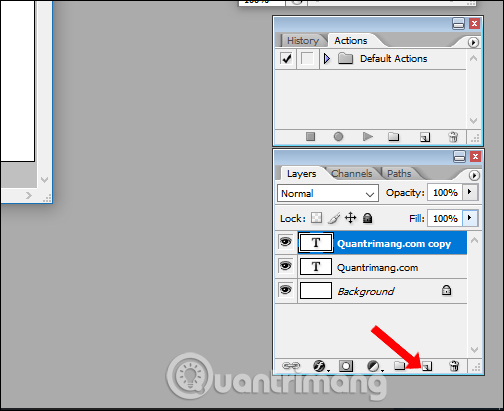
Click on the newly created text layer, then press Ctrl + T again and hold down Ctrl to create it as a shadow and press Enter as shown below.
Step 5:
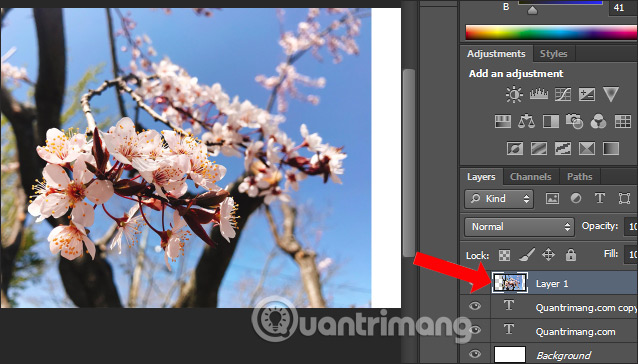
Open the image to select the text on the computer and drag and drop into the interface of the text on Photoshop. The image will overwrite the text on Photoshop.
Step 6:
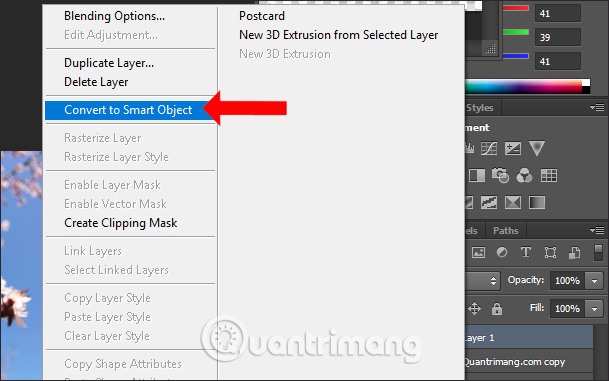
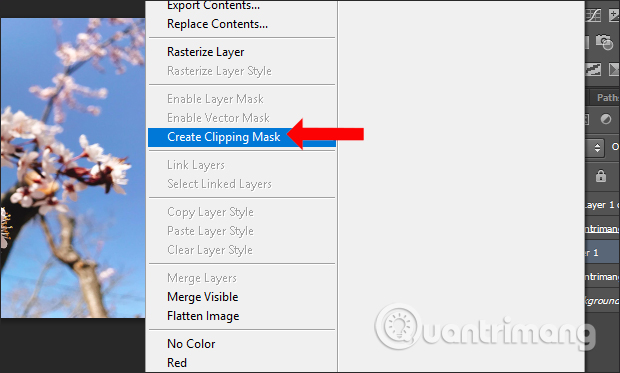
Right-click on the image layer and select Convert to Smart Object .
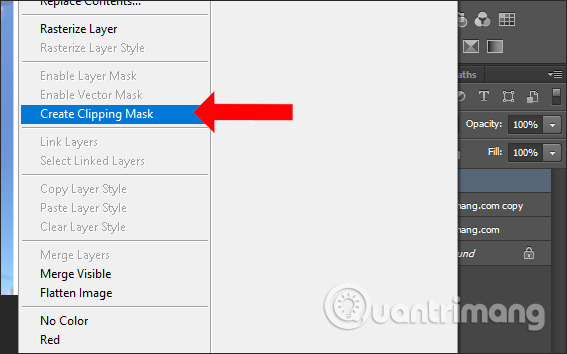
Right-click and choose Create Clipping Mask to hide the image in the text.
Step 7:
The result of inserting the image into the text is as follows.

Continue to select the Image layer and then press Ctrl + J. Or you can drag and drop the image to the Creata a new Layer icon to duplicate the image layer.
Step 8:
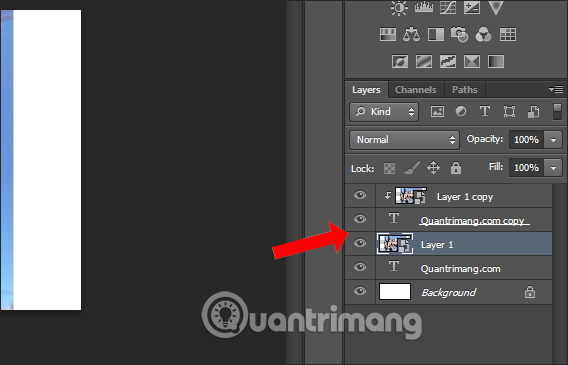
You drag the original image layer between the two text layers , and you will see the selection of the text layer obscured by the image.
Right-click on the image layer and choose Create Clipping Mask to create a selection of the text and also hide the image.
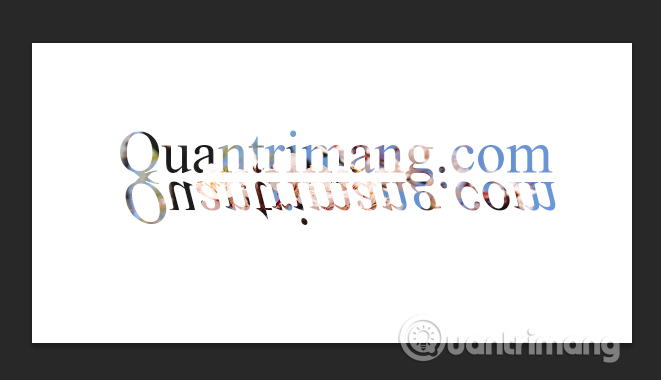
The resulting image will be inserted into both text areas as shown below.
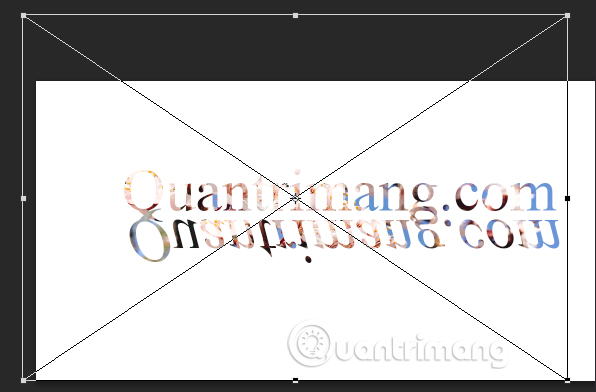
Step 9:
Next, the user can click on the image layer and press Ctrl + T to adjust it accordingly. This will display the following frame for alignment. We can drag or shrink the frame to select the details of the image into the text.
The user makes turns on both text layers.
Step 10:
Finally, users can replace other background for text. Or use the current background, then click on the Gradient tool to select a color style for the Background.
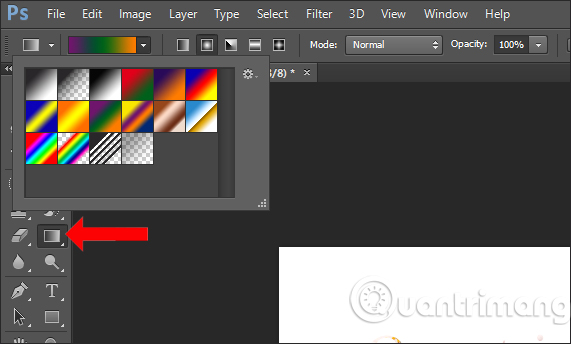
Select a color style and then click on the image and drag a diagonal line down the image. Finally we will get the colored wallpaper as below. If you want to reverse the color range, drag the line as well.

So you have to insert the image into the text in Photoshop, plus the effect of italic, shadow. If you are more technical, creating effects for text, as well as adding colors to the background will be more beautiful, artistic than the picture you painted in the article.
See more:
- How to sharpen images in Photoshop in 2 ways
- 15 common problems in Photoshop and basic remedies
- How to combine photos in Photoshop from 2 different images
I wish you all success!
Was this article helpful?
Your feedback helps us improve.
Related Articles
 How to Insert Text in Photoshop7 minutes read
 Easy guide to adding text to images in Photoshop2 minutes read
 How to Integrate Photos in Photoshop5 minutes read
 How to integrate pictures into text in PowerPoint2 minutes read
 How to resize images properly in Photoshop9 minutes read
 How to Remove Text on Photos with Photoshop9 minutes read
Reader Comments 0
Sign in with email or Google to join the discussion.