How to Install Windows Server 2008
Windows Server 2008 is a closed source operating system released February 4, 2008 based on Windows Vista. It has extended support until the 14th January 2020.It is available in both 32 and 64 bit versions but will be the last 32 bit....
Method 1 of 3:
Pre-Installation
- Insert the Windows 2008 Server installation disk into the computer.
Method 2 of 3:
Installation
-
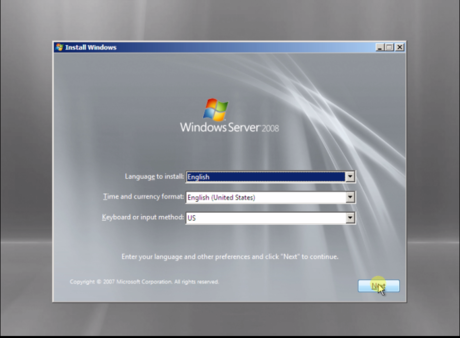 Select your 'Language', 'Time and currency format' and your 'Keyboard or input type' then click next.
 -
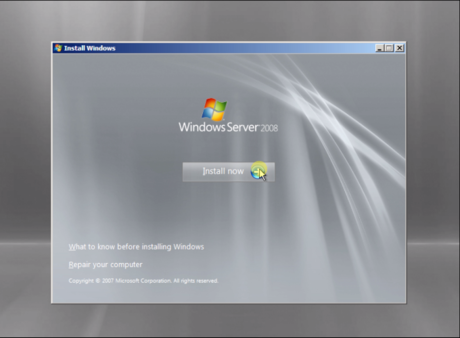 Click Install now.
 -
 Type in your product key, select whether you want to 'Automatically activate Windows when' and click Next.
- There is a trial period of 60 days so if you can't find your product key, leave the field blank and click Next.
- The 'Automatically activate Windows' is a personal preference but the box was checked for this tutorial.
-
 If you have not entered a product key you will get this screen.
- Press Yes to enter the product key now or No to activate it later.
-
 Choose your edition of Windows Server 2008, check the 'I have selected the edition of Windows that I have purchased' box and click Next.
- Server Core Installation is a text based version of Windows Server 2008 whilst the full edition is a graphical display.
- You could be cheeky and choose a different version of Windows Server 2008 to the one you have bought but you will have to use a product key for that different version which will not be the same as the one you have bought.
-
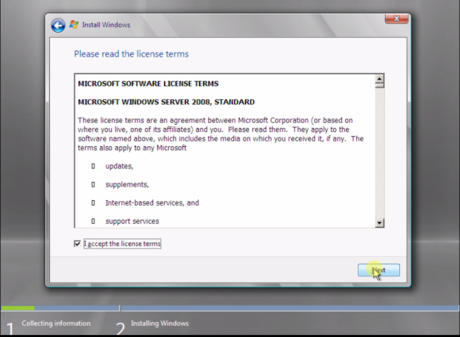 Check the 'I accept the license terms' and click next.
- It's a good idea to read the license agreement so you know what you're agreeing to.
-
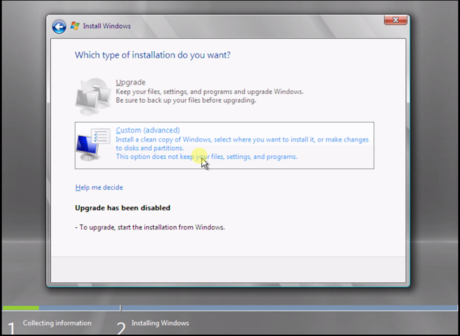 Select the type of installation that you want.
- Upgrade allows you to keep your files, settings etc. before upgrading.
- Custom (selected in this tutorial) does a clean install of Windows.
-
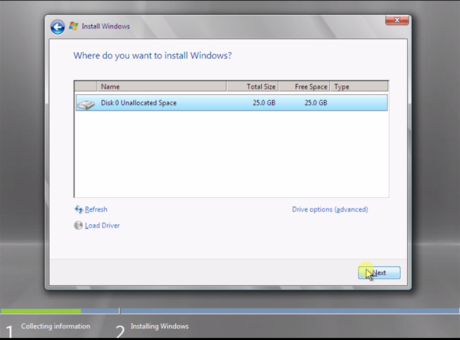 Choose where you want to install Windows and click Next.
 -
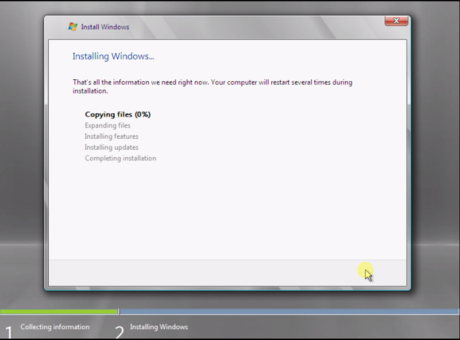 The next part requires no input from the user.
- The screen may flicker during this process. However, this is completely normal.
-
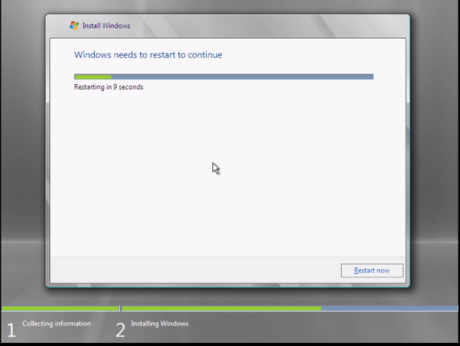 Restart your computer by click Restart Now or the computer will do it automatically.
 - Do not press anything here.

- Pressing anything here will result in you being put in a setup loop.
- If you did press something and setup began again, restart the computer and you'll be fine.
- Wait for windows to setup the computer.

-
 Installation may hang here. Be patient and allow for a few minutes for the computer to continue with the installation.
- If there is no disk activity (usually indicated by a flashing light on the computer) for several minutes, then restart the computer.
-
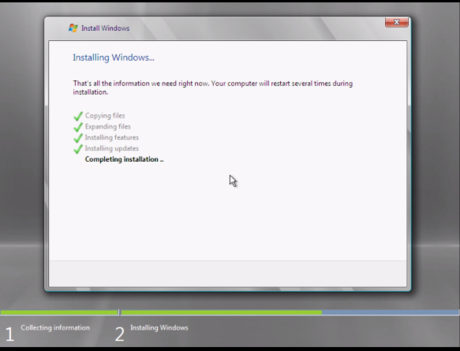 This step requires no input from the user but it might take some time.
 -
 Installation may hang here but be patient.
 -
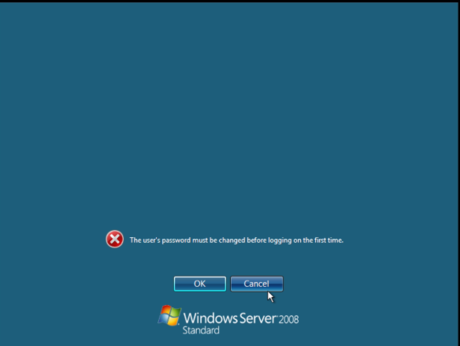
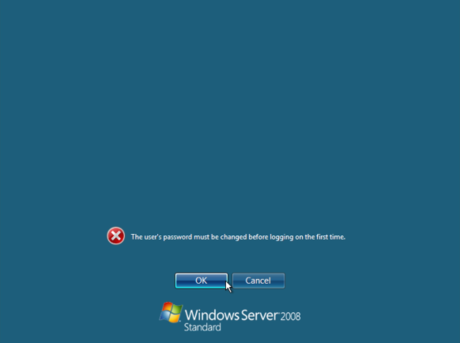 Press OK to continue.
- Pressing Cancel will do nothing.
-
-
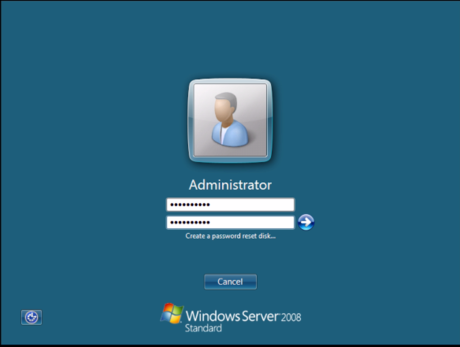 Type in a password and then retype the same password underneath and click the arrow.
- The password must contain numbers and a capital letter.
- You must type in a password or else you cannot continue.
-
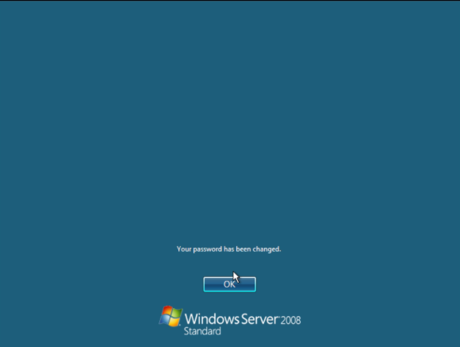 Click OK
 -
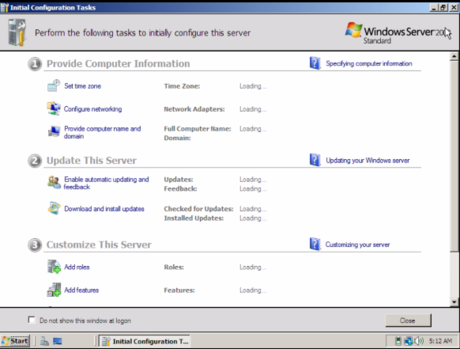 The main installation is complete but this program can be used to configure settings for Windows.
- Click the check box at the bottom if you do not want this to be displayed each time you start the computer.
-
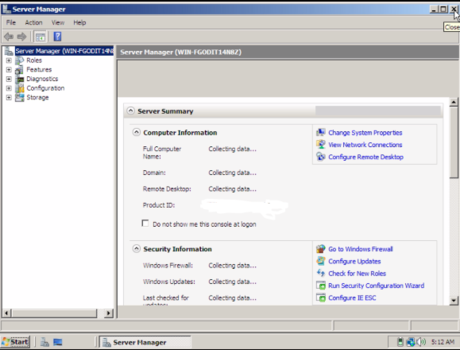 This is the Server Manager which contains tools etc. for your server.
- Click the check box in the 'Computer Information' if you do not want this to be displayed at start up.
Method 3 of 3:
Shutting down
-
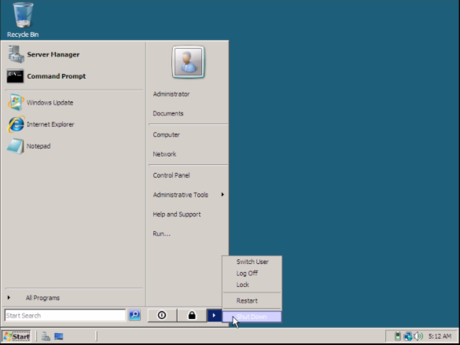
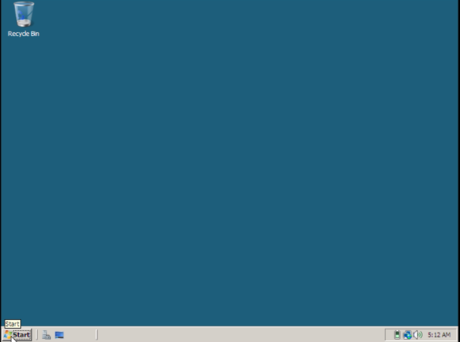 Click start.
 -
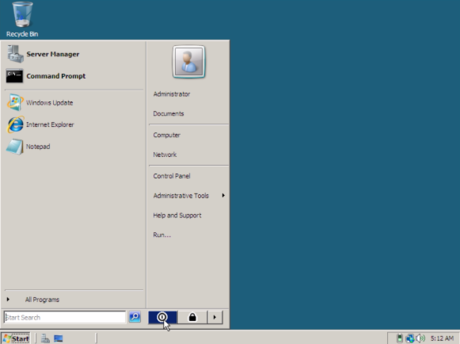 Click this icon.
- Alternatively you can click the little arrow and then Shut Down.
-
-
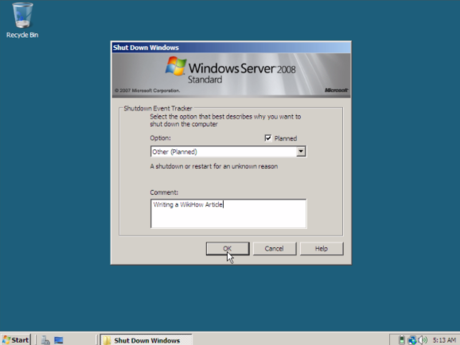 You must type in a reason for the Shutdown that's at least one character or longer and then click OK.