Install Windows 8 on your MAC
If you are using an Apple Mac computer and want to experience Windows 8 right on this computer, the following tips will help you easily install Windows 8 on a Mac computer.
1 / Prepare
- DVD or USB Flash drive or ISO file containing Windows 8 installer. If not, you can download it here .
- A USB Flash drive with 8GB or more capacity.

To install Windows 8 on your Mac, you will proceed using the Boot Camp Assistant tool available on this model. Boot Camp will help you install Windows operating system on Mac using Intel chip by downloading the necessary support software, create a partition on your hard disk for Windows, and then start the installation Windows. In this article, we will install Windows 8 on a mini Mac (produced in mid-2010) with Boot Camp Assistant 4.0 software.
2 / Proceed
- Step 1: Launch the Boot Camp utility by going to Utilities and clicking on Boot Camp Assistant to start the program.

- Step 2: From the working window of Boot Camp, click the Continue button to confirm and make the list of options appear as follows:
- Create a Windows 7 install disk: create a Windows 7 installation disk.
- Download the latest Windows support software from Apple: download the latest Windows support software from Apple.
- Install Windows 7: install Windows 7.

- If the Create a Windows 7 install disk option is not valid, it means that your computer does not support installing Windows from USB Flash. At this point, you will select one of the other two options and click the Continue button to confirm. By default, all three options are enabled if you are using a Mac Mini, MacBook Air, and you will now select the first option (Create a Windows 7 install disk) to create a USB Flash contains the Windows 8 installer. Click the Continue button to confirm.
- Step 3: (skip this step if you do not select the Create a Windows 7 install disk option) In this step, you need to select the ISO file containing the Windows 8 installer and USB devices you want to use to contains Windows 8. Boot Camp installer that will create a bootable USB Flash to install Windows 8. After you have selected the ISO file and USB Flash drive to operate, click the Continue button to confirm .

- Click the Continue button if the message ' The drive will be erased ' appears. Boot Camp may take a few minutes to create boot function for USB Flash drive (it will also download Windows support software from Apple). After this process is finished, you will be asked to enter the user account password, you just need to enter the request and then click the Add Helper button to confirm.

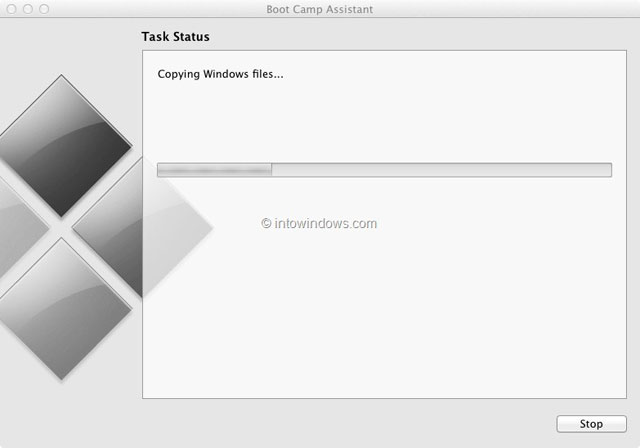
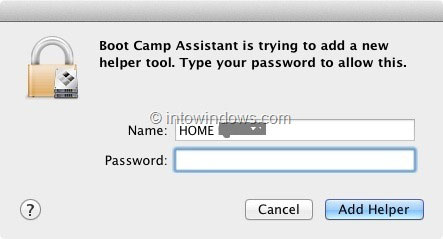
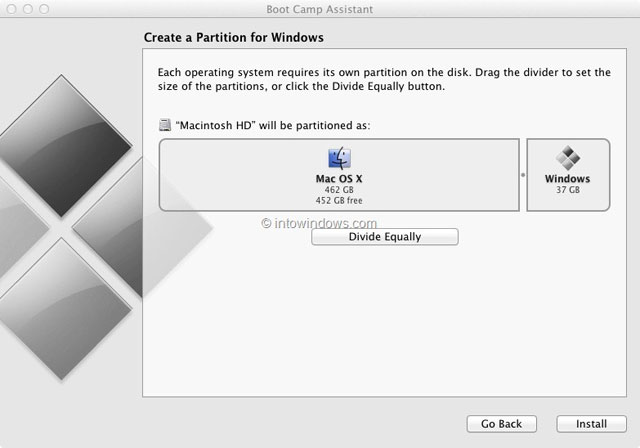
- Step 4: Boot Camp will take you to options to create an installation partition for Windows. Drag the divider between the partitions to set the size of the partition. You should choose a minimum of 30 GB for the Windows installation partition (Microsoft recommends 16 GB, but if you want to install other software on Windows 8, 30 GB is the best). Finally, click the Install button to start the drive partition and install Windows 8 on your Mac. The Mac will automatically restart to start installing Windows. You will see the message " Booting from Boot Camp Assistant created boot drive " appears.
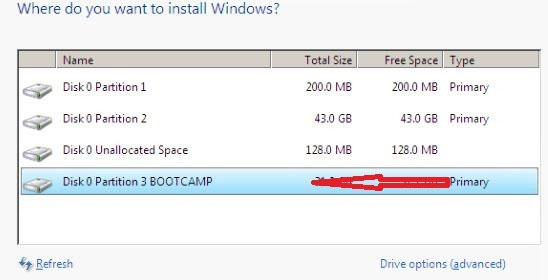
- Note, if your Mac does not have the Create a Windows 7 install disk option, after step 2, you will put the DVD containing the Windows installer into the drive and click the Install button to start the drive partition and the following That install Windows. Your Mac will automatically restart to start installing Windows. Please proceed to install Windows in the usual way until the requirements for choosing Windows 8 installation partition are available. From the Where do you want to install Windows window ? , select the partition named BOOTCAMP to install Windows 8. You should also proceed to format this partition with the available tools (select Drive options (advanced) , click the Format button, click OK ), this operation to avoid the ' Windows cannot be installed to this disk x partition x ' error during installation. Click Next to confirm and continue installing Windows 8 in the usual way until installation is complete.

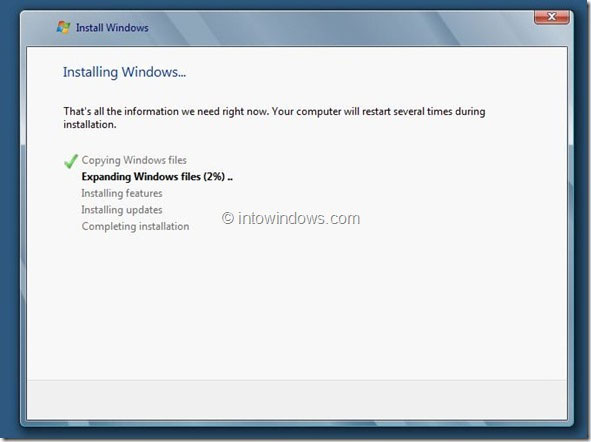
- Step 5: After successfully installing Windows 8, you need to install drivers and software that supports Windows for Mac. Support software will be available on USB Flash if you choose the option Download the latest support software from Apple in step 2. You can install them by going to the WindowsSupport folder and then double-clicking the setup.exe file. To start installing all drivers and Apple Software Update. Note, if you receive the error message ' Boot Camp requires that your computer is running Windows 7 ' during the installation process, you can manually install these drivers and software by going to Drivers > Apple folder .


- Attention:
- If you want to install drivers for third-party hardware like NVIDIA and ATI, you can find the required drivers in the drivers folder of the drives.
- If the software you are installing is not confirmed by Microsoft (without the Windows logo), click the Continue Anyway button to continue the installation.
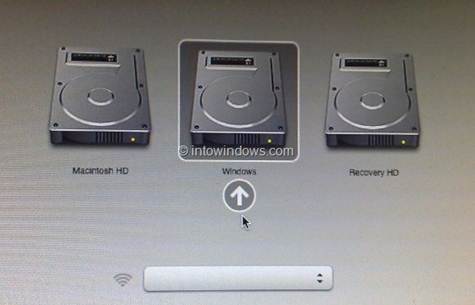
- When you turn on the Mac, you hold the Alt or Option key to see the option to enable booting into Windows or Mac.
