Install Hyper-V Virtualization on Windows Server 2008 R2
In the following article, we will introduce and guide you a few basic steps to install and deploy the technology platform that supports virtualization of Hyper-V on Windows Server 2008 R2.

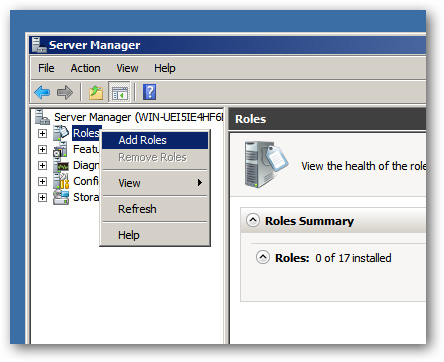
Then, right-click on the Roles section and select Add Roles:
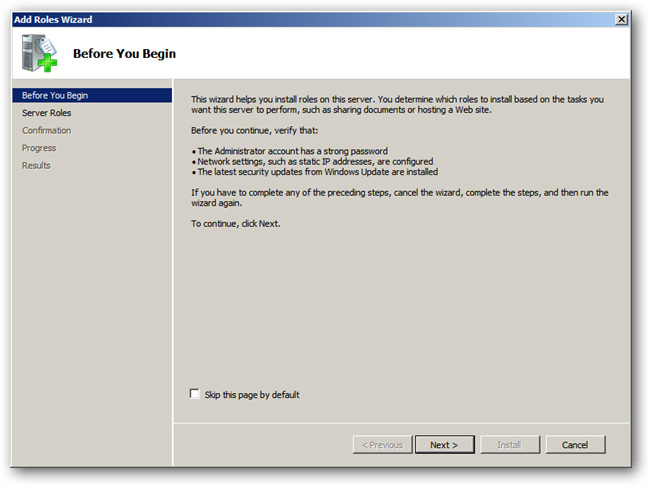
Click Next at the Before You Begin screen :
Next, select Hyper-V in the list of Roles displayed and click Next :

Click Next to skip the Introduction to Hyper-V section, then select the corresponding network card you want to use to create the Virtual Machine virtual network , continue to click Next :

The system will confirm if you want to install Hyper-V , click the Install button to start this process:

And when done, we have to restart the server, click the link You must restart .:

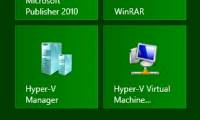
After the server starts, we can manage Hyper-V from Server Manager as a Role , or directly from the Hyper-V MMC in the Administrative Tools section of the system. Good luck!
Was this article helpful?
Your feedback helps us improve.
Related Articles
 How to install Hyper-V on Windows Server 20195 minutes read
 How to install Hyper-V in Windows Server 20122 minutes read
 Install Windows Hyper-V Server 200818 minutes read
 Instructions for using Hyper-V on Windows 8 (Part 1)3 minutes read
 How to set up a virtual server13 minutes read
 What is the future of server virtualization?9 minutes read
Reader Comments 0
Sign in with email or Google to join the discussion.