How to install Hyper-V in Windows Server 2012
Virtualization is one of the most important technological features. Microsoft has invested in developing this feature and called it Hyper-V.
Virtualization is one of the most important technological features. Microsoft has invested in developing this feature and called it Hyper-V.
Now let's see how to install the Hyper-V virtual machine in Windows Server 2012 through the steps below.
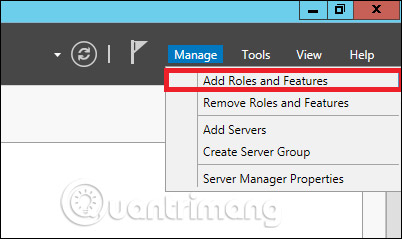
Step 1 - To install DNS, go to ' Server Manager' → Manage → Add Roles and Features .
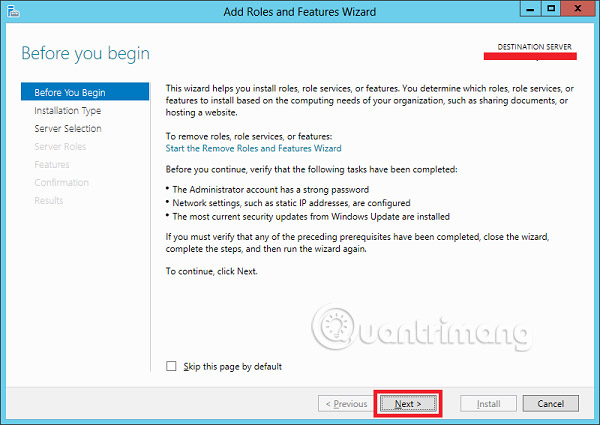
Step 2 - Click Next .
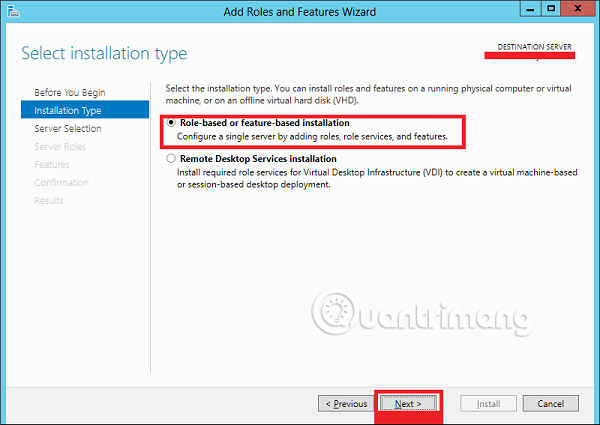
Step 3 - Choose Role-based or feature-based installation option, then click Next .
Step 4 - Now install a Local Hyper-V because it will select a server from the server pool, and then click Next .

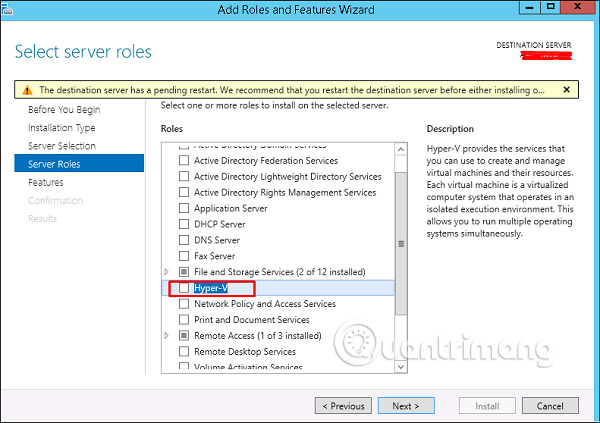
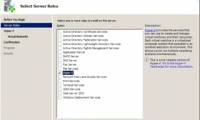
Step 5 - From the Roles list, select the Hyper-V Server role , then click Add Features on the display window and then select Next .
Step 6 - Click Next.

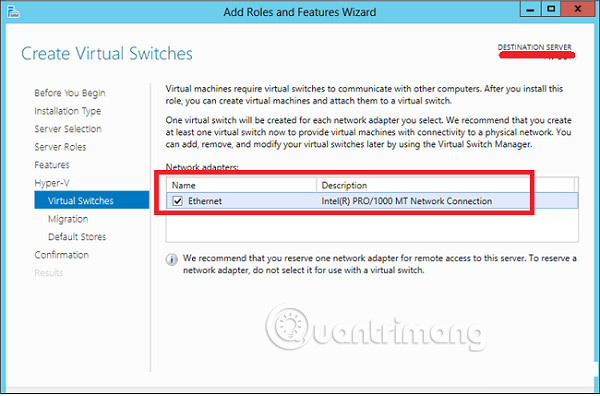
Step 7 - Select the server's physical network adapter to participate in the virtualization process, then select Next .
Step 8 - In the Migration section, leave the default settings unchanged, then select Next .

Step 9 - Select the path where the file is saved.

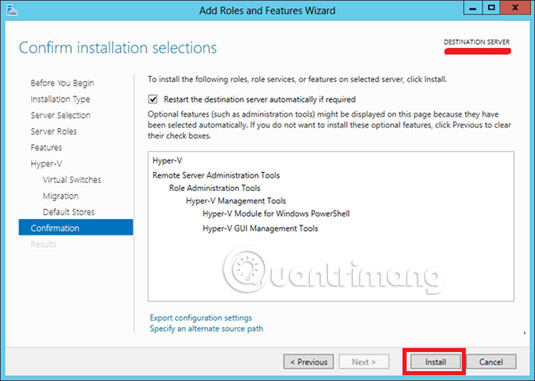
Step 10 - Click Install and wait for the installation process to finish.
See more:
- How to install IIS in Windows Server 2012
- Learn Resource Monitor tool in Windows Server 2012
- How to create DC Accounts in Windows Server 2012
Was this article helpful?
Your feedback helps us improve.
Related Articles
 How to install Hyper-V on Windows Server 20195 minutes read
 Install Hyper-V Virtualization on Windows Server 2008 R22 minutes read
 Install and configure Hyper-V Tools for remote management16 minutes read
 Install Windows Hyper-V Server 200818 minutes read
 Instructions for installing Hyper-V2 minutes read
 How to install Hyper Terminal in Ubuntu 20.044 minutes read
Reader Comments 0
Sign in with email or Google to join the discussion.