
How to Install Custom Fonts in Ubuntu
Method 1 of 5:
Use Keyboard Shortcut Or Main Menu To Open The Terminal
-
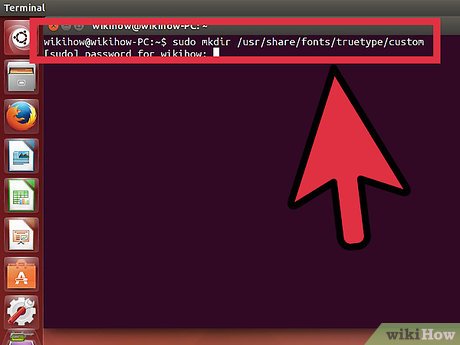 First you must to make a directory for your custom TTF fonts, to do this you need to type following command to the Terminal (To open Terminal, press Ctrl+Alt+T on your keyboard or go to Applications > Accessories > Terminal, which is located in main menu ) or use copy/paste method: sudo mkdir /usr/share/fonts/truetype/custom
Method 2 of 5:
Enter Password
-
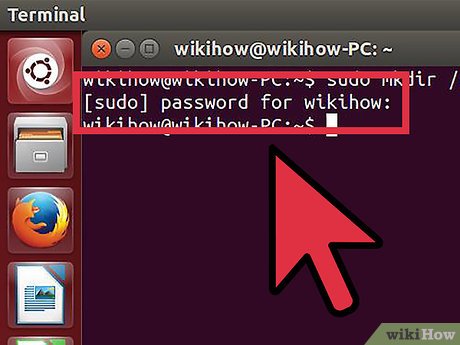 Now hit Enter, after that when it asks you for password, type the password and hit Enter.
Method 3 of 5:
Open And Use Nautilus
- To put the ttf fonts into the custom folder you need to type following command to the Terminal or to use copy/paste method: sudo Nautilus
- That command will open up a nautilus window, so you will be able to go to /usr/share/fonts/truetype/custom to put your custom fonts.
- Go there trough window and you will find desired folder. Drag or copy ttf fonts to that folder, but don't forget to close Terminal.
Method 4 of 5:
Rebuild Your Font Cache
- Now the last thing that you must to do it is to rebuild your font cache and you will do it if you type following command to the Terminal or to use copy/paste method:sudo fc-cache -f -v
Method 5 of 5:
Enter Password
- When it asks you for password, type the password and hit Enter.
Update 04 March 2020
You should read it
- How to install and remove fonts on Mac
- How to Manage Fonts in Windows
- Differentiate between TTF and OTF fonts
- 6 interesting terminal commands on Mac
- How to use Terminal on a Mac
- 8 best free Terminal Emulator apps for Android
- How to open a folder on a Mac using a command in Terminal
- How to Install Fonts
- How to Download Fonts
- Notable changes in Windows Terminal ver 0.11
- How to manage user passwords from Terminal in Linux
- How to Install and Use Fonts in Linux