How to change objects in photos with Canva AI very quickly
AI technology has now been applied a lot to develop and support different ideas. With Canva, you can use the AI technology that this tool brings to you to create photos with Canva AI descriptions, or change the object in the image with anything you want. Accordingly, we also describe the object we want to change in the image and then Canva will proceed to change based on the original original image. The following article will guide you to change the object in your photo with Canva AI.
Instructions to change objects in photos with Canva AI
Step 1:
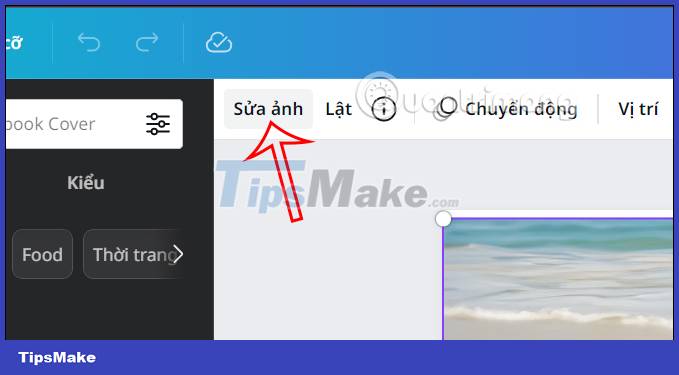
First we upload the image to be edited to Canva, or immediately select the design saved in Canva. In the photo editing interface, click on the image and then select Edit photo .

Step 2:
Looking to the left edge of the interface will see the Tools section , click on the Magic Edit tool .

Then display the content about this editing tool, click the Try it now button to proceed to change and re-edit the subject in the image.

Step 3:
First, the user selects the size of the brush to paint the object area you want to change. You adjust in the Brush Size bar to the size you want.

Looking at the original image, we paint the subject area that we want to change. If it's wrong, click Fill again, if it's correct, click Continue to go to the next step.

Step 4:
Display a frame for users to enter the content they want to change in the area they have painted. The more details we enter, the easier it is for the tool to recognize and create new subjects for you. Click the Create button below to proceed with the creation.

Step 5:
Then Canva's Magic image editing tool does the analysis and creates a new subject for you. We will see a lot of new photo templates. If you are not satisfied, click Create new result below to display more designs.

Display many different new photo templates so that we can choose the image we like best. With a photo template you like, click and then click the Done button below to switch to the image editing interface as usual.

If you don't need to edit, you can also save this new design right away.
