How to handle cells, columns, rows in a spreadsheet in Excel
The following article will guide you in detail how to handle cells, columns, rows in spreadsheets in Excel. 1. Change the width of columns, rows and cells in Excel. 1.1 Resize a row or a column: - Hold down the left mouse button for the vertical part of the column and drag the cycle.
The following article details you how to handle cells, columns, rows in spreadsheets in Excel 2013.
1. Change the width of columns, rows and cells in Excel 2013.
1.1 Change the size of a row or a column:
- Click and hold the left mouse button on the vertical part of the column and drag the mouse to change the size:

- After dragging, the width of the column has been changed:
- Similarly to change the width of a row -> click on the horizontal section of the row -> drag the mouse to change the size:

1.2 Change the size of multiple rows or columns:
- Change the width of multiple columns: Select the columns to resize -> go to the Home tab -> in Cells -> Format -> Column width:

- The Column width dialog box appears, enter the width of the column in Column width -> OK:

- Result of the width of the resized column:
- Similarly to resize rows you click Home -> in Cells -> Format -> Row Height.
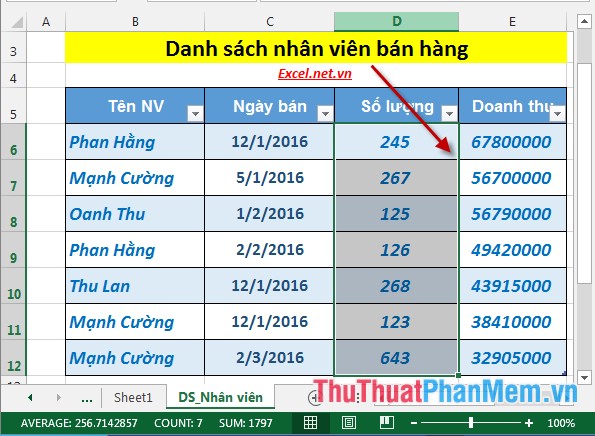
2. Insert more cells, columns, rows in Excel 2013.
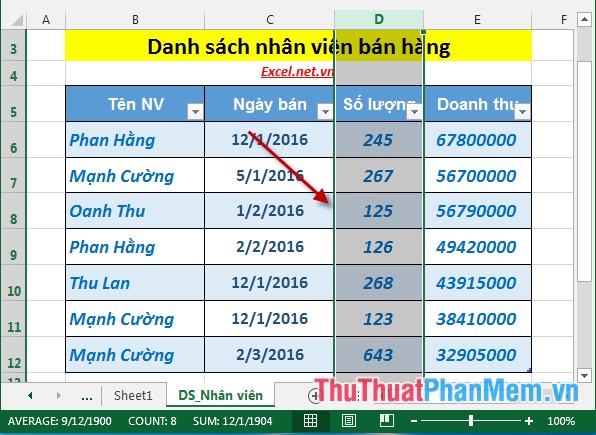
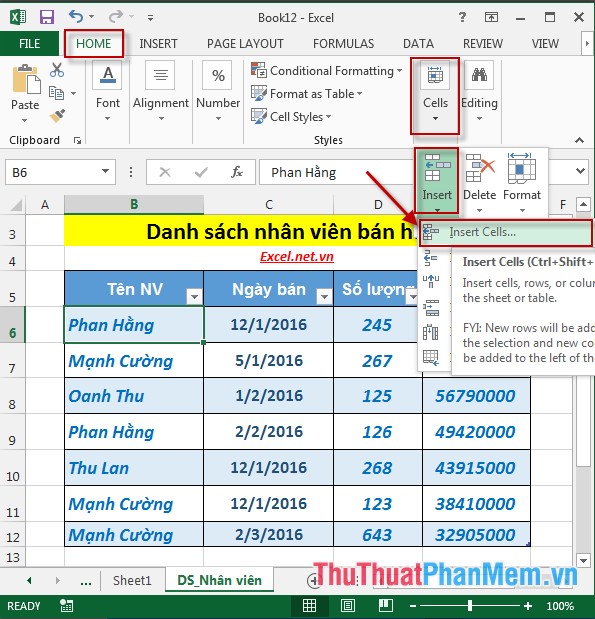
2.1 Insert more cells in a spreadsheet:
- Click to select a cell to locate the cell to be inserted -> Home -> Cells -> Insert -> Insert Cells .
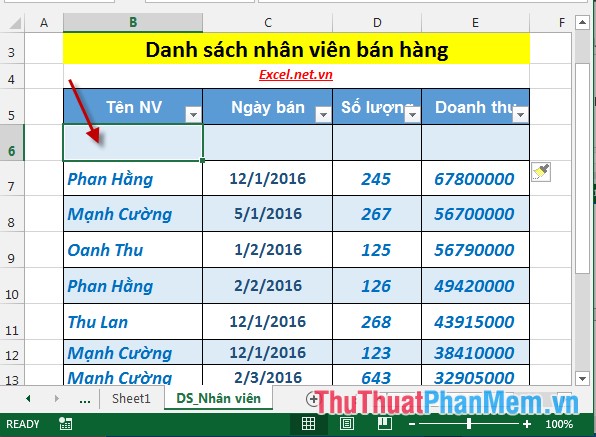
- The result of the cell has been inserted in the worksheet and is usually inserted above the original cell selected.
2.2 Insert more columns for spreadsheets.
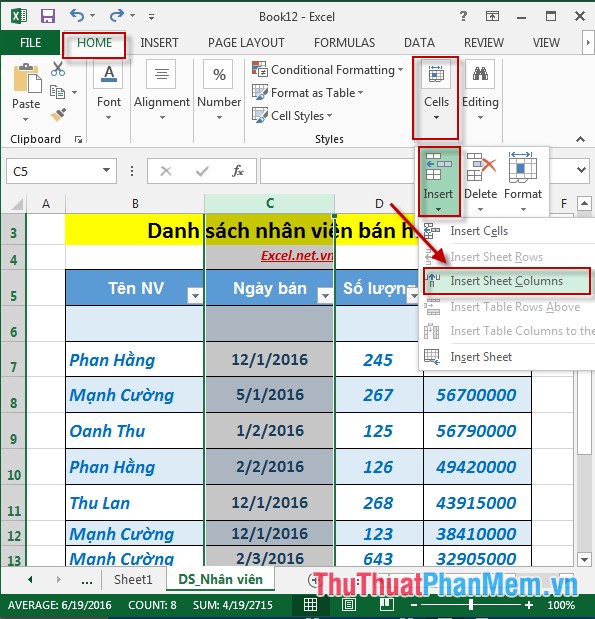
- Click to select a column to locate the column to be inserted -> Home -> Cells -> Insert -> Insert Sheet Columns
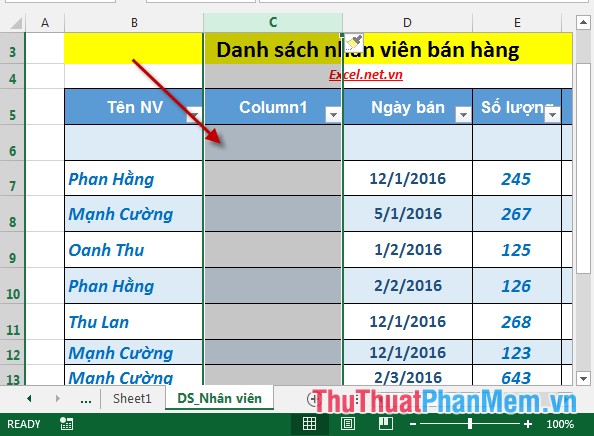
- After selecting the new column is inserted to the left of the original selected column:
2.3 Insert more rows for spreadsheets.
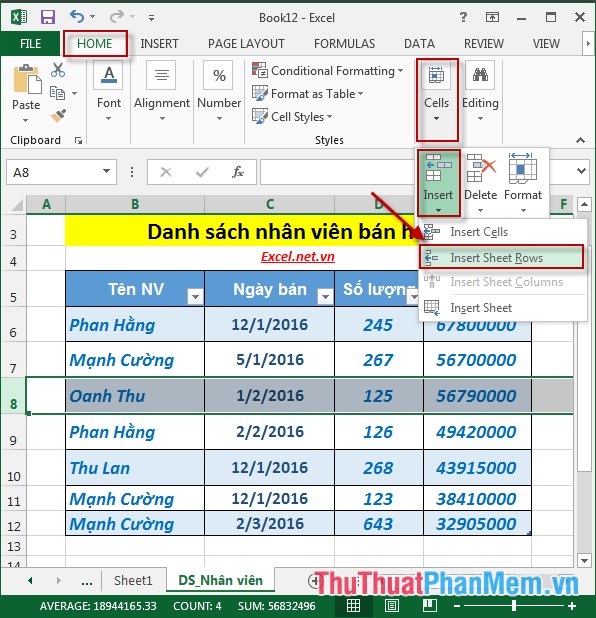
- Similar to inserting columns: Click to select a row to locate the row to be inserted -> Home -> Cells -> Insert -> Insert Sheet Rows
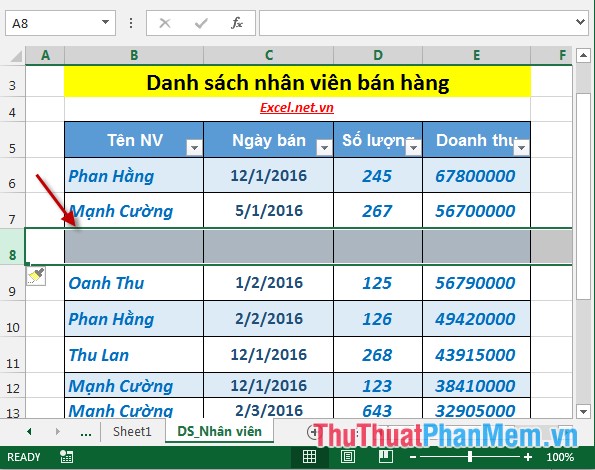
- New row inserted above the selected original row:
3. Delete columns and rows in Excel 2013.
- To delete a column, select the column to delete -> Home -> Cells -> Delete -> Delete Sheet Columns:
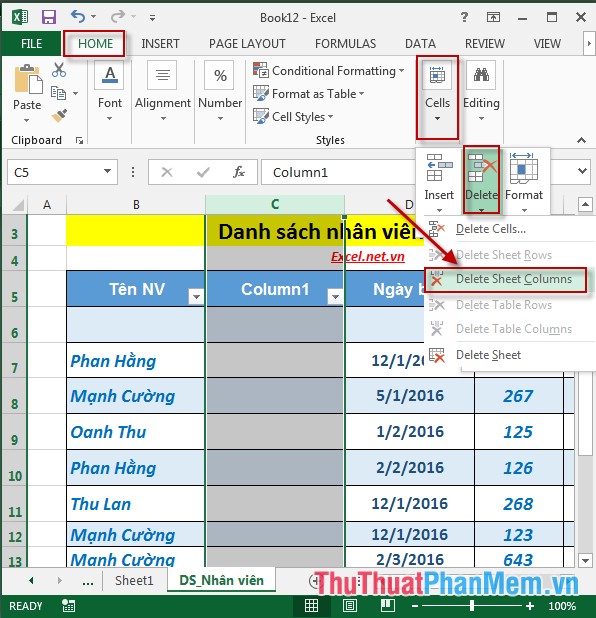
- Similarly, to delete rows, click Delete Sheet Rows , delete the Delete Rows checkbox .
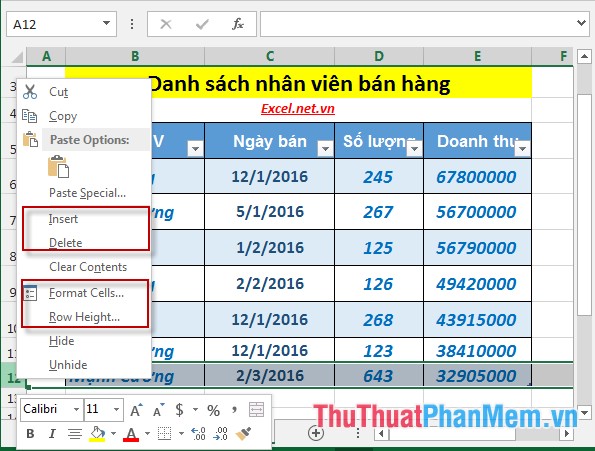
In addition to the above, you can use additional features available when right-clicking on cell, column and row objects on the worksheet:
The above is a detailed guide on how to handle cells, columns and rows in spreadsheets in Excel 2013.
Good luck!